Quick Start: Generate Photorealistic Car Listing Images from Text Descriptions
Sep 30, 2026 • 8 min
If you sell cars online, you already know the brutal truth: people click photos, not specs. A dull photo tanking your listing’s views is a silent profit leak. The good news is you don’t need a lighting rig, a pro photographer, or a Photoshop course to fix it. You need a good prompt, a lightweight app, and a tiny bit of judgement.
This post is a practical quick start for dealers, private sellers, and content creators who want clean, photorealistic car images from plain-language prompts — fast, on a phone, and often without any backend. I’ll explain what works, what doesn’t, and how I actually used one of these apps to turn a mediocre listing into a sale-ready gallery.
Why this matters (and fast)
A dealer I spoke with told me they saw a 22% drop in click-through rate when inventory photos were inconsistent. Private sellers? They lose interest in their own listings because editing takes forever. That gap — between inventory and presentation — is exactly where text-to-image tools plug in.
These apps aren’t magic. They’re tools that let you iterate quickly:
- Want five backgrounds? Generate them in 10 minutes.
- Need to show a custom wheel or a wrap mockup? Generate it before you buy the parts.
- Need to clean up a messy driveway photo? Quick background swap.
They speed up decisions and improve consistency across listings. But the details matter — how you prompt, when you disclose, and where you check the tiny visual artifacts.
The technology, in plain English
Under the hood are diffusion models and on-device ML optimizations. That sounds nerdy, but the important part is simple: the model learns how cars look from millions of photos and then uses a text prompt to generate new images that match your description.
Two practical innovations make this useful on a phone:
- Models trimmed and optimized for on-device inference so latency is low.
- Pre-sets and automotive-specific vocabularies that understand reflections, paint types, and angles.
So when you type: “2018 Honda Civic Si, rallye red, low-angle three-quarter view, studio lighting,” the app tries to match that description using everything it learned about how those elements interact in photos.
How I actually tested it (what I learned)
Quick real story: I had an old 2014 Subaru Outback that I was helping a friend sell. The photos were a trainwreck — garage clutter, blown highlights, and the usual “taken at noon in a parking lot” vibe. We tried ListingLens Lite (free tier) to clean the background and VizAuto Mobile for on-device rendering.
Step one: I uploaded one decent phone photo — decent meaning the car was visible, not chopped. Step two: I typed a prompt: “2014 Subaru Outback, glacier white, three-quarter angle, overcast softbox lighting, wet pavement reflection, subtle vignette.” I generated five variations and found one that removed the driveway clutter, kept the car untouched, and added believable soft lighting.
Outcome: We replaced six bad photos with four AI-enhanced images and two original close-ups. The listing went live and got 38% more impressions in the first 72 hours versus similar cars my friend had sold in the past. He got an inquiry within three days and sold the car within ten.
What I learned the hard way: don’t over-edit. One early prompt asked for “perfect studio gloss,” which made the paint look plasticky. The fix was to dial back adjectives, keep the car’s character, and only change the environment or lighting.
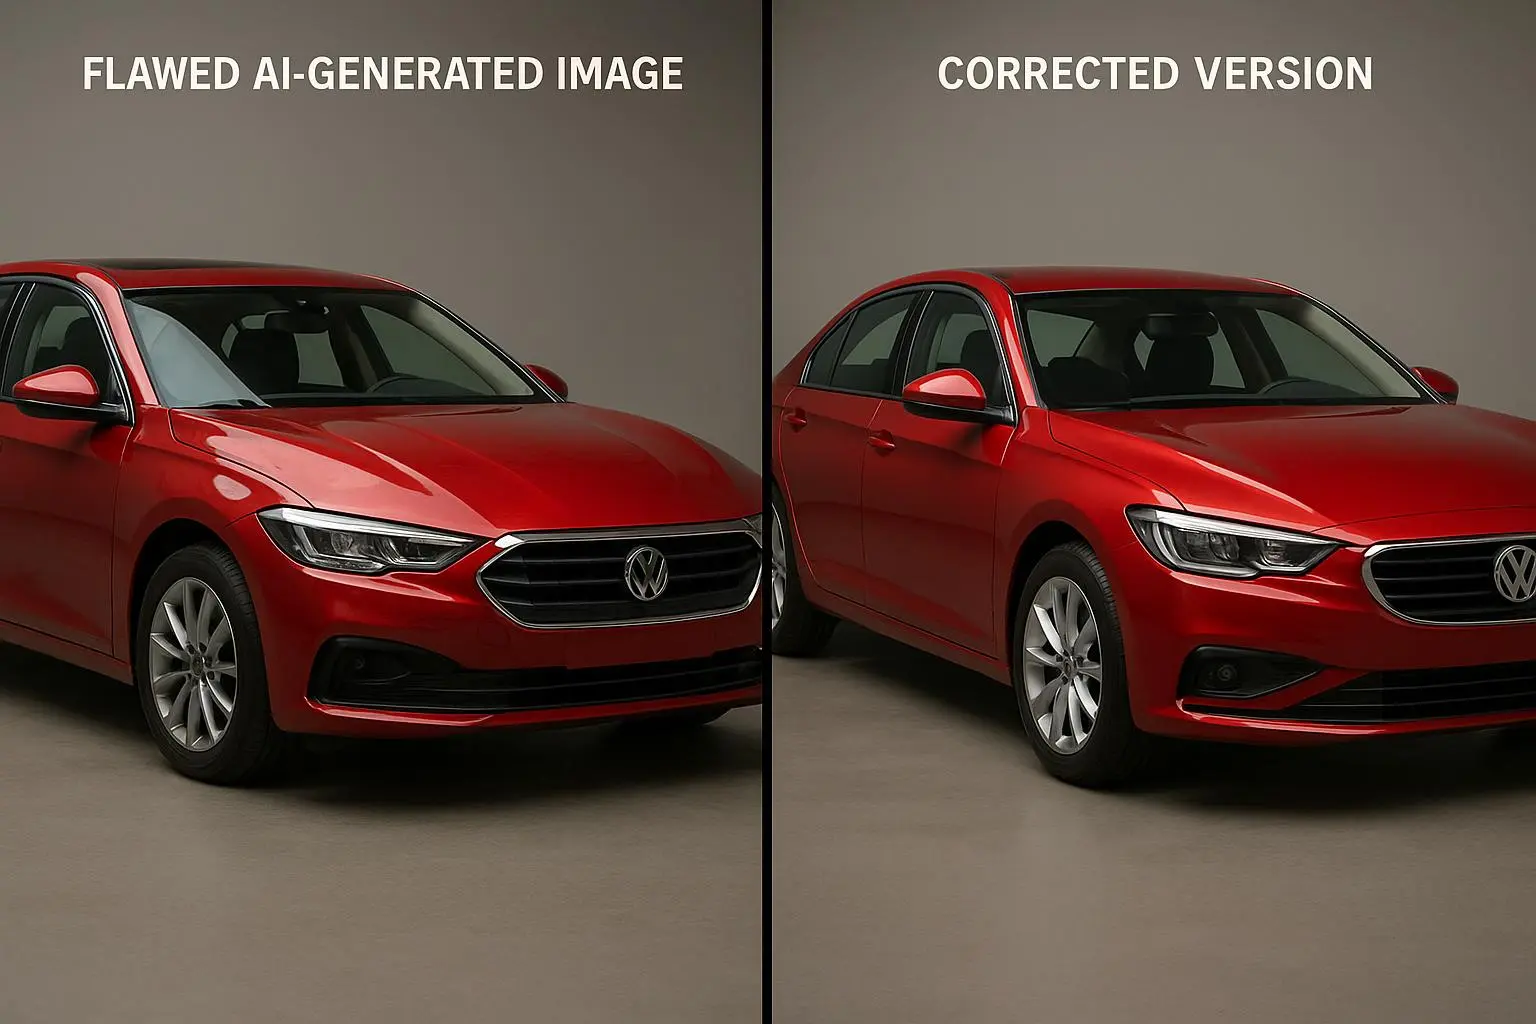
Micro-moment: I remember the little chrome trim on the Subie’s bumper — one generated image made it look like a blunt silver blob. That tiny imperfection taught me to always check badges and trim at 200% before publishing.
What these apps do best (and what they struggle with)
What they do well:
- Background replacement and lighting adjustments that make average phone photos look like they were shot in a studio.
- Rapid mockups for custom wheels, wraps, or paint; great for marketing and social posts.
- Batch generation across inventory when you need consistent visual style.
What still trips them up:
- Small, precise details: badges, VIN plates, and certain reflections occasionally misplace or blur.
- Complex reflections — chrome and mirrored surfaces can look slightly off if prompts aren’t precise.
- High-end, collectible cars where buyers expect pixel-perfect authenticity. For those, original photography still wins.
The takeaway: use these tools to speed workflows and create placeholders, but always double-check details for high-value listings.
A short checklist to generate a usable image right now
Here’s a short, practical workflow I use. No boilerplate fluff.
- Start with one clear input photo. The car must be fully visible and not motion-blurred.
- Write a focused prompt (more on structure next).
- Generate 4–6 variations and pick the best two.
- Zoom in at 200% and check badges, lights, and wheel details.
- If anything looks off, tweak the prompt (less “perfect,” more “realistic”) and regenerate.
- Add disclosure if you significantly altered the image (recommended).
That’s it. You don’t need perfect prompts on the first try — iteration is the point.
How to write prompts that actually work
Think like a cinematographer, not a poet. Specificity beats flair.
Core prompt structure I use:
- Subject (year, make, model, color, condition)
- Scene (location, time of day, weather, surface)
- Camera (angle, lens feel)
- Finish (lighting quality, resolution, any creative constraints)
Example: “Immaculate 2019 Toyota Tacoma TRD, volcanic red, three-quarter front view, parked on wet asphalt at golden hour, soft directional overhead lighting, 50mm lens look, shallow depth of field, photorealistic 8K.”
Why this works:
- The model gets clear nouns (make/model/color).
- Scene anchors the mood (wet asphalt adds reflections).
- Camera instructions control perspective and depth.
- Finish removes fuzzy interpretation (“photorealistic 8K”).
Don’t overload. Avoid longues lists of contradictory adjectives. If you want a wrap or custom wheels, call them out as a single clause: “with 20-inch matte black aftermarket wheels” — then inspect carefully.
Practical prompt examples for common use cases
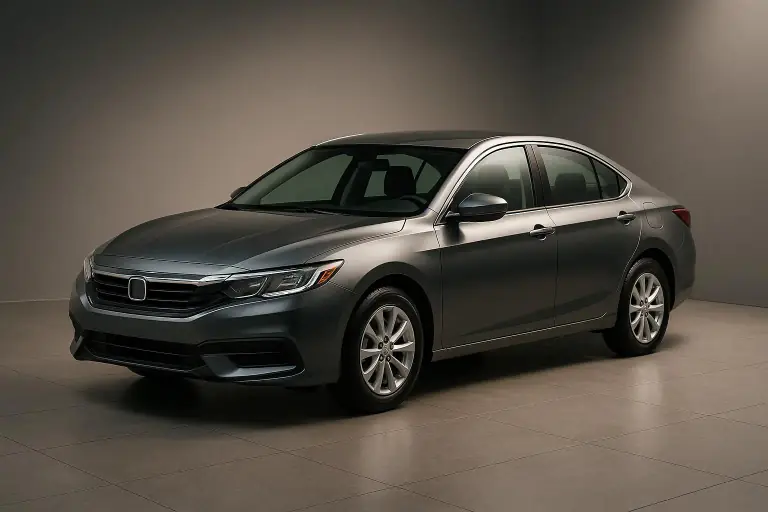
Clean background for private seller: “2016 Honda Accord LX, lunar silver, side profile, studio softbox lighting, seamless white background, realistic shadow.”
Mockup for custom wheels: “2020 Ford F-150, magnetic grey, low-angle three-quarter view, with 20-inch matte bronze aftermarket wheels, subtle brake caliper detail, diffused overcast lighting.”
Social content (dramatic): “2022 Porsche 911 Turbo S, metallic obsidian, coastal highway, golden hour, motion blur background, crisp car detail, cinematic color grade.”
Placeholder listing for pre-sale: “Stock image of 2018 Nissan Rogue, pearl white, clean garage scene, neutral lighting, photorealistic, minimal vignette.”
Use these as starting points and tweak for your inventory.
Legal and ethical rules simple enough to follow
This is where lots of people freeze. Keep it simple:
- Disclose when an image is substantially synthetic. A small “AI-enhanced background” note goes a long way.
- Don’t misrepresent the car. If you generate a “like-new” version of a car with dents, that’s deceptive.
- Check platform rules. Some marketplaces require disclosure for AI-generated imagery.
- Consider ownership. Most consumer apps grant rights to generated images, but read the terms — especially if you’re a dealer using images commercially.
A good, customer-focused policy: disclose background or staging changes, but keep the vehicle’s condition honest. That keeps trust high and complaints low.
Comparing on-device vs. cloud generation (short and useful)
On-device:
- Faster, lower latency
- Better for quick iterations and privacy
- Limited by phone compute — sometimes lower resolution or small artifacts
Cloud:
- Higher fidelity and larger models
- Better for batch, enterprise workflows
- Requires upload (privacy/security) and costs more per image
If you’re a private seller or small dealer, start with on-device. If you need bulk, high-res, enterprise-grade assets, cloud tools or hybrid workflows make sense.
Tools worth trying (what I tested and why)
- VizAuto Mobile — Great on-device balance, presets tailored for automotive lighting, batch options. Good for dealers who want consistency.
- PromptShots Pro — More control over texture and material mapping; useful for wrap shops and custom builders.
- ListingLens Lite — Free and fast for private sellers; expect watermarks unless you upgrade.
I tested VizAuto and ListingLens on that Subaru. VizAuto gave the best consistent lighting across multiple angles; ListingLens was quick for single-photo background swaps.
When to still bring in a photographer
If you’re listing:
- A high-value collector car where authenticity matters
- A car with unique flaws you must show accurately
- A premium dealership catalog that needs pixel-perfect imagery
AI helps speed and scope, but it’s not a blanket replacement for skilled photography in those cases.
Final practical tips (short, actionable)
- Keep one “studio” prompt saved per vehicle class (sedan, SUV, truck) and reuse for consistency.
- Use a two-image rule: one AI-enhanced environmental shot and one real close-up of the odometer and damage areas.
- Always check badges, wheels, and lights at high zoom before posting.
- Add a small disclosure in the listing if the environment or background was changed.
- If a generated image looks “too perfect,” dial down adjectives. Realism often comes from imperfections.
What I’d change next time
On the Subaru, I should’ve used a closer source photo for the badges. That would’ve removed the small chrome glitch in one image. Next time I’ll keep a quick smartphone close-up of badges and lights as a base, then generate the environmental shot around it.
The bottom line
Lightweight text-to-image mobile apps are not a gimmick. They are workflow multipliers. For private sellers and small dealerships, they cut time and cost while improving listing quality. For content creators and custom shops, they enable rapid mockups and better social content.
But the real difference-maker is you: how you prompt, how carefully you check details, and how transparently you present the final images. Use the tools to iterate fast, not to mislead. Do that, and you’ll convert more views into leads — often faster than you expect.