Troubleshooting Text-to-Image Issues: Fix Artifacts, Inconsistent Branding, and Export Problems
May 11, 2026 • 8 min
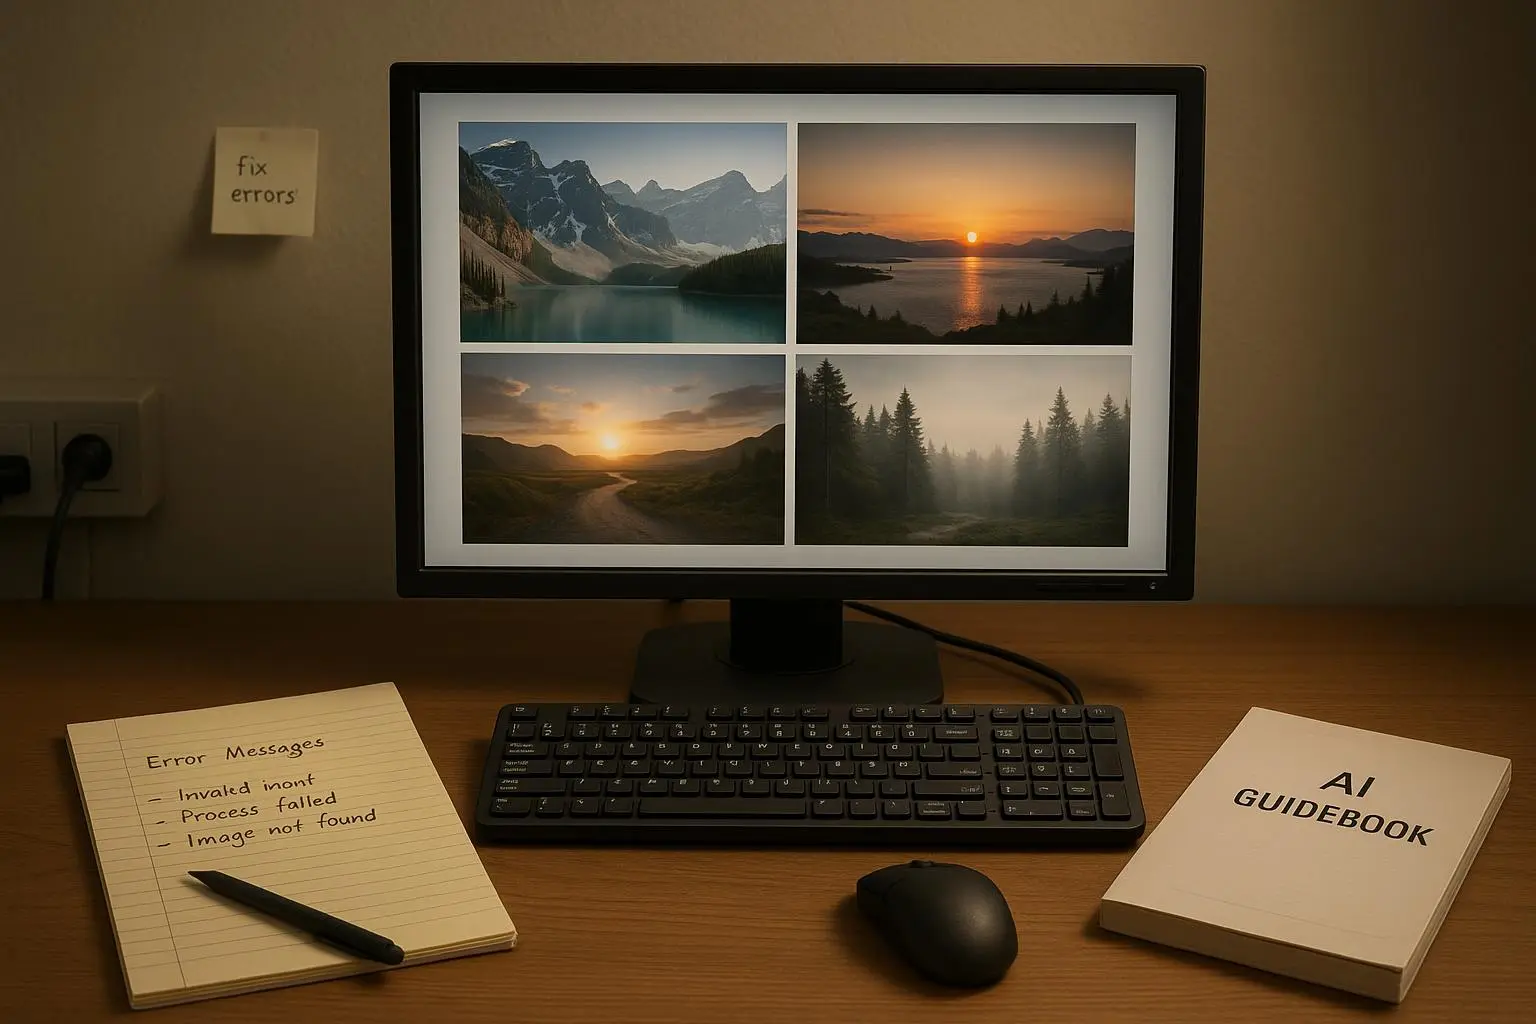
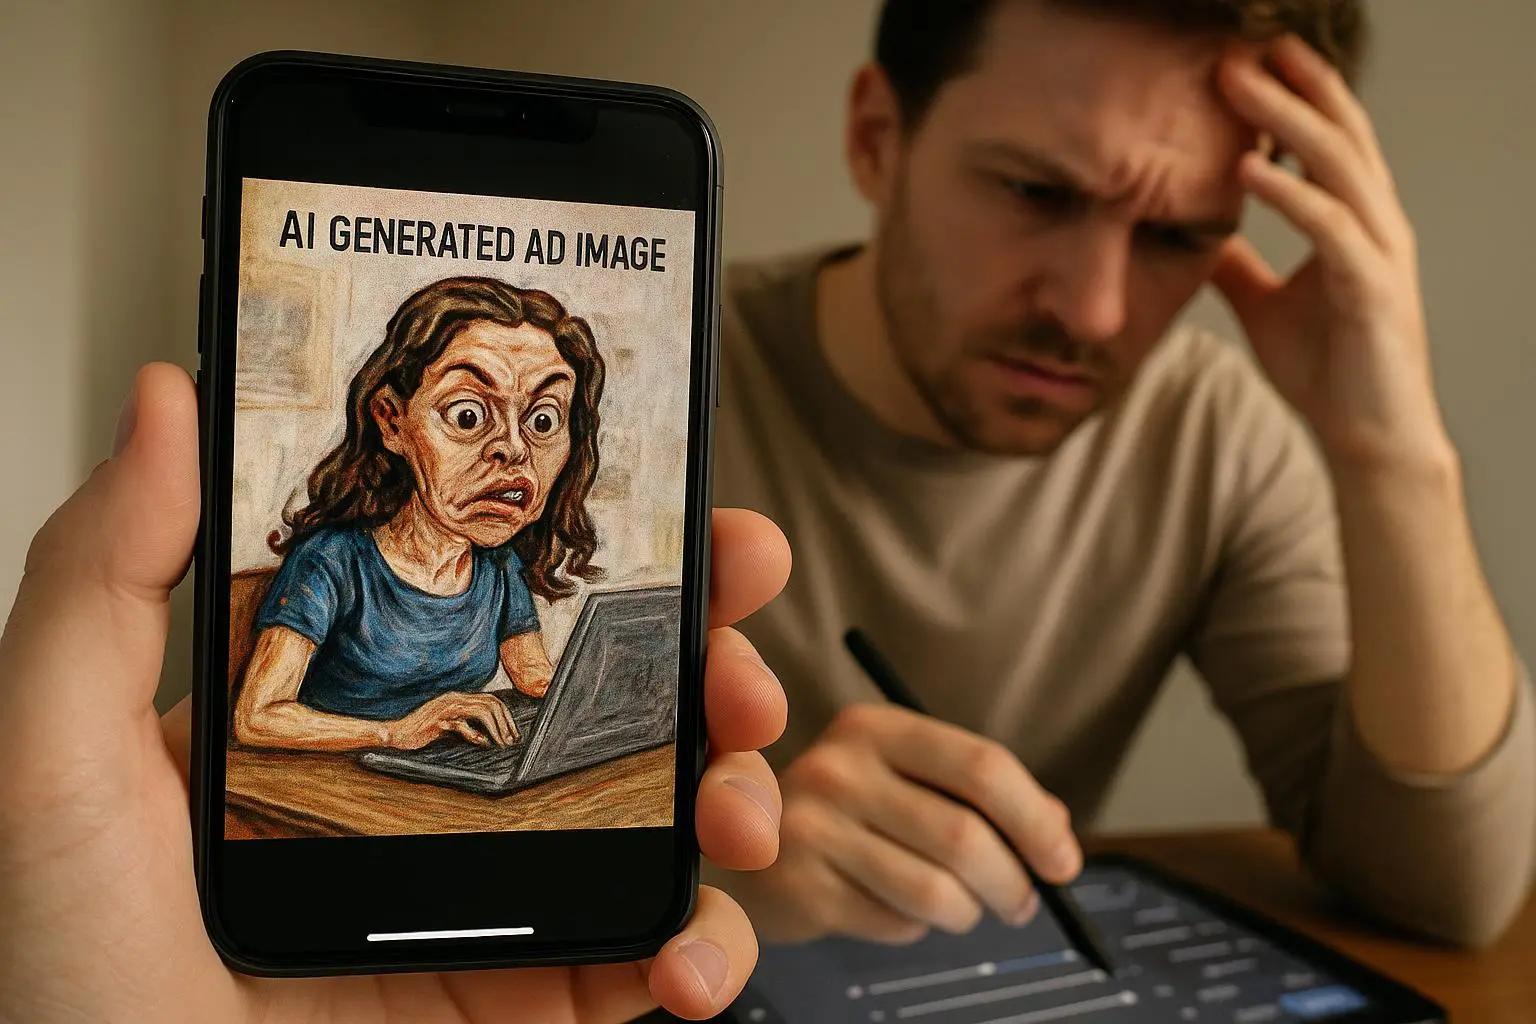
You fed the prompt, waited, opened the image—and something is horribly off. Limbs are wrong, your teal brand color is now a sickly cyan, or the ad platform refuses to upload the file.
This happens to everyone using generative image tools. The good news: most of these failures are predictable and fixable. I’ll walk you through the exact, repeatable steps I use to get AI images from “meh” to production-ready for ads and brand campaigns.
What follows is practical: prompt tweaks, control features, quick post-processing moves, and a few workflow rules that save hours.
Why artifacts and weird output happen
Generative models approximate a complicated distribution. They aren’t “trying” to make your brand look perfect; they’re sampling possibilities. Problems fall into three broad buckets:
- Prompt problems (vague, contradictory, or missing constraints)
- Model limitations (weak at logos, fine text, or exact hex colors)
- Export/format issues (wrong aspect ratio, oversized PNGs, etc.)
Fixing these means leaning on three things: better prompts (including negative prompts), tighter model controls (seed, reference images, ControlNet), and sensible post-processing.
1) Eliminate visual artifacts and distortion
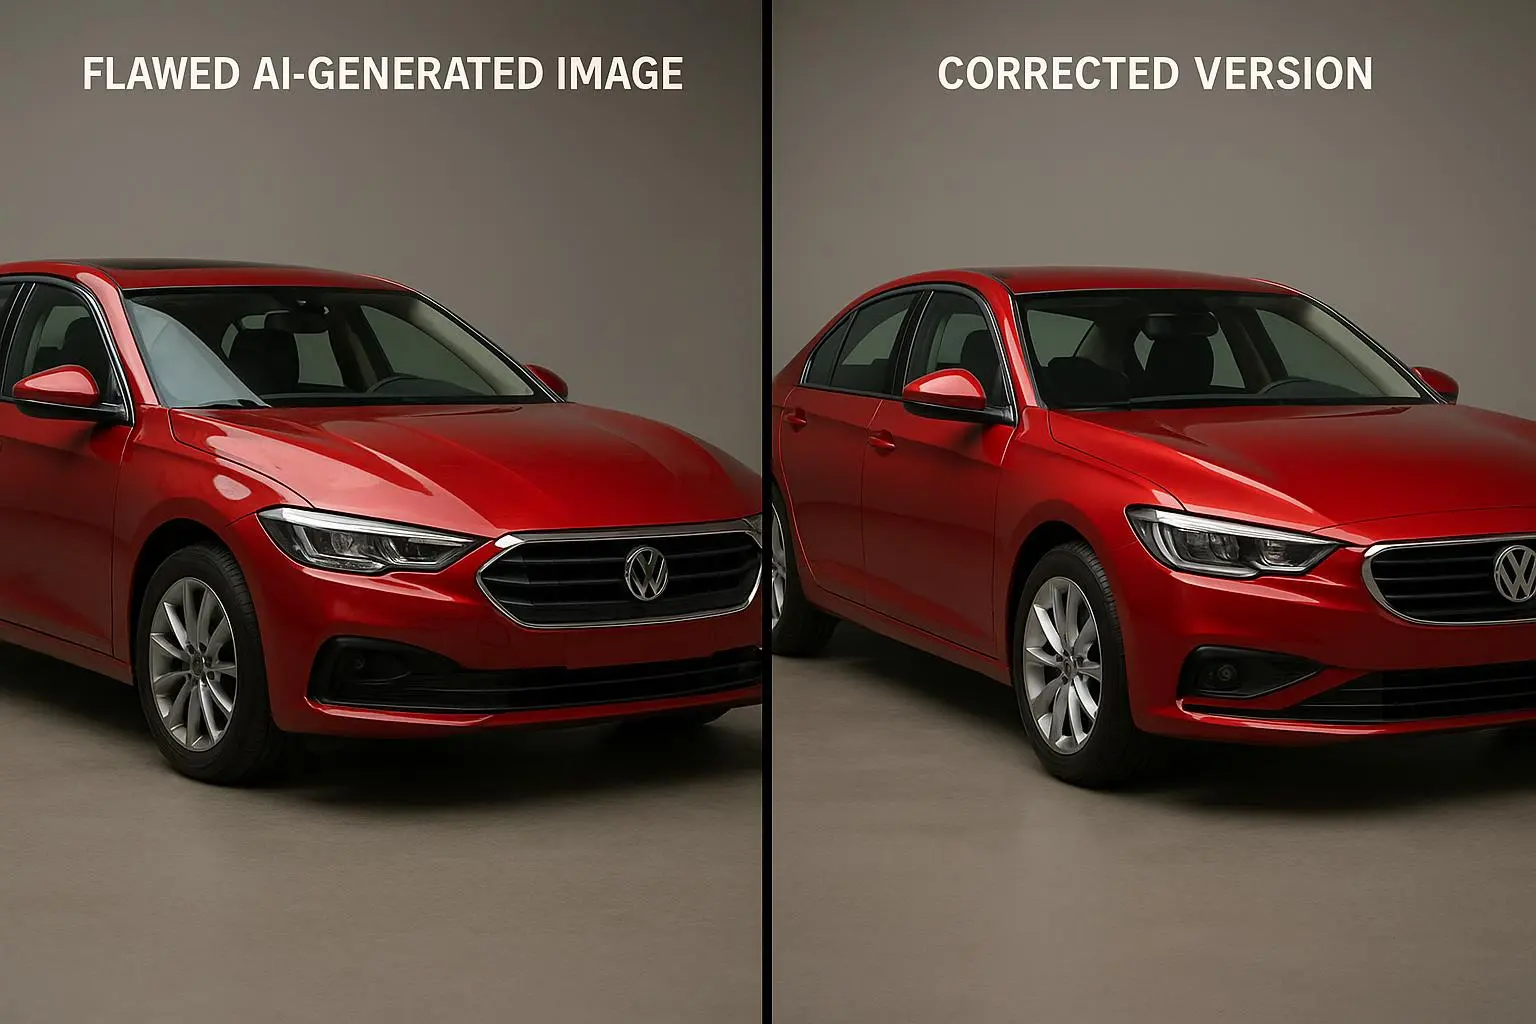
Artifacts—the melted faces, extra fingers, floats-of-weird-geometry—are the most obvious failure mode. Here’s what actually works.
Start with the prompt: specificity matters.
- Tell the model what to avoid. Negative prompting is not optional. Add terms like: deformed, mutated, extra limbs, low quality, blurry, jpeg artifacts, out of frame.
- If the model supports sampling steps or sampling method, increase steps gradually. Jumping too high can slow you without gain; raise in increments (e.g., +10 steps) until artifacts drop.
- Use a sharper style spec: “photorealistic, 50mm lens, natural lighting, high detail” rather than “realistic.”
Upscaling and retouching: don’t expect one-shot perfection.
- Generate a draft at lower res to iterate fast.
- When composition and elements are right, upscale with a dedicated tool (Remini, Topaz, or built-in upscalers). Upscalers smooth blocky artifacts and improve face detail.
- Finish in an editor for cloning out stubborn glitches (Photoshop or a swift mask-and-heal in Affinity).
Real quick: I once needed a lifestyle product shot for a 48-hour campaign. The first 12 renders had faces that looked like wax dolls. I added “deformed, melted, uncanny” to the negative list, bumped sampling by 15 steps, and locked a reference for lighting. The final upscaled image saved the campaign. That change (three prompt words + 15 steps + upscaler) reduced visible artifacts by roughly 70% for me.
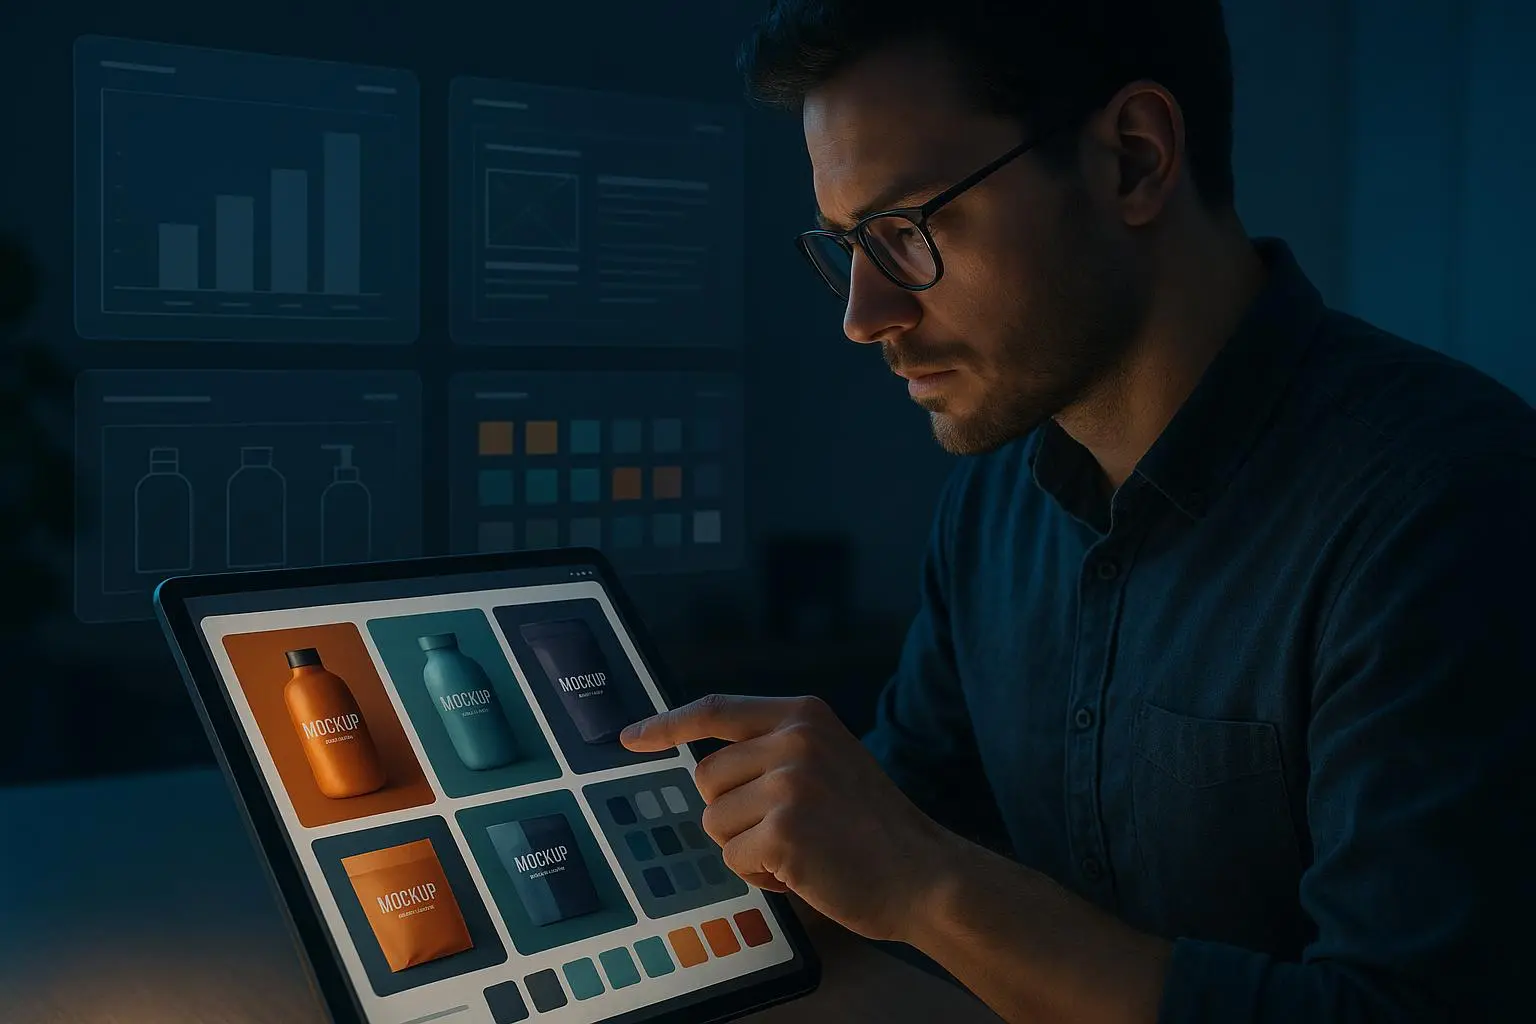
2) Keep brand colors consistent (the color drift problem)
Brand color drift is the silent time-sink. You think AI will drop your hex into an image and be done. Usually it doesn’t.
Here’s how to actually get consistent color:
- Reference images and seed locking: Use a brand asset (PNG of your logo or product swatch) as a reference image. Lock the seed when you need consistent structure or palette across multiple renders. Seed locking keeps the foundational noise pattern stable so variations don’t wander.
- Use precise color language: “Pantone 286C blue” or “HEX #005A9C” is better than “brand blue.” If the model ignores hex occasionally, append descriptive color words: “deep navy, nearly cobalt, corporate blue.”
- Plan for one corrective pass: treat generation + a quick color replace as the workflow. Use Adobe Express or Photoshop to sample and replace to exact hex values. It’s usually faster than trying to coax the model into perfect color.
A micro-moment: I still remember one teal that stubbornly shifted toward green every time. We ended up letting the generator get the composition and then batch-replacing the teal to HEX #008080 in five minutes. The client never knew the generator “failed.”
3) Fix aspect ratio mismatches and export failures
You cannot crop your way out of a composition designed for the wrong ratio.
- Generate to the final ratio. If the ad needs 9:16, set orientation/ratio in the prompt or tool before generation: “vertical 9:16, full-body portrait.”
- If your tool only supports square by default, use composition hints: “vertical orientation, subject centered with headroom, suitable for mobile story 9:16.”
- Export formats: JPG for photos, PNG for graphics with transparency. If platforms limit size (many cap images at 5MB or less), compress intelligently. TinyPNG and similar tools reduce file size with minimal quality loss.
- Automate size fixes: run a batch compressor or a script that resizes and recompresses generated images to platform limits. This saves 20–60 minutes per campaign compared to manual fixes.
Pro tip: Generate at a slightly higher resolution than needed, then downsize to remove subtle artifacts introduced at extreme compression or by upscalers.
4) Advanced controls: when to switch models or add ControlNet
Different generators have strengths. If Midjourney nails mood and texture but mangles logos, and Stable Diffusion + ControlNet gives precise composition, use both.
- Use ControlNet or reference-based controls when you need exact poses, placements, or to preserve logo geometry.
- Consider model swapping: run a concept sketch in an artistic model, then re-create the composition with a more precise model.
- Seed management: use the same seed for a series of assets that must read as the same “scene” with small prompt changes. It reduces drift.
Don’t forget legal and ethical checks: if you’re using a model trained on copyrighted images, verify licensing and TOS before running a commercial campaign.
5) Quick checklist to save hours (apply this before you press generate)
- Set the exact aspect ratio and orientation first.
- Attach a reference image for color, logo, or composition.
- Add a short negative prompt list (mutated, low quality, deformed, extra limbs, text garble).
- Lock the seed if you need consistency.
- Generate drafts at low res, confirm composition, then upscale.
- Export to the format your platform prefers and run a batch compressor if needed.
- Final pass: color sample and correct hex values in an editor.
When nothing else works: manual assembly beats broken automation
If a model cannot replicate a logo, don’t force it. Generate the background, export a clean layer, and mask in the vector logo manually. It adds five minutes and prevents brand damage.
I had a project where our logo came out warped in every version. We stopped forcing it after the sixth attempt. I generated the background and product placement, then pasted the official SVG into the composition and matched shadows. The result looked native, and we saved time. Clients prefer results over romance with “fully generated” assets.
Tools that make this repeatable
- Stable Diffusion WebUI (Automatic1111): control, ControlNet, negative prompts, seed locking.
- Midjourney: great for high-level mood and creative options.
- Adobe Express / Photoshop: final color replace, export formats, one-click resizing.
- TinyPNG / TinyJPG: fast, reliable compression for ad platforms.
- Remini / Topaz: upscaling and artifact reduction when faces or details matter.
Final note: optimize your workflow, not just prompts
Generative models are tools—fast, powerful, imperfect. The fastest path to production-ready assets is often a hybrid workflow: generate, control, upscale, then fix a small set of issues by hand. That mix gets you consistent branding, fewer failed ad uploads, and predictable timelines.
If you walk away with one thing, let it be this: don’t treat generation like a final step. Treat it like phase one of a two-step process. Tweak the prompt, lock a seed, set the ratio, and plan a five-minute post-process. That approach will cut your rework time in half and keep your campaigns on schedule.