7-Day Plan to Find Intermittent Coolant Loss
Jan 8, 2027 • 9 min
If you’ve been topping up coolant every couple of weeks and there’s no puddle under the car, you’re not imagining it. The coolant isn’t just disappearing into thin air. It’s slipping away somewhere the naked eye doesn’t always see—until you know where to look.
I’ve been there. A few winters ago, my daily driver started losing coolant in small, almost invisible increments. No smoke, no obvious puddle, just a stubborn dip in the reservoir that would creep back up after a fill. I didn’t want to guess my way through a repair. So I built a simple, seven-day diagnostic plan you can actually follow with affordable tools: a pressure tester, UV dye, a smoke-test vibe, and a notebook with photos. The goal isn’t to fix it on day one. It’s to establish solid, evidence-based clues you can show a mechanic—or, if you’re lucky, fix yourself.
Quick aside, which I still carry in my pocket: a warm, silent hum from the engine bay can be louder than words. I learned to notice the little things—the faint hiss when a hose clamp shifts, the way a rubber hose feels at the bend after a long drive. It’s not glamorous, but it’s how you catch the quiet leaks before they become costly problems.
And one micro-moment that stuck with me: I was a little stubborn about a “mystery hiss” near the thermostat housing. I decided to wipe down the area with a clean paper towel after a drive and left a tiny mark on the hose clamp. On day three, under UV light, the fluorescent dye highlighted a pinhole that I’d previously dismissed as nothing. If I’d relied on a puddle or a dramatic drip, I’d have missed it. Sometimes the smallest detail makes the difference.
Day-by-day, you’ll build a chain of observations that makes sense. You’ll end up with a tight, documentable case you can present to a shop with confidence—or a clear workflow to fix the problem yourself.
Preparation: Your Essential Toolkit (roughly $80–$150)
- A cooling-system pressure tester (rent or buy).
- UV dye compatible with your coolant, plus a UV light or flashlight.
- A combustion/pressurizing leak detector (the block tester is a common choice).
- A clean logbook or digital note app, plus a camera or smartphone for photos.
- Paper towels, rags, marker for level charts.
Safety note you’ll see echoed all week: work with a cool engine. The cooling system operates under pressure, and hot coolant can burn. If you’re unsure, wait until the engine is cold and wear eye protection.
Day 1: Baseline and Visual Inspection (The Reservoir Watch)
Goal: Establish your starting point. You want a clear baseline for the coolant level and a sense of external signs.
What you do:
- With the engine cold, check the coolant level in the reservoir and radiator. Note the exact level, and snap a photo. If your reservoir has markers, mark the current cold level so you can compare in a few days.
- Inspect hoses and clamps for crusty residue, dried coolant, or dampness. Coolant leaves a telltale white or colored crust once it dries, even if there’s no active drip.
- Look at the radiator seams and the water pump pulley area for any dampness or crust.
A quick personal tip: the residue matters. I once chased a “puddle” that never showed up. Months later I found a faint, chalky white line at the thermostat housing. It wasn’t dripping, but that residue was the breadcrumb I needed.
What this tells you:
- If the reservoir level drops noticeably within a day or two, you likely have an external leak or an internal demand (excess coolant going somewhere outside the engine). If the level stays constant, you’re likely chasing an intermittent issue that only shows under pressure or heat.
What to log:
- Date, mileage, and cold reservoir level.
- Photos of the reservoir markings and any suspicious residues.
- A simple “OK/low/unchanged” tag for the day.
Day 2: The Cold Pressure Test (External Leaks Under Static Pressure)
Goal: Simulate driving pressure while the engine is off to reveal leaks that only show when pressure is applied.
What you do:
- Attach the pressure tester to the radiator neck or reservoir according to your globe’s setup.
- Pump to the rating printed on your radiator cap (usually in the 13–16 psi range). Do not exceed it.
- Let it sit for 15–20 minutes. A healthy system should lose little to no pressure in this window.
- Watch for ticking, hiss, or a sudden pressure drop. If the pressure drops by more than a couple of psi, you have an external leak somewhere in the cooling path.
What this tells you:
- A quick drop suggests a leak outside the engine—hoses, clamps, radiator core, or even a degraded cap. If the pressure holds, your problem could be internal or leak only when the engine and hoses heat up and vibrate.
What to log:
- The initial and final psi, the time, and any visible spots you inspect as you release the tester.
- Any signs of dampness around hoses or the heater core.
Personal note: for me, Day 2 was the moment the plan paid off. The pressure held, which pointed me away from the radiator core and toward a less obvious path—one I addressed with the UV dye on Day 3.
Day 3: UV Dye Inspection (Finding the Invisible Drip)
Goal: Use a fluorescent dye to illuminate leaks you’d otherwise miss.
What you do:
- Add the dye to the cooling system in the recommended amount. Drive for 30–60 minutes to circulate the dye with coolant and pressure.
- After the engine cools, inspect the engine bay with your UV light. Focus on the water pump weep hole, the back of the engine block, hose clamps, and firewall connections.
Story moment: I found a tiny pinhole leak on the underside of a radiator hose that never sprayed coolant unless the engine was hot and the hose expanded. It was invisible in normal light. The UV dye lit it up like a neon sign. That tiny hole would have caused me to replace a bigger piece later if I hadn’t found it early.
What this tells you:
- Dye that shows up only under UV light means you’ve got an external leak that’s currently not very active, or you’ve got a tiny leak that opens only under pressure/temperature changes.
What to log:
- Exact location of any fluorescence, and the vehicle state (cold/hot) when you found it.
- Photos for your notes or to show a mechanic.
Day 4: Combustion Leak Test (The Head Gasket Check)
Goal: See if exhaust gases are sneaking into the cooling system—a sign of a head gasket breach.
What you do:
- Use a combustion leak tester (block tester). It runs air through the radiator neck into a fluid that changes color if CO2 is present.
- Follow the instructions closely and interpret the color change:
- Fluid stays blue: no combustion gases detected.
- Fluid turns yellow/green: combustion gases detected—possible head gasket leak or a crack in the head/block.
What this tells you:
- If you see gas in the coolant, the severity can be high. It’s not always catastrophic, but it often signals internal leakage that requires professional attention. If the result is negative, you’ve at least ruled out a major gasket issue.
What to log:
- Color result, any notes on engine load or driving conditions when you tested.
User caution: this test isn’t perfect—false negatives can happen if the leak is very slow or only occurs under heavy load. Don’t rely on it alone, but use it to guide your next steps.
Day 5: Cabin and Heater Core Inspection
Goal: Check for internal leaks into the passenger compartment.
What you do:
- Smell the cabin when the heat is on. Coolant has a distinct sweet smell.
- Inspect the carpet and under the dash for dampness or wet spots, especially near the feet on the passenger side.
- If your windshield fogs up oddly or leaves a greasy film inside, the heater core might be leaking coolant into the cabin.
Why it matters:
- A heater core leak isn’t just a nuisance. It signals coolant is finding a path from the cooling system into the interior, which can be a sign of a significant internal failure.
What to log:
- Any odors, damp spots, or unusual windshield fog behavior.
- Photos of dampness or any staining.
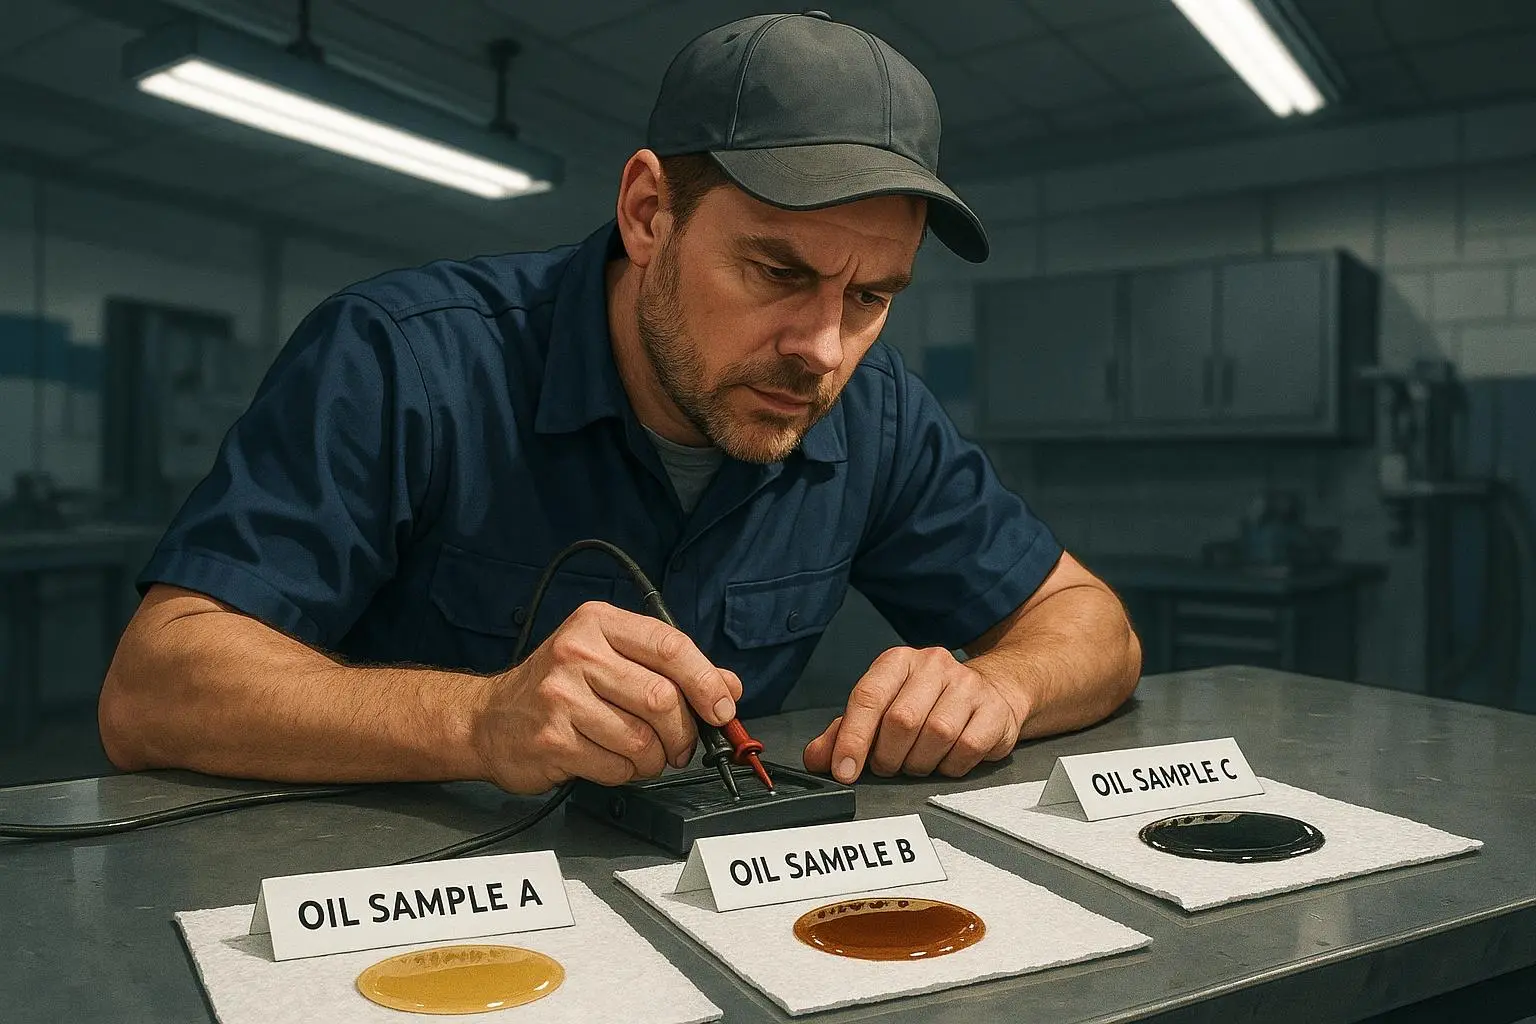
Day 6: Spark Plugs and Oil Analysis (Deep Internal Clues)
Goal: Look for evidence coolant has made its way into the combustion chamber or oil system.
What you do:
- Oil check: pull the dipstick and the oil filler cap. Look for a milky sheen or a distinct emulsion—often described as a “milkshake.” That’s a strong sign of coolant mixing with oil.
- If you’re comfortable, inspect spark plugs. A plug that looks unusually clean or “steam-cleaned” compared to the others can indicate coolant burning in a cylinder.
What this tells you:
- Milky oil is a red flag for an internal leak, typically head gasket or a coolant-oil cooler breach. It’s expensive to fix, but catching it early saves money in the long run.
What to log:
- Oil appearance, any milky substances, and spark plug visuals.
- A short note on engine performance if you noticed any misfires or rough running.
Important caveat: coolant in oil isn’t always equal in severity. A small leak can escalate quickly if ignored.
Day 7: Correlation and Escalation (Putting It All Together)
Goal: Merge all the evidence into a clear picture and decide next steps.
What you do:
- Review your logbook, photos, and test results. Do your days point to a single path (external leak) or multiple possibilities?
- Decide if you can fix it yourself or if you should call a shop with confidence. If you’ve found a likely external leak (hose, clamp, radiator), that’s often a cheaper fix. If you have a positive Day 4 block-test result or emulsified oil, you’re likely facing an internal issue that warrants professional evaluation.
Mechanic-ready script:
- “I’ve been losing coolant intermittently for about three months. I ran a cold-pressure test (held 15 psi for 20 minutes, lost 2 psi) and a UV dye test which showed fluorescence near the upper radiator hose clamp. A combustion-leak test was negative. Based on this, I suspect a slow external leak at the hose connection, but I want you to confirm.”
- Your notes—photo log, test results, and dates—will save time and build trust.
What this gives you:
- If you’re DIY-curious, you’ve got a roadmap to a fix or, at minimum, a robust evidence pack for a shop. You won’t be guessing or paying for a grand diagnostic—just a precise path to the source.
Why a 7-Day Plan Works (And What It Won’t)
This isn’t a magic wand. It’s a disciplined approach that prevents you from getting stuck chasing the wrong culprits. A few things I learned along the way:
- Visual checks catch what a dry system misses. The crust and residue around hoses can point to a leak that’s been hiding in plain sight for weeks.
- A pressure test is your first truth-teller. If it passes, your leak is either internal or happens only under real driving conditions. If it fails, you’ve got a clear external target.
- UV dye can reveal micro-leaks that don’t show up in a puddle. It’s a game-changer when you’re dealing with intermittent issues.
- The head gasket story isn’t black-and-white. A positive block test is urgent, but a negative result doesn’t guarantee a gasket is fine. You need the whole picture.
- Documentation is your best ally. A well-kept log with photos reduces guesswork and speeds up any professional repair.
What it won’t do:
- It won’t guess your exact leak source in the first hour. It’s a seven-day process, designed to give you a rock-solid evidence trail you can trust.
A note on timing and cost:
- Expect roughly 1–2 hours per day, depending on your car and your familiarity with the tools.
- Tool costs can be under $100 if you borrow or rent, with dye kits and testers often available at auto parts stores for a day or two.
If you’re comfortable with a weekend sprint, you could do this in about a week. If you’re juggling family life and a busy schedule, this slog is still worth it. You’ll end up with clarity instead of confusion.
Printable Checklists and Photo-Log Template
Because the effort pays off when you can show a mechanic something concrete, I included ready-to-print checklists and a simple photo-log you can copy into a notebook or a note app. You’ll have a chronological map of your Week of Diagnosis, with each day’s test, result, and a space for a photo or two.
- Day-by-day checklists (baseline, pressure test, dye test, block test, cabin check, oil/plugs, correlation).
- A one-page “Mechanic Handoff” sheet that compactly lists:
- Symptoms
- Test methods and results
- Suspected sources (external vs internal)
- Photos and spots marked on the vehicle
If you want to go truly professional, pair this with a simple photo log that you can share as a link or PDF. A good mechanic appreciates evidence that’s organized rather than a series of vague statements.
Safety, Common Pitfalls, and Practical Guidance
- Never open caps on a hot engine. Pressure in the cooling system makes hot coolant spray out in a dangerous rush.
- Don’t rely on one test alone. The block test is useful, but it’s not definitive by itself.
- Some leaks are stubborn and slow. The dye helps but won’t fix the problem instantly. Use the data you gather to guide the repair decision.
- If you see milky oil or smoke from the exhaust, treat it as urgent. That usually means a gasket or seal failure that needs prompt attention.
What If You’re About to Crash the Budget?
If the results point to a major internal leak—head gasket, cracked head, or a cooled-oil-channel issue—you’re likely facing a substantial repair. In those cases:
- Get a second opinion. Bring your log and test results to another shop if you’re not confident about the first diagnosis.
- Ask for a cost breakdown. Request labor hours, part costs, and a plan for progressive fixes if the issue is multi-faceted.
- Consider a staged approach. Some jobs can be done in stages, allowing you to spread out costs and verify stability after each step.
References
Ready to Optimize Your Dating Profile?
Get the complete step-by-step guide with proven strategies, photo selection tips, and real examples that work.