Measure What Matters: Real-MPG in 5 Minutes
Oct 16, 2026 • 10 min
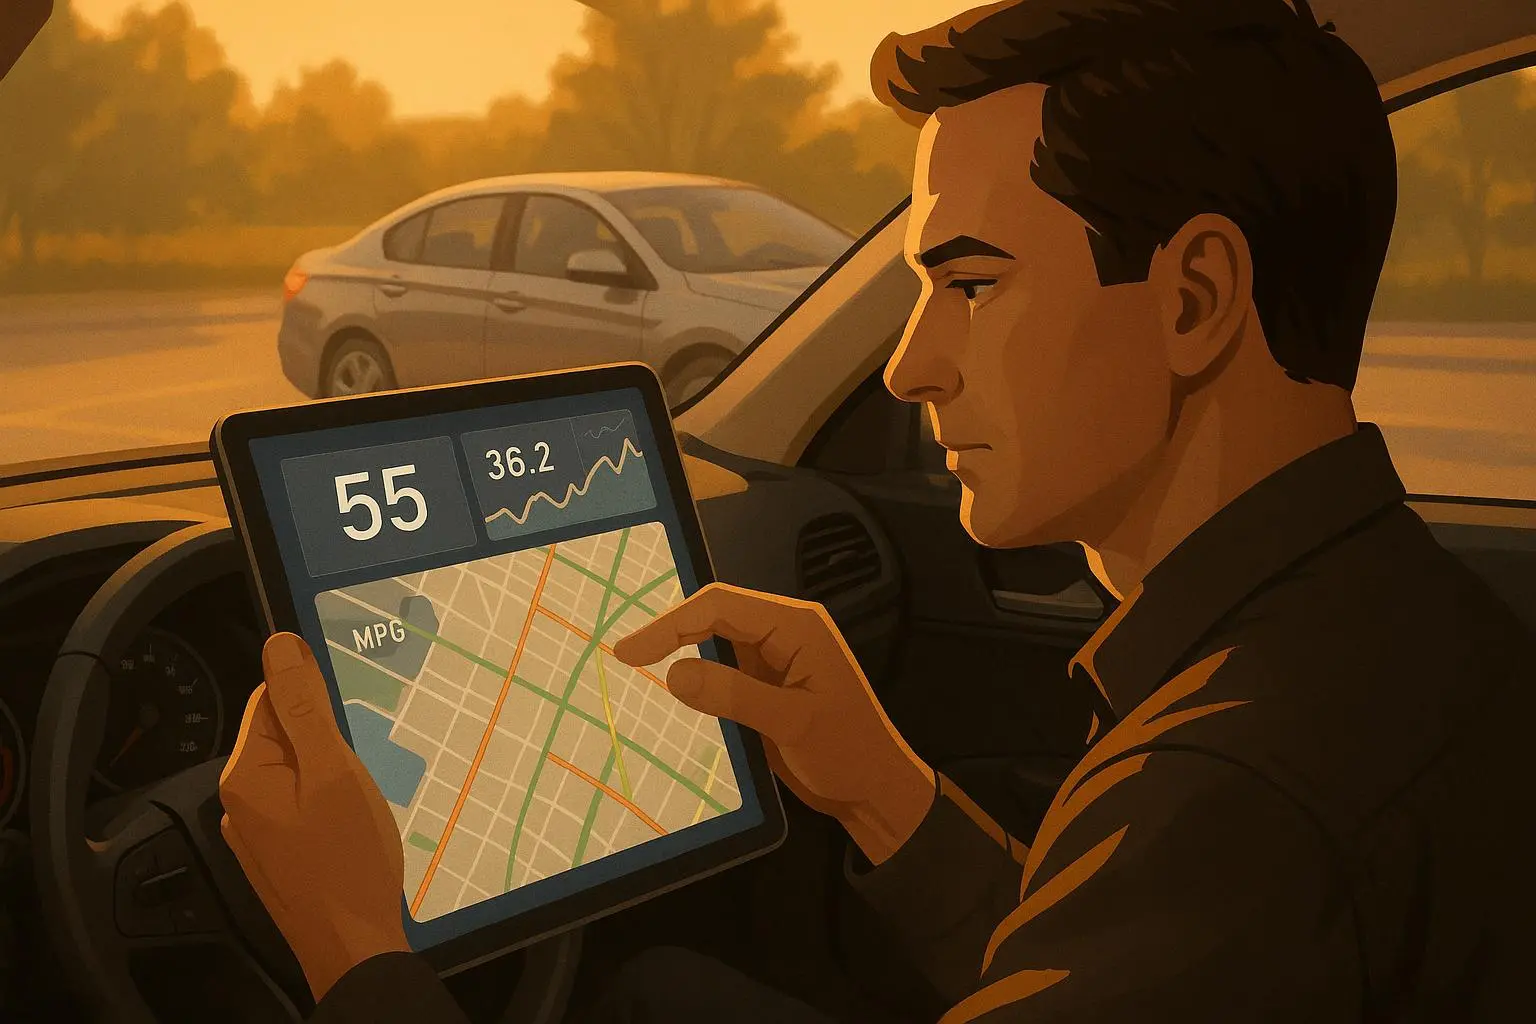
Real-world fuel economy rarely matches the sticker or your car’s dash. The gap isn’t just annoying; it’s a wake-up call that your measurements—and your methods—need to be trustworthy if you’re serious about hypermiling.
I learned this the hard way during a stretch where I tried four different tire pressures, two routes, and a handful of drafting techniques in a single month. My dashboard numbers kept dancing within a 6% band of each other, but the numbers I actually logged with a simple fill-and-odometer method told a different story. Sometimes I’d gain a full mile per gallon; other times I’d lose half a mile per gallon for no obvious reason. It wasn’t the car fooling me. It was the measurement technique.
And that’s the point of this guide: you don’t need a lab or fancy gear to know what actually improves your MPG. You just need a reliable method, a way to capture context, and a habit of doing it consistently.
Here’s how to measure real-world MPG in minutes, not hours, with three validated methods, plus a practical log system you can start using today.
A quick micro-moment I’ll never forget: I was filling up at 6:15 a.m. at a quiet station. The pump kept clicking early, then late, then again. I stood there with my phone, a notebook, and a smidge of caffeine, thinking, “This is precisely why I need consistency.” I made a mental note to always use the same pump position and never top off. It’s a tiny detail, but it saved me weeks of noisy data later.
If you’re skimming, here’s the core takeaway: pick one method, log consistently for at least 5-7 tanks, and compare against a baseline. The pattern you see will be real because you controlled the variables you actually can control—driving, route, and how you fill up.
Now let’s dive in.
Why real MPG measurement matters
Most drivers rely on one of two things: the dashboard MPG readout or EPA estimates. Both are useful for a quick sense of efficiency, but they’re not the ground truth for your daily commute. In-dash displays are often optimistic, because manufacturers’ calibrations and driving cycles don’t line up with real traffic and weather. EPA tests are performed on controlled cycles that don’t reflect your specific routes, elevations, or acceleration habits.
What actually matters is repeatable measurements under consistent conditions. If you can isolate the variables you control—where you drive, how you drive, and when you fill up—your data will reveal which hypermiling tweaks are genuinely moving the needle.
I didn’t realize this until I started tracking MPG across 8 tanks, with the same pump, same station, same fill technique, and a consistent route. The differences compound quickly, and that’s the whole point of measuring: to separate noise from signal.
That’s also why I’ve built this guide around three concrete methods. Each method has a sweet spot depending on how much time you want to invest, what gear you own, and how precise you want to be. Pick one, stick with it, and you’ll stop guessing and start knowing.
Method 1: The receipt method (the “classic” 5-minute baseline)
Best for: Quick baselines, low setup, track trends over time
What you need:
- A full fill-up at the same station every time
- Your odometer reading after the fill
- The pump receipt (for gallons dispensed and price)
- A simple spreadsheet or log template
Step-by-step:
- Fill your tank completely, using the same pump nozzle position. Don’t top off after the automatic shut-off. This minimizes variation in fuel quantity.
- Record the odometer reading immediately after filling. Snap a photo if you can.
- Note the date, time, and fuel price on the receipt.
- Drive normally for 100-150 miles before the next measurement. Short drives are noisy.
- Return to the same pump, fill to the same level, and record the new odometer reading and gallons dispensed.
- Calculate MPG: (New Odometer - Old Odometer) / Gallons dispensed.
Why this works: It ties fuel consumed to distance traveled, directly measuring what your car actually took in, instead of estimating. It’s the simplest, most robust baseline, and it scales to real-world driving without fancy gadgets.
Accuracy expectations: You can reliably detect changes around 2-3% with consistent technique, provided you keep the test distance reasonable.
Common pitfalls:
- Topping off or changing the pump nozzle position between fills
- Filling too short of a distance between beacons (short tests exaggerate noise)
- Forgetting to log tire pressure or weather conditions that could skew results
A quick human note: there’s a certain ritual quality to this method. When I first started, I was tempted to rush the fill or rely on memory. The receipts, the odometer photos, and the discipline of repeating the same pump routine turned this from guesswork into clarity. It’s a small habit with a big payoff.
User voice moment: A Reddit user in r/hypermiling shared that the simple act of consistently using the same pump and the first click made their numbers trustworthy for the first time. That consistency is worth the effort.
Pros:
- Simple, no extra gear
- Very transparent data linkage (distance and actual fuel)
Cons:
- Requires careful discipline to avoid subtle inconsistencies
- Still subject to environmental variability across tanks
If you’re just starting, this is the method to anchor your measurement effort. It gives you a trustworthy baseline you can compare against with fewer variables.
Method 2: Fill-to-fill with smartphone logging (moderate precision)
Best for: Tracking multiple variables, learning what actually changes MPG, building a dataset for deeper analysis
What you need:
- A smartphone
- A reliable fueling app or a notes app for logging
- The odometer reading and receipt from each fill-up
- Optional: a GPS app to verify distance
Step-by-step:
- Start with a baseline fill-up using the same technique as Method 1.
- Create a digital log entry with:
- Date and time
- Odometer reading (photo it)
- Gallons purchased
- Fuel price per gallon
- Weather conditions
- Driving conditions (highway vs city)
- Hypermiling techniques used
- Vehicle changes (tire pressure, cargo, passengers)
- Drive your normal route, applying your techniques consistently.
- At the next fill-up, log the same fields again.
- Calculate MPG using the same formula as Method 1.
- Track the trend across 5-10 fill-ups (roughly 2-4 weeks) to establish a meaningful pattern.
Why this works: By logging contextual variables—weather, road type, vehicle changes—you can correlate specific techniques with MPG shifts. Driver repeatability is the dominant source of variation, so turning your driving context into data is where you extract signal from noise.
Accuracy expectations: Across 5-10 fill-ups, you’ll see patterns. Individual measurements may swing 2-3%, but a multi-tank trend makes changes more trustworthy.
Common pitfalls:
- Incomplete data entry (missing gallons or odometer)
- Inconsistent note-taking on weather or driving conditions
- Switching fuel types mid-test
What makes it worth it: The extra context matters. If you’re tweaking tire pressure, route choice, or idle time, the log helps you see which variable actually moves the needle.
Real-world flavor: A lot of people I know swear by logging apps. One user praises Fuelio for being simple to use and giving instant trend views that reveal whether your latest hypermiling tweak is paying off. The visual history helps stay motivated when the numbers aren’t moving for a tank or two.
Pros:
- Richer dataset than Method 1
- Visual history and cost tracking
Cons:
- Requires consistent data entry
- Some apps have a learning curve or paywalls for advanced features
If you want a sharper view of “what actually changed,” this is your next step after the baseline.
Method 3: OBD-II assisted measurement (the data-rich, “longer setup” option)
Best for: Real-time feedback, deeper diagnostics, validating other methods
What you need:
- An OBD-II Bluetooth or Wi-Fi adapter (roughly $25-100)
- A smartphone with a compatible app (Torque Pro, Car Scanner, etc.)
- A vehicle with an OBD-II port (model year 1996+)
- Optional: a telematics setup for long-term data syncing
Step-by-step:
- Plug the OBD-II dongle into the port (under the dash). Turn the ignition on.
- Pair with your phone and open the app. Set it to display real-time MPG, fuel rate, and distance.
- Do a baseline drive on a known route (50-100 miles) and record your average MPG from the app.
- Apply hypermiling techniques on a similar route and compare the app’s displayed MPG.
- Cross-check with fill-to-fill data: compare lifetime fuel consumed to lifetime purchases to catch any anomalies.
- Log daily data: average ECM MPG, miles driven, fuel consumed, techniques used, and driving conditions.
Why this works: ECM data streams continuously, giving you a richer picture than a single fill-up can. When you cross-validate ECM readings with actual fuel purchases, you get a robust check against data integrity issues and sensor quirks.
Accuracy expectations: Many readers find ECM-based MPG reports within 2-3% of pump calculations, but the real strength is continuous data. You’ll catch patterns you’d miss with endpoint measurements.
Common pitfalls:
- Calibration drift in the ECU or in the app’s assumptions
- Some cars show better or worse coincidences between ECM data and pump data
- The initial setup can be fiddly; you’ll need to tinker with tank size, units, and sensor calibrations
User voices on this method split: some call it a game-changer for real-time feedback and driving habit adjustments; others warn to cross-check with traditional fill-ups for confidence. The consensus is simple: use it to validate, not to replace, your other measurements.
Pros:
- Real-time feedback and deeper diagnostics
- Great for detecting specific driver behaviors (hard accelerations, eco-eco patterns)
- Useful for ongoing maintenance clues (sensor or fuel system issues)
Cons:
- Higher upfront setup effort
- ECM data can vary by vehicle and app accuracy
If you’re a tech-minded driver who wants to dial in precise changes and track micro-improvements, this is the method you’ll lean on.
Common pitfalls that wreck accuracy (and how to avoid them)
- Inconsistent fill-up technique: Always fill to the first click and avoid topping off. This single habit matters more than you think.
- Testing over too-short distances: 100-150 miles between measurements is a sane minimum to avoid wild swings.
- Not logging environmental context: Wind, weather, and traffic are real #variables; ignoring them makes it hard to tell if you improved or just faced better luck.
- Mixing measurement methods: Don’t compare a fill-to-fill result with an OBD-II result for the same period. Each method has inherent variance. Pick a baseline method and validate with the others.
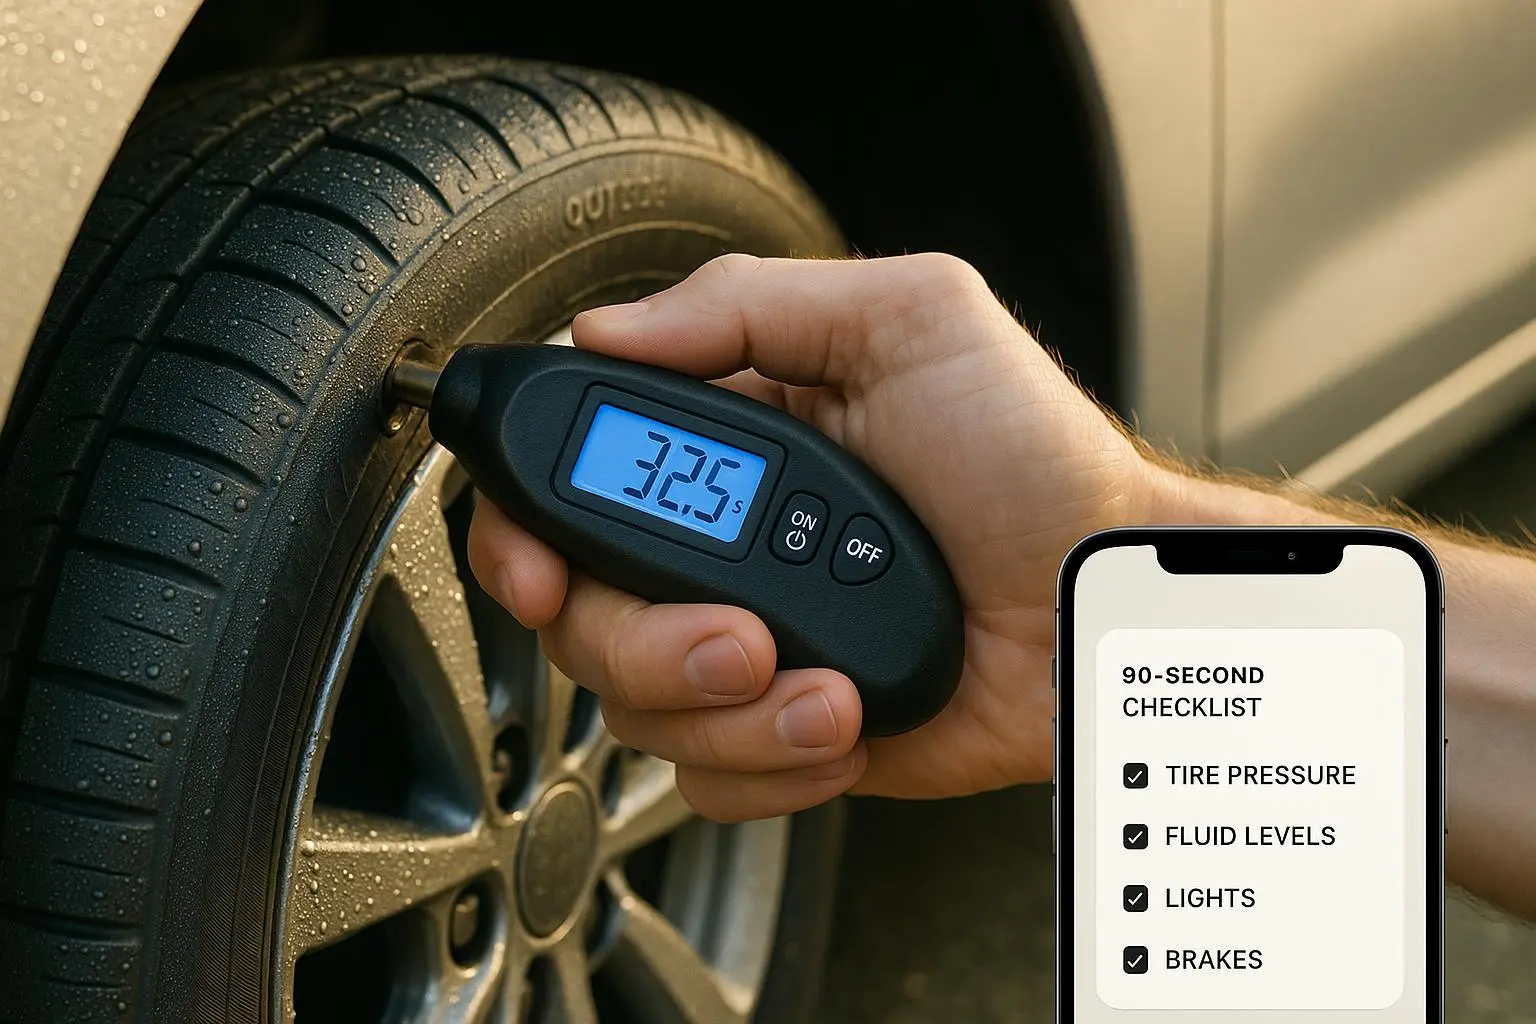
- Tire pressure drift: A 5 psi drop in a tire is enough to shave 2-3% off your MPG. Check before each fill-up if you’re chasing tight precision.
Now, if you’re wondering how many tanks you actually need to feel confident, here’s a quick guide:
- 3 fill-ups: a rough trend, but noisy
- 5-7 fill-ups: meaningful pattern, changes of 2-3 MPG start to become visible
- 10+ fill-ups: higher confidence that observed improvements are real
If you’re serious about gauge-level improvements, plan for 5 baseline tanks, then 5-10 tanks with the technique applied. The math aligns with real-world testing practice and gives you a defensible baseline to compare future tweaks.
A practical, ready-to-use log template
To keep this simple and useful, here’s a practical structure you can drop into a spreadsheet. It’s not fancy, but it’s enough to reveal real patterns:
- Date
- Odometer Start
- Odometer End
- Miles Driven
- Gallons Purchased
- MPG Calculated
- Fuel Price
- Weather
- Driving Type (Highway/City mix)
- Techniques Applied
- Notes
A sample line set for context:
- 2025-11-11 | 45230 | 45380 | 150 | 5.2 | 28.8 | $3.45 | Clear, 65°F | 70% highway | Coasting, reduced idle | Baseline
- 2025-11-18 | 45380 | 45530 | 150 | 5.0 | 30.0 | $3.42 | Rainy, 58°F | 70% highway | Coasting, reduced idle | +4.2% improvement
Track 10 consecutive fills and you’ll have a robust dataset to judge whether your hypermiling tweaks are paying off or not.
If you want a ready-made template, you can export this table as a CSV from your favorite spreadsheet app and drop it into your logging routine. The key is consistency, not complexity.
Making your results meaningful (practical guardrails)
- Start with a baseline: Do at least 3-5 fill-ups before you apply any technique. You want a stable profile before introducing a variable.
- Isolate variables: If you’re testing tire pressure, keep route, traffic, and weather as consistent as possible across those test tanks.
- Include a mix of driving conditions: Don’t test only on highway or only in city; a healthy mix gives you a more realistic baseline and a fair test of techniques.
- Don’t chase tiny wins: The goal is meaningful change, not micro-adjustments. A 2-3 MPG delta is meaningful if it’s consistent across multiple tanks.
- Validate with multiple methods: If you’re using the receipt method, cross-check with an OBD-II or a logging app to confirm. The agreement between methods is where trust lives.
Small detail that stuck with me: I once ran a week-long test using Method 2 and logged weather, road type, and technique changes in the same entry. The resulting graphs revealed that a simple shift—keeping tires properly inflated and avoiding aggressive throttle in city segments—produced a clear, repeatable bump in MPG. It wasn’t dramatic, but it was repeatable. That’s the beauty of disciplined logging: you start seeing the effect of tiny changes you were overlooking.
The practical takeaway
- You don’t need a perfect lab to measure MPG. You need a reliable method, consistent logging, and a willingness to let the data guide you.
- Choose one primary method to baseline, then validate with one or two others. This gives you both confidence and cross-checks.
- Use a simple log and commit to filling it with every tank. Data cleanliness beats cleverness.
Hypermiling is as much about the discipline of measurement as it is about technique. The more you measure, the more you learn how your driving style and car behave in the real world. And the more you learn, the more money you’ll save at the pump.