Fixing Common AI Image Issues in InstaVisual
May 27, 2026 • 9 min
You prompt, you wait, and then: the face is soft, a hand has eight fingers, or the background looks like someone spilled JPEG on it. Welcome to modern AI art—fast, brilliant, and occasionally infuriating.
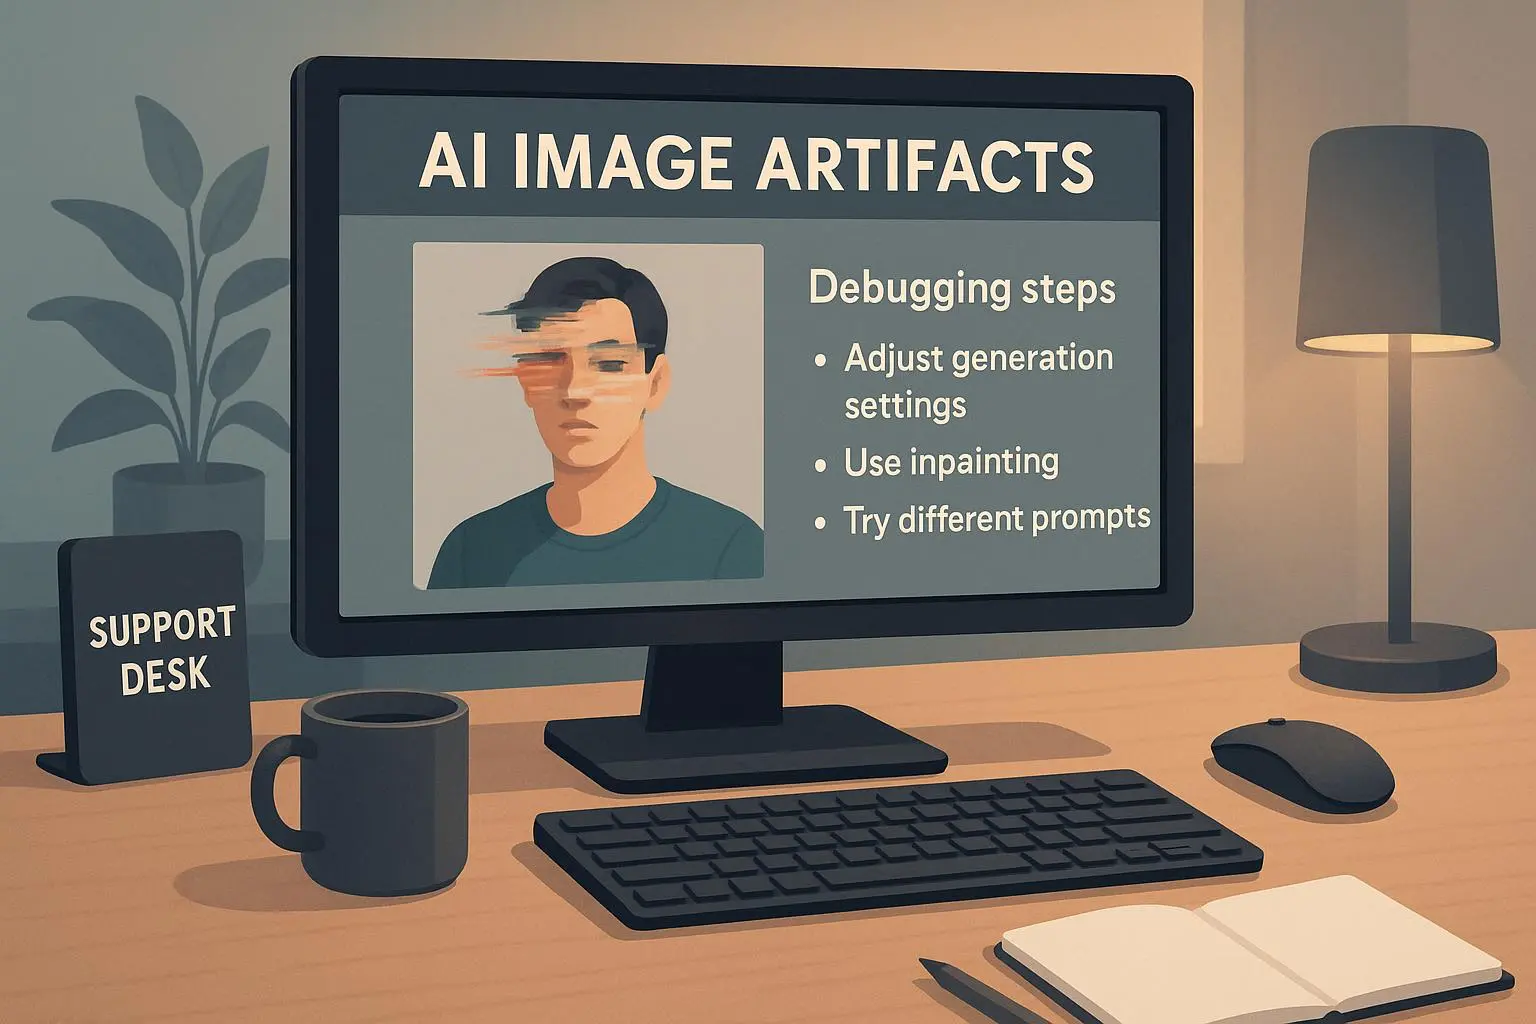
I use InstaVisual a lot. Over the years I’ve learned that most “bad” outputs aren’t mysterious bugs—they’re predictable failure modes of diffusion models and the post-processing pipelines we bolt onto them. Once you can name the failure, you can fix it. This guide walks through the three failures you’ll hit most often—loss of detail and artifacting, anatomical hallucinations (hello, extra fingers), and composition problems—and gives practical fixes that actually save time.
Read this like a toolbox: quick checks first, then deeper fixes when you need them.
The creator’s quick checklist (start here)
- Is your native output resolution high enough? If not, bump it.
- Are you using enough sampling steps? Try doubling them for portraits.
- Do you have a sensible negative prompt list? Add “blurry” and “low quality.”
- Does the weirdness live in one small area (like a hand)? Use inpainting.
- Want a non-centered subject? Add framing language and set an aspect ratio before generation.
Now let’s unpack each problem and what to do about it.
1) The detail dilemma: Tackling blurriness and digital artifacts
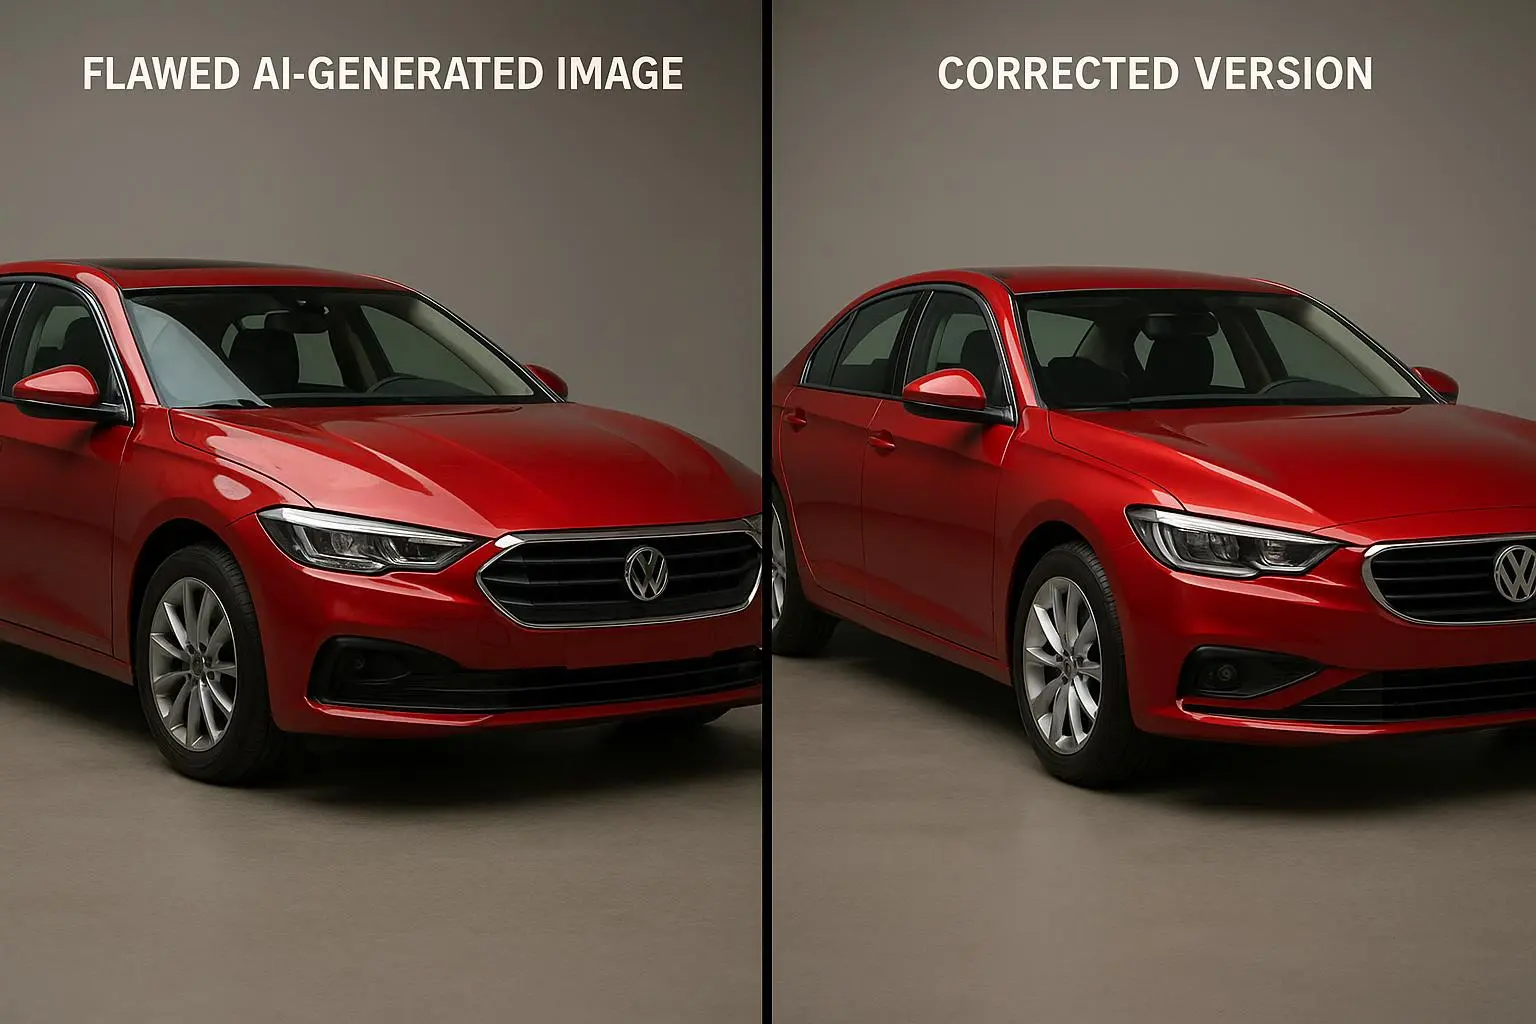
Why it happens, fast: diffusion models refine an image in steps. If you stop too early, details never resolve. Then add aggressive upscaling or a low-res native seed and you get blocky color shifts and noise—those artifacts that scream “AI made this.”
What to check first
- Native resolution: If InstaVisual allows you to set native output size, pick the highest you can afford for the scene.
- Sampling steps: Portraits need more refinement. If you normally use 20 steps, try 40–60 and watch facial details pop.
- Sampler type: Different samplers (Euler, DPM++, etc.) behave differently. If your platform exposes them, experiment—DPM++ and Euler a tend to be safer bets for fewer artifacts.
Negative prompts that help Adding explicit “don’t” terms to your prompt changes what the model avoids. A practical negative prompt I use on most portraits: "low quality, blurry, out of focus, jpeg artifacts, noise, disfigured, mutated" That list cuts obvious artifact cases by a lot in my tests. One community user reported a ~60% reduction by adding similar terms.
When to upscale vs regenerate
- If the image is generally good but lacks fine detail: upscale with ESRGAN, SwinIR, or a modern upscaler. They reconstruct missing high-frequency texture intelligently.
- If the image’s structure is wrong (weird shapes, blocky faces): regenerate at higher native resolution with more sampling steps.
Example toolchain (my go-to)
- Generate at medium-high native resolution, 40–50 steps.
- If subtle texture issues remain, run through SwinIR or Upscale.media for a 2–4x pass.
- Final polish: local sharpening and noise reduction in Photoshop or an equivalent.
Micro-moment: one time I left a portrait on overnight with the sampler doubled—took twice as long but the eyes suddenly looked like eyes, not glossy blobs. Little patience = big payoff.
2) The anatomy nightmare: Why hands and limbs look wrong (and the fixes)
Why hands fail Hands are small, intricate, and rarely perfectly represented in training data. Diffusion models are great at global textures but terrible at enforcing exact local counts or topology—so fingers appear, disappear, or multiply.
Prompt-level fixes that actually help
- Be explicit about fingers: "holding a cup with five visible fingers, natural grip, no deformities."
- Describe the pose and props: "left hand resting on hip, fingers relaxed, thumb visible." These nudges focus the model on the constraint you care about.
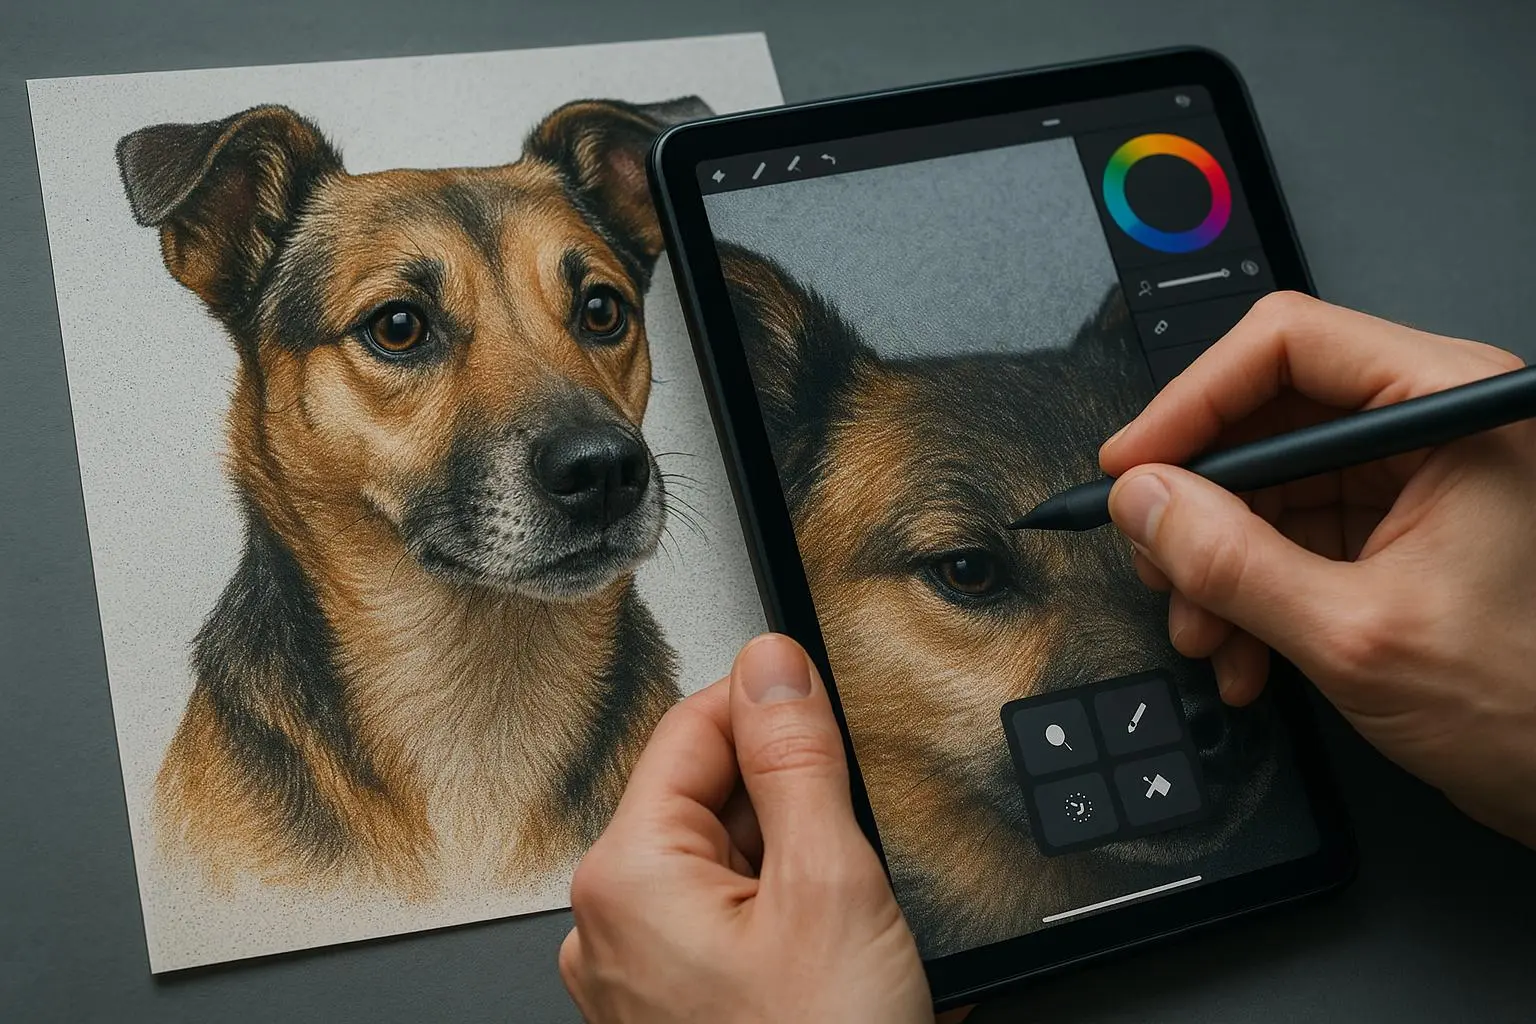
When to stop prompting and start fixing If a hand or limb is the only problem, don’t throw away the whole image. Use inpainting: mask the problematic area and regenerate only that part with a tight prompt.
Inpainting tips
- Mask exactly the problematic pixels—not a huge box. The model performs better with context.
- Use a short, clear prompt describing the replacement (e.g., "right hand, five fingers, holding sword hilt, realistic skin tone matching forearm").
- If the model keeps producing bad hands, mask and replace the hand with a glove, sleeve, or object. Hiding the problem can be faster and perfectly reasonable for commercial art.
Real story (100–200 words) I once spent three hours trying to get a character to hold a vintage camera. InstaVisual kept returning lobster-like hands: extra fingers bundled into a single malformed thumb. I increased steps, rewrote prompts to absurd specificity—“left hand with five fingers, index on shutter button, exact skin tone to match forearm”—and still got weirdness. Finally I masked the hand, painted a crude prosthetic glove in the mask, and inpainted it with the prompt “brown leather glove, five fingers, natural grip on camera.” The glove read instantly and the rest of the image required only minor color grading. I saved two hours of frustration and learned a lesson: sometimes you win by changing the art direction, not by convincing the model to be perfect.
3) Compositional chaos: Your subject is always centered—how to fix that
Why composition fails Most model outputs default to safe, centered compositions. That’s fine for quick drafts but boring for anything you’ll publish.
How to control composition
- Set aspect ratio before generation. If you want cinematic drama, 16:9 or 21:9. For Instagram verticals, choose 4:5 or 9:16.
- Use framing language in the prompt: “rule of thirds, subject placed on left third, negative space on the right, wide shot.”
- Combine camera language and lens specs: “35mm, slight bokeh, wide-angle feel” or “telephoto compression, close-up portrait.”
Practical tip: Don’t crop first If you generate square and then crop, you often cut important detail or create awkward compositions. Commit to the aspect ratio up front. Outpainting is an option if you need to expand, but it’s slower and can add artifacts.
Iterative framing method
- Generate a few thumbnails quickly with short prompts—pick the best framing.
- Lock the aspect ratio and refine the chosen thumbnail with detail-driven prompts and higher steps.
- Use small, targeted outpainting if background needs extension.
Community trick Add “subject placed on left third” or “negative space on right” and expect to run 2–3 iterations. It’s faster than endlessly cropping later.
Putting it together: an iterative workflow that doesn't waste time
Fixing AI images should be a short loop, not a marathon. My workflow:
- Generate a medium-res draft with clear aspect ratio and a basic negative prompt.
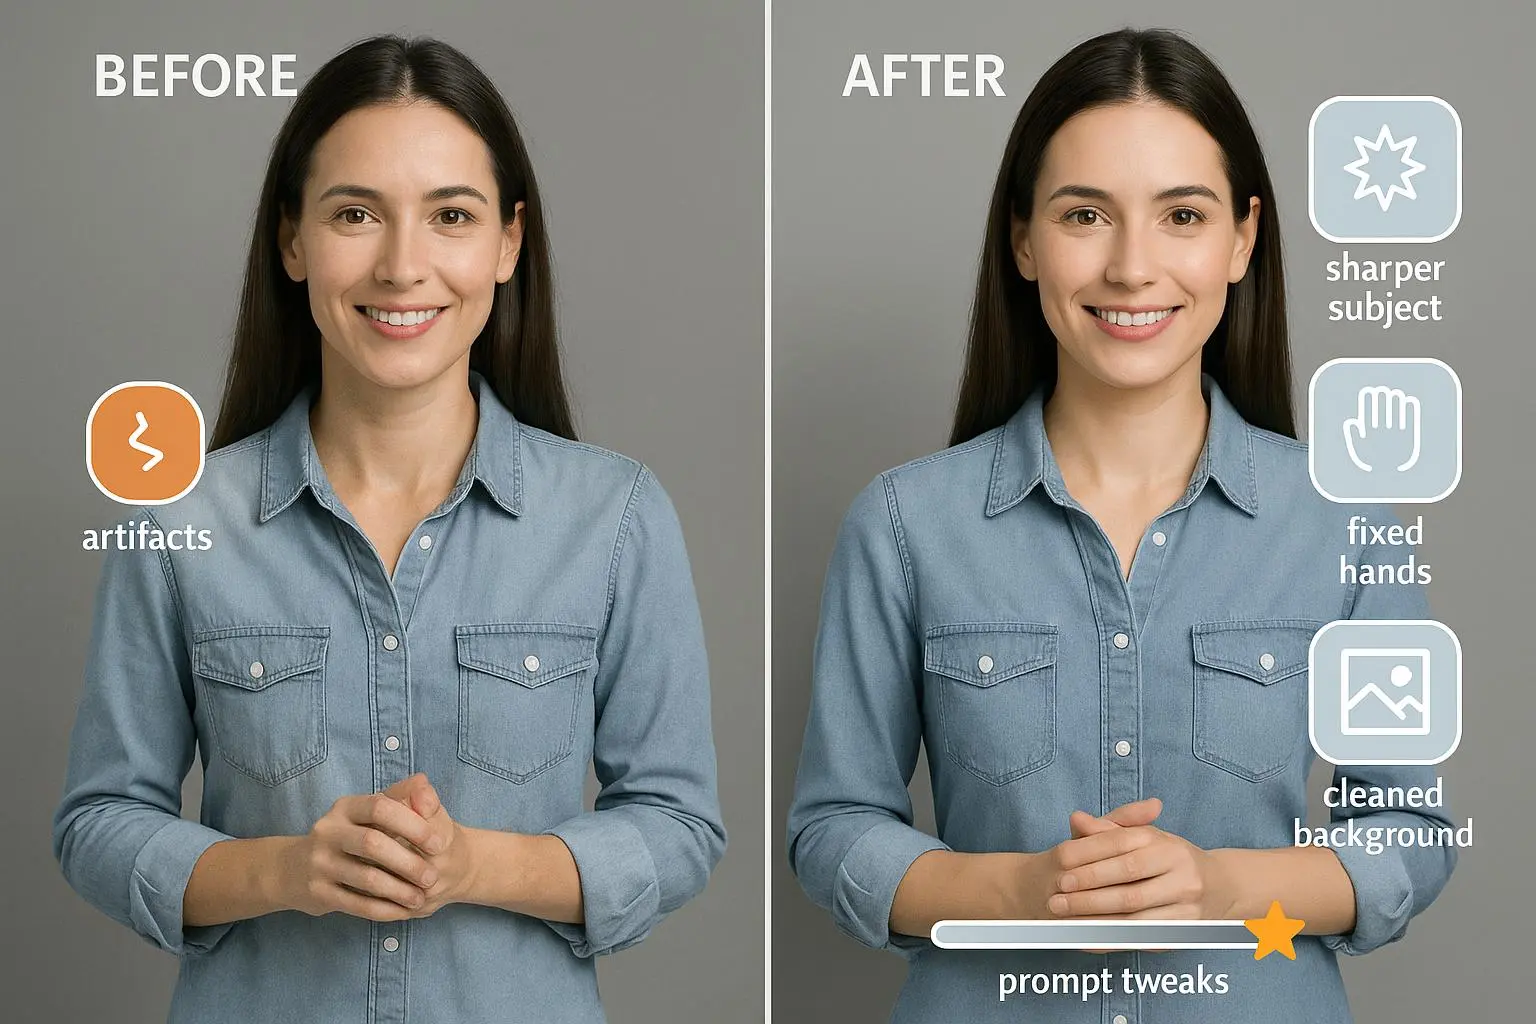
- Inspect: detail issues → increase steps/upscale; anatomy issues → inpaint; composition issues → reframe/aspect ratio.
- Apply external upscaler only when the structure is correct.
- Final polish: dodge/burn, local sharpening, color grade.
This keeps you from chasing one problem while ignoring others. You’ll save time and avoid “fixing” artifacts that were introduced by earlier, flawed fixes.
Advanced options when you need them
- ControlNet (advanced): use pose or edge maps to enforce exact poses and reduce anatomical hallucinations.
- Weighted negative prompts: some platforms let you apply weights to negative tokens. Use them sparingly—too strong and you’ll suppress legitimate variation.
- Sampler experiments: if artifacts persist, try switching samplers or using ensembles. It’s fiddly, but for tricky textures it helps.
Tools I reach for regularly
- Runway ML for inpainting and erase work—fast and forgiving.
- SwinIR or ESRGAN (via a hosted upscaler) for texture reconstruction.
- Photoshop or Adobe Express for final composition tweaks and micro-retouching.
- Mobile helpers like Remini when I need a quick face sharpen before delivering to a client.
Ethical and practical considerations
Quick note: upscaling and heavy inpainting can create images that look convincingly photoreal but were never real. Label accordingly if your use case requires transparency. Also, avoid using copyrighted photos in prompts if the platform's policy disallows it.
Final checklist before you publish
- Does the face read at a glance? If not, more sampling or a reshoot.
- Any anatomical oddities? Mask and inpaint—don’t rely on another full generation.
- Is the composition intentional for the platform (mobile vs. desktop)? Set aspect ratio early.
- Did you run the image through a modern upscaler only after structure was correct?
If you answer “yes” to all, you’re good to go.
Parting thought
AI won’t replace the artist’s eye. What it does do is speed up iteration. Treat InstaVisual and similar tools as draft generators that need a human in the loop to enforce constraints—especially when it comes to tiny details like fingers or camera framing. Once you accept that a small amount of post-processing is part of the process, your “AI art” will stop looking like experiments and start looking like finished works.