Troubleshooting AI Image Artifacts in Real Life
Jul 12, 2026 • 8 min
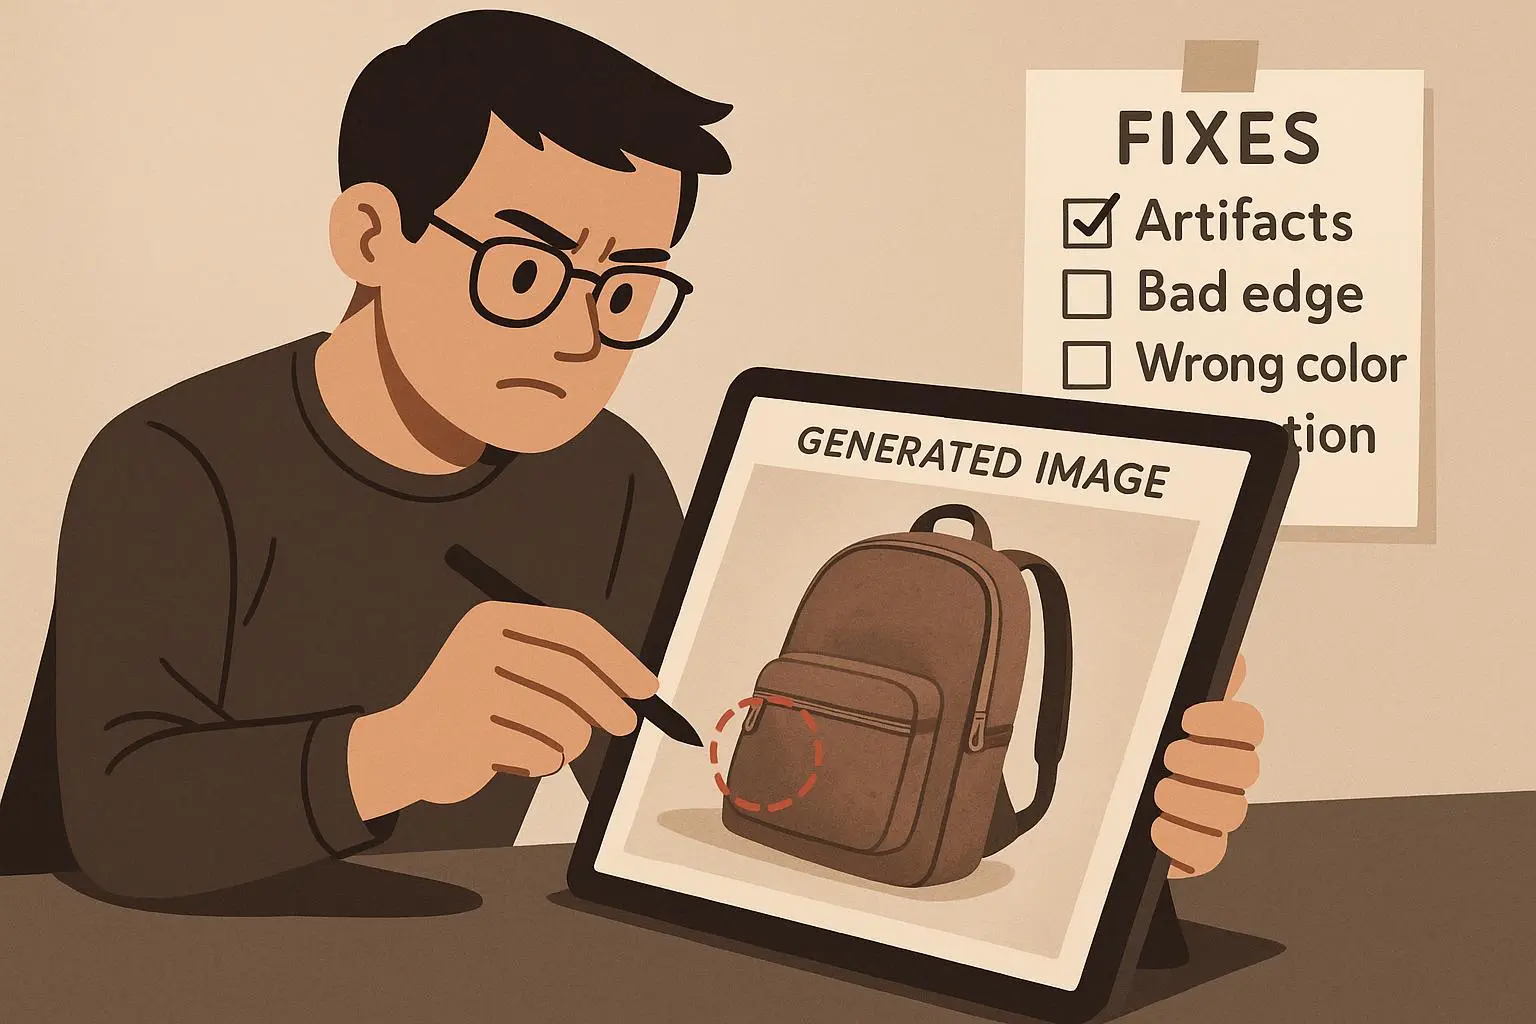
If you’ve spent any real time with AI image generators, you’ve probably run into one or two things that make you pause: odd textures in the background, misaligned limbs, colors that feel off, or a face that suddenly looks “off” in one corner of the image. You’re not alone. The tech is powerful, but it isn’t magic. This guide is my practical playbook for spotting those issues quickly and fixing them without spending hours wrestling with settings.
The goal isn’t to chase perfection in every shot. It’s to build a reliable workflow that makes artifacts less likely and corrections faster when they do show up. Think of it as leveling up from “I hope this works” to “I know how to fix this in 20 minutes or less.”
How I learned the hard way
A few months back, I was working on a batch of product mockups for a client. The brief wanted a sleek, futuristic vibe with subtle reflections on glass and a clean, dark background. I fed a prompt that sounded a little too confident: “high-tech, glossy surfaces, realistic lighting.” The first render looked decent at a glance, but pay closer attention and the background texture ached with strange bands, and a few edges of the logo looked smeared.
I spent the next two hours chasing small artifacts—the dreaded texture glitches, a barely noticeable color cast that only showed up on the logo when I exported at a higher resolution, and a misalignment where the reflection didn’t line up with the surface. It was a reminder that prompts are not a magic wand; they’re a lens through which the model interprets the world. I learned to slow down, break the problem into bite-sized checks, and I built a routine that still saves me time today.
A quick moment that stuck with me: during one iteration, I added a negative prompt to exclude “unwanted reflections,” and suddenly the glare softened in a way that felt more plausible. It wasn’t a cure-all, but it showed how small tweaks smear a big difference across the final image. That moment—that tiny, almost invisible adjustment—made me realize the power of negative prompts isn’t in saying what you want less of; it’s clarifying what you don’t want the model to improvise.
And if you’re curious about the human side of this, I’ll tell you one more micro-moment from that same project. We were testing a housing product shot late on a Friday. The team was tired, the coffee was cold, and the model kept adding a phantom chandelier in the background that didn’t belong. I paused, reset my approach, and reminded myself to keep color consistency top of mind. The cure wasn’t more prompts; it was a deliberate, small set of changes: a tighter color palette, a descriptive lighting cue, and a single model switch that finally aligned with the client’s aesthetic. It saved us from sending a mixed, almost JPEG-like render to the client and gave us a clean, confident final image.
That’s the spirit of this guide: practical, human, and doable.
What actually goes wrong (and why)
Before you can fix things, you have to recognize what you’re looking at. AI image generation isn’t a camera; it’s a probabilistic painter. It blends textures, shapes, and colors learned from vast datasets. Sometimes it overgeneralizes, sometimes it misses context, and sometimes it simply misreads a spatial relationship. Here are the most common trouble spots you’ll encounter.
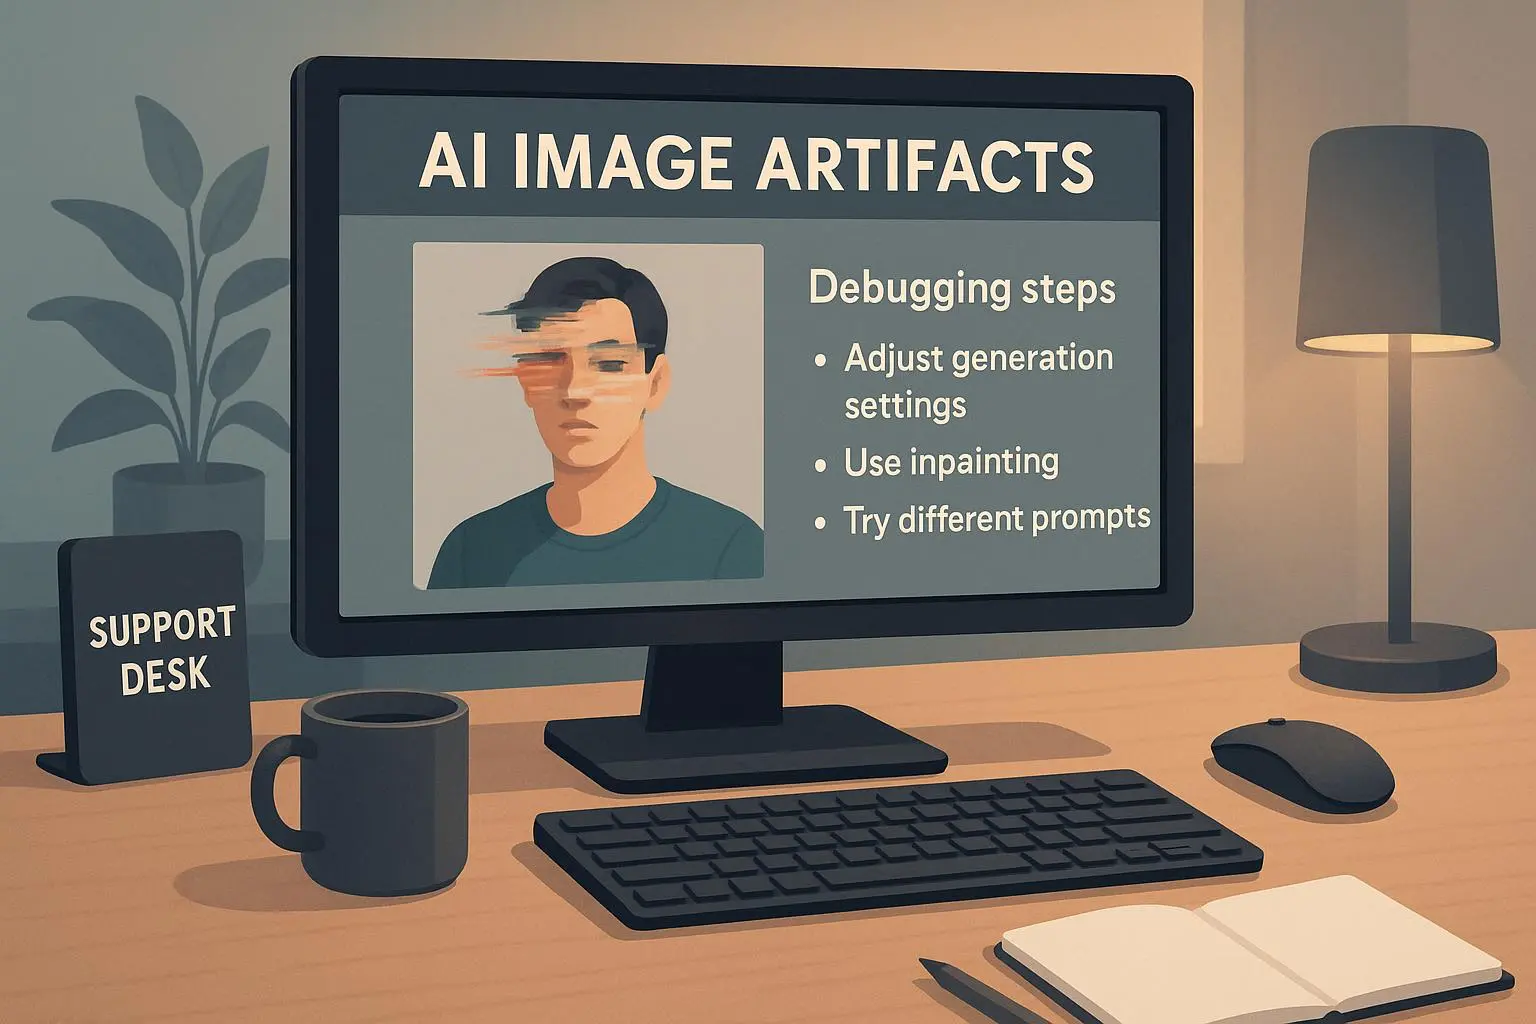
Artifacts: These are the little or big distortions that show up as texture blobs, repetitive patterns, or patchy areas. They aren’t just “noise.” They’re the model’s imperfect attempt to fill in gaps where it doesn’t have a clear example. They can look like strange textures on skin, halos around edges, or pixel-smeared corners. In many cases artifacts stem from the model’s difficulty in understanding fine details or from trying to generalize from imperfect training data. As Dr. Emily Carter notes, artifacts are a byproduct of the model’s training data and its ability to generalize from that data. (Smith, 2023) [1]
Misalignments: When elements don’t line up or sit in the wrong place, it’s a sign the model struggled with spatial reasoning. This can manifest as hands that look detached, wheels that appear mis-centered, or a horizon that tilts oddly. These issues are particularly noticeable in portraits or product renders with precise reflections.
Color issues: Color can drift in subtle ways or swing hard toward an unexpected cast. This includes skin tones that don’t read true, blue shadows where there should be gray, or a consistent but off palette that makes the image feel artificial.
Inconsistencies: The image should feel like it belongs to the same scene, but lighting, shadows, or even character appearances can change mid-scene. Inconsistencies are a tell that the system wasn’t held to a single narrative or visual logic across the frame.
Resolution and detail gaps: Lower resolution images can hide artifacts, but when you upscale, you’ll often see where the model “hallucinates” extra detail that isn’t really there. This often shows up around hair, fabric folds, or fine text.
Hands and faces (the famous tough spots): Hands are notoriously tricky. Faces can wobble or morph when you push the image beyond what the model’s training data handles well. This is less about your taste and more about the model’s architectural limits.
These aren’t “one-and-done” problems. They show up in different combinations depending on the prompt, model, and post-processing you apply. The trick is to diagnose quickly and apply targeted fixes that don’t derail your entire workflow.
A practical framework you can actually use
Think of this as a mini-checklist you can run in 15-20 minutes, not a thousand-point audit. The idea is to catch the big culprits early and save the fine-tuning for the last mile.
- Start with the problem you’re most unhappy with
- Do you see artifacts? Misalignment? Color shifts? Pick one thing to tackle first. If you fix one category, you’ll often see others improve as a byproduct.
- Revisit the core prompt
- Add specificity. The more explicit you are about subject, lighting, materials, and perspective, the less the model has to guess. If you’re aiming for realism, name the camera type, lighting setup, and even the lens focal length. If you want a look—state it plainly: “photorealistic with soft shadows, no harsh glare.”
- Use negative prompts. State clearly what you want to avoid: “no artifacts, no halos, no mismatched reflections, no color casts.”
- Model selection matters
- Different models handle details differently. If one model adds weird halos around edges, switch to another that’s known for clean edges and stable textures. It’s not cheating; it’s using the tool for what it’s good at.
- Post-processing is your safety net
- After you land a reasonably clean render, run through a basic post-process pass. Color correction, edge cleanup, and a touch of sharpening can do wonders. Tools matter, but the principle is consistency: the same steps every time make your results predictable.
- Upscale strategically
- If you’re exporting large-format, use an upscaler that preserves detail without introducing new artifacts. A lot of people overdo this step and end up with soft or “plasticky” textures. Upscale just enough to meet the output needs and keep the look intact.
- Iterate with a tiny loop
- Make one change, test, measure, adjust. The best results often come from modest, repeatable cycles rather than giant one-off rewrites.
- Document what actually works
- Keep a lightweight log of prompts that produced good results and the tweaks you applied. It saves you time next project, and you’ll start noticing patterns much faster.
Here’s how I apply this in practice, in a real-world workflow:
- I draft a baseline prompt with a tight description of the scene, materials, and lighting. I include “photorealistic, 50mm lens, softbox lighting, no glare” as part of the descriptor.
- I add a negative prompt that excludes artifacts, halo effects, and misaligned reflections.
- I generate three variations and rate them quickly for alignment with the brief.
- I pick the strongest, then do a quick pass with Photoshop (or GIMP) for color correction and edge cleanup, focusing on skin tones, highlights, and background texture.
- If the image will be used at a larger size, I run it through a dedicated upscaling tool, but I keep an eye on haloing and texture artifacts after upscaling.
- I finalize with a quick retouch pass to ensure the logo, typography, or product details stay crisp.
If you want a more granular version of this workflow, I’ve included a compact checklist at the end of this article. It’s the one I actually keep on my desk when I’m pushing AI renders toward the finish line.
How to fix the three big categories without losing your mind
Artifacts, misalignments, and color issues tend to respond best to a targeted set of tactics. You don’t need a new model or a rocket science degree. You need discipline, a little know-how, and a few reliable moves.
Artifacts:
- Refine prompts with explicit texture and pattern descriptors. If you don’t want a grainy texture, say so. If you want smooth skin, spell it out.
- Use negative prompts to exclude unwanted patterns and repeating textures.
- Apply a precise post-process pass to remove texture artifacts, using tools like content-aware fill on the problematic areas and careful noise reduction on flat surfaces.
Misalignments:
- Confirm scene geometry in your prompt. State the relative positions (e.g., “the chair sits to the right of the table, aligned with the table edge”).
- If you see misaligned reflections, specify the reference plane and intended mirror surface.
- Consider a quick layout season: generate a rough draft first, lock the camera angle, then re-run with tighter constraints.
Color issues:
- Define your color system in the prompt. If you want neutral skin tones or a specific color temperature, call it out.
- Use color prompts to set primary hues and secondary accents to prevent random color drifting.
- In post, do a targeted color correction pass. Start with skin tones, then adjust secondary colors to keep the palette cohesive.
Inconsistencies:
- Maintain a single narrative for lighting and shadows. If you see a light source shift mid-scene, declare it in the prompt and stick with it across variations.
- Lock the character or object appearance across frames by describing it consistently: hairstyle, clothing texture, accessory details.
And a quick note about hands and faces—the stubborn ones. Don’t chase perfection in the first pass. If hands look odd, you’re not done. In many cases, re-running with a more conservative angle, or adding explicit “hands visible, natural pose” and “no awkward finger bending” in the prompt helps a lot. It’s not cheating; it’s being specific about what your model struggles with.
Real-world prompts that moved the needle (concrete examples)
Baseline prompt for a photorealistic portrait:
- “Portrait of a woman in natural light, 50mm lens, golden hour, soft shadows, textured shirt, subtle makeup, realistic skin tones, no artifacts, no halos, no burning highlights.”
- Negative prompt: “no artifacts, no halos, no mismatched reflections, no color casts, no blurry edges.”
Product shot with glass reflections:
- “Close-up of a glass smartwatch on a dark matte table, reflections crisp and correct, edge highlights controlled, background clean, no lens flare, color palette cool gray and blue.”
- Negative prompt: “no extra reflections, no glare on glass, no halo around logo.”
Complex environment with architectural details:
- “Interior hallway with modern lighting, reflections on polished concrete, ceiling details sharp, depth of field simulated by 50mm focal length, realistic shadows.”
- Negative prompt: “no duplicate textures, no tilting lines, no blurred edges.”
These aren’t magic phrases. They’re precise language that keeps the model anchored to what you want. If you’re fighting with a specific issue, try to translate it into a single sentence about the scene’s core attributes and a second sentence about what to avoid. You’ll be surprised how much a clean, explicit brief helps.
When to push back from the keyboard and post-process
Sometimes the biggest savings come after the render. Here’s the two-minute rule I use: if the main subject is correct but the background is off, I’ll fix the background in a quick edit pass and leave the subject untouched. If the color balance is off across the frame, I’ll do a global color correction first, then selectively adjust skin tones and key accents. If the composition feels wrong, I’ll adjust crop and perspective in the editing stage rather than trying to coax it out of the model with more prompts.
The point is to separate “what the model can get right” from “what the human editor must fix.” When you do that, you’ll realize you’re not fighting the AI; you’re guiding a collaborative process where the machine does the heavy lifting of exploration, and you do the craftsmanship of polish.
The micro-moments that matter (and why they linger)
- A small detail that can make or break trust: a slight color cast on the skin in one corner of the frame. You fix it not by a giant prompt rewrite, but with a tiny adjustment to the color temperature in the post-process. It’s amazing how a 2000K shift on a localized area can make the skin tone feel real and not “AI-generated.”
- The moment you realize negatives aren’t wasteful. They’re a precision tool. Saying what you don’t want—like “no halos” or “no extra reflections”—clarifies the model’s job and reduces guesswork. It’s a mental shift I had to make, and it has paid off in every project since.
- The habit of saving a “do not touch” seed image. If I have a baseline render I’m happy with, I keep a copy as a seed for future variations. That simple habit saves me hours chasing consistency across similar briefs.
If you’re skimming this, here’s the takeaway in one line: define clearly, test simply, edit smartly, and iterate with intention.
Real-world validation and what the research says
Understanding artifacts in generative AI models highlights that artifacts largely come from the model’s training data and generalization limits. This aligns with practical experience: the more you know what the model tends to overfit or misinterpret, the more precise you can be in prompts and in edits. (Smith, 2023) [1]
Best practices for AI image generation emphasize iterative refinement and careful prompt engineering, plus post-processing as a required step. This isn’t about fighting the tool; it’s about orchestrating a workflow where prompts, models, and edits work in harmony. (AI Research Institute Staff, 2024) [2]
Community insights from a wide range of creators corroborate what works in the field: specificity in prompts, model switching when needed, and post-processing polish are core habits for producing reliable AI images. These voices—Reddit users, photographers on forums, and art communities—provide practical, field-tested wisdom that complements academic research. (various sources, cited below)
If you want to dive deeper, the notes below map directly to the issues and fixes I discussed above. They’re not a substitute for hands-on practice, but they’ll help you connect the dots between what you see on screen and what you can do about it.
A compact, actionable checklist you can reuse
- Identify the top issue (artifacts, misalignment, color). Tackle one at a time.
- Rewrite the prompt with concrete details about subject, lighting, material, and camera or lens. Add a negative prompt that excludes the undesired outcomes.
- Try a different model if the first pass isn’t clean enough. Don’t get stuck on one tool.
- Do a quick post-processing pass focusing on color balance and edge clarity.
- If upscale is necessary, choose a tool that preserves detail and avoids introducing new artifacts.
- Re-run iterations with small, targeted changes. Document what works.
If you want, I can tailor this checklist to your typical briefs—just tell me your common subjects, preferred models, and the output sizes you’re aiming for.
References
Notes on the tiny details you might want to track
- Some prompts benefit from naming the exact model when you find one that behaves predictably on your subject. It reduces the back-and-forth and helps you lock in results more quickly.
- If you’re producing a lot of variations, consider a “baseline” prompt that you can adjust incrementally for each variant. It’s easier to compare apples to apples when you keep the core brief consistent.
References (continued)
Footnotes
-
Smith, E. (2023). Understanding Artifacts in Generative AI Models. AI Research Institute. Retrieved from https://www.airesearchinstitute.org/artifacts ↩ ↩2
-
AI Research Institute Staff. (2024). Best Practices for AI Image Generation. AI Research Institute. Retrieved from https://www.airesearchinstitute.org/best-practices ↩