Beginner's Guide: How to Install Wiper Blades Step-by-Step for Every Adapter
May 30, 2026 • 9 min
Few things make a commute feel dangerous faster than streaky wipers in a rainstorm. The glass blurs, your patience thins, and you're squinting at the road wondering why you didn't fix this weeks ago. Replacing wiper blades is one of those tiny, satisfying fixes that costs less than a coffee run and improves safety immediately.
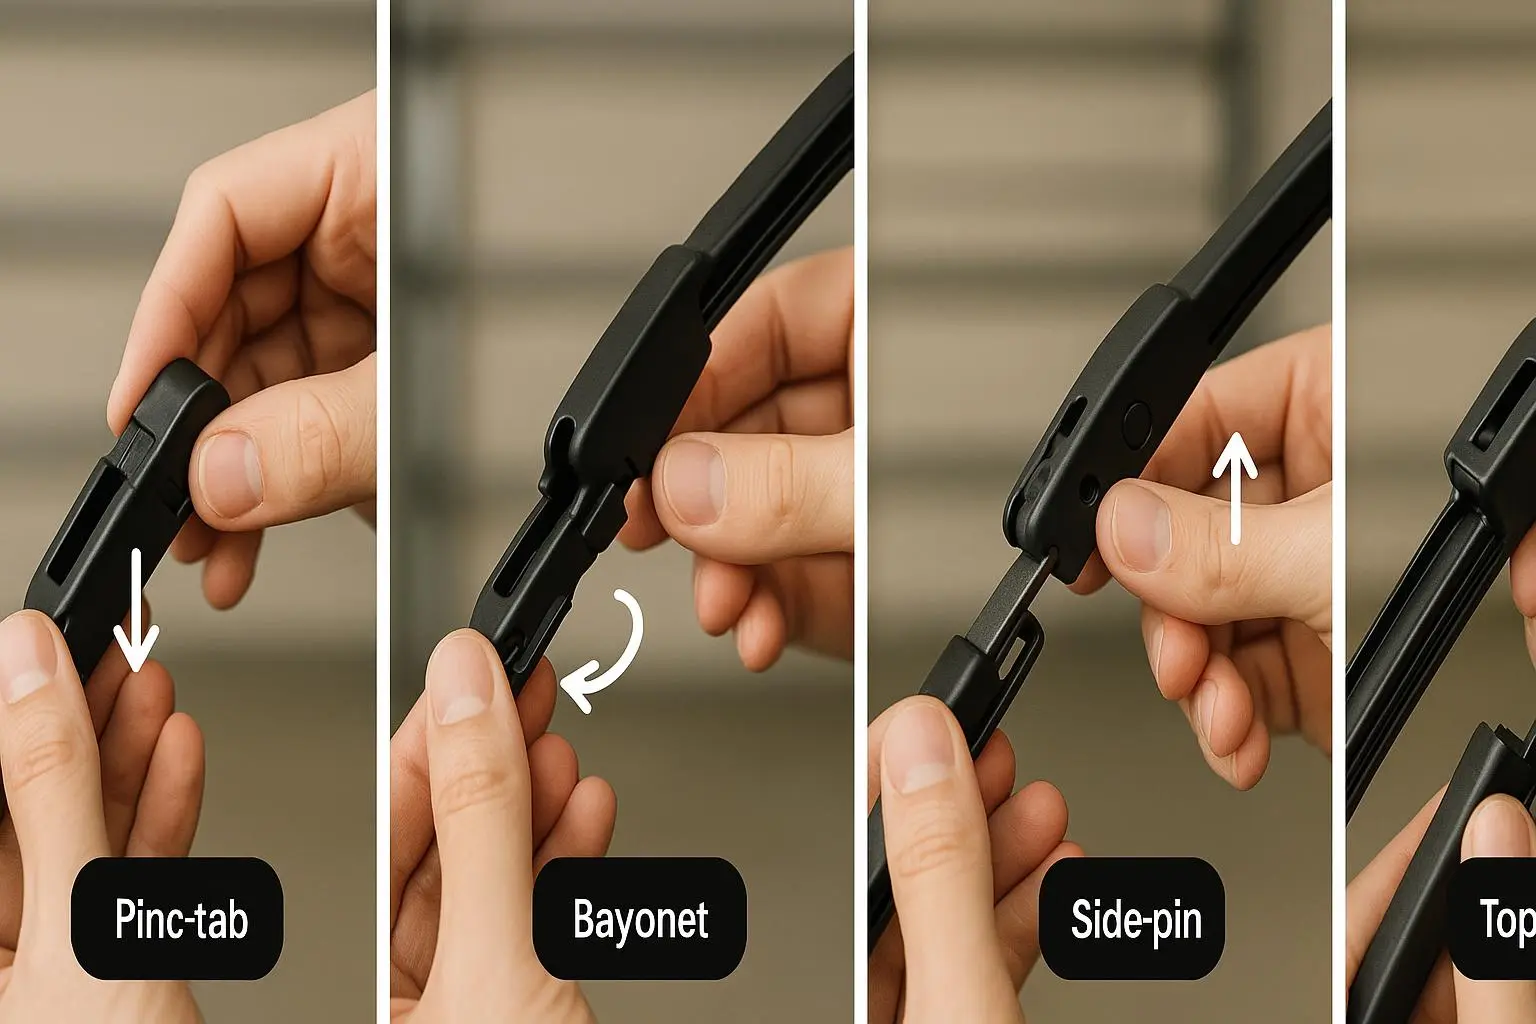
You don't need special tools, a hoard of patience, or mechanical experience. I’ll show you what to buy, how to protect your windshield, and exactly how to remove and install blades for the five most common adapter types: J-hook, pin arm, bayonet, side-lock/pinch tab, and push-button.
Why this matters: clear sightlines reduce accident risk. The NHTSA recommends regular checks of visibility systems, including wipers[1]. Do this right and you’ll be safer, quicker, and about $30–$60 richer than if you’d paid a shop.
What you need (and what you probably already have)
- New wiper blades (correct size and adapter type for your car)
- Clean cloth or towel
- Rubbing alcohol or glass cleaner (optional)
- Pliers (only if a clip gets stubborn)
- A small flathead screwdriver (handy in tight clips)
Quick buying tip: apps like AutoZone or sites like RockAuto let you enter make/model and show the correct blade sizes and adapters. Pick blades labeled as fitting your vehicle rather than guessing.
Signs it’s time to replace your blades
You don’t need a calendar reminder. Replace them when you see:
- Streaking or smeared water
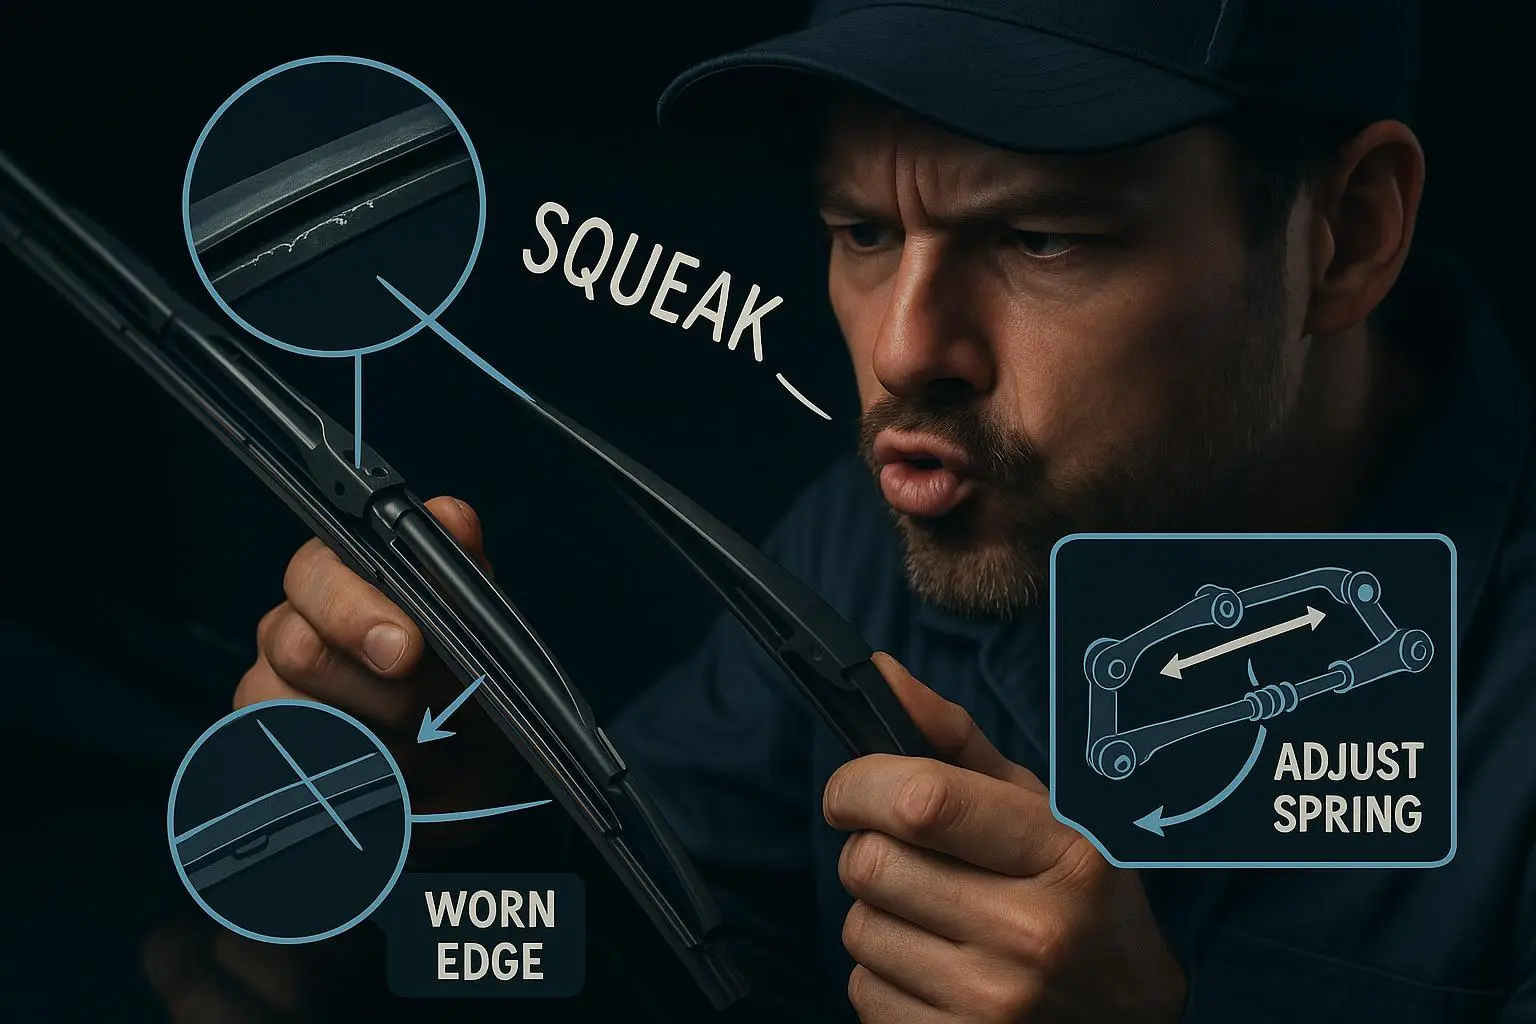
- Chattering or skipping across the glass
- Gaps in the sweep (usually in the middle)
- Visible cracks, tears, or missing rubber Manufacturers suggest every 6–12 months depending on climate and use[2]. If your region sees brutal sun or heavy winter salt, err on the sooner side.
Safety first — a few rules I learned the hard way
Here’s what I tell everyone who asks me for quick car advice: always protect the windshield and work one side at a time.
Short story (100–200 words): One rainy Saturday I changed my wife's car wipers in the driveway. I was in a hurry and skipped the towel step. Halfway through, the wiper arm snapped back and the bare metal hit the glass with a satisfying clink. I froze. The chip wasn't big, but it was enough to make us get a $120 windshield repair later that week. Lesson learned: a folded towel under the arm is insurance that costs nothing and saves a windshield. After that, I always keep a microfiber towel in the glove box when I buy blades.
Micro-moment aside (30–60 words): Also: the little click when the blade locks in place is a tiny, specific sound. It’s not dramatic, but when you hear it—especially on a cold morning—you feel oddly accomplished.
Prep: park, power down, towel ready
- Park on flat ground and set the parking brake.
- Turn off the engine and remove the key (prevents accidental wiper activation).
- Put a towel or thick cloth on the windshield under the arm — this prevents the metal arm from snapping back onto the glass if it slips.
- Work one wiper at a time. That way you can copy the installed side if you get paused or distracted.
General removal steps (works for most adapters)
- Lift the wiper arm gently away from the windshield until it locks upright.
- Rotate the old blade so it’s perpendicular to the arm; this exposes the adapter mechanism.
- Find the release tab or clip and press/squeeze to remove the old blade. Different adapters behave differently—see below.
Now let’s walk through the five adapter types you’ll most often encounter.
J-Hook (the most common — and the easiest)
The J-hook looks how it sounds: the arm ends in a little J.
Removal:
- Find the small tab under the blade where it meets the hook.
- Press the tab and slide the blade down, off the hook. It sometimes needs a firm pull.
Installation:
- Thread the J through the opening on the new blade’s adapter.
- Pull until you hear a click. Give it a gentle tug to confirm it’s locked.
People forget the click and regret it at highway speeds. If you don’t hear it, realign and try again. Anecdote: plenty of early drivers have had a blade fly off because they skipped the click check — don’t be that person[2].
Pin Arm (common on older cars)
Pin arms have a straight pin that goes through the blade adapter.
Removal:
- Locate the small clip on the adapter. Lift or press it to free the blade.
- Slide the blade off the pin.
Installation:
- Align the model hole with the pin and slide it on until the clip engages.
If the clip feels stuck, a small flathead or needle-nose pliers will gently lift it without breaking plastic.
Bayonet Arm (flat, sliding style)
Bayonet arms have a flat pin that slides into a slot.
Removal:
- Press the small button or tab on the adapter and slide the blade straight off.
Installation:
- Align the slot on the blade adapter with the bayonet arm and slide until it clicks into place.
This type is simple if you line things up; rushing is what causes people to bend the little metal piece that accepts the blade.
Side-lock / Pinch Tab (sometimes called OEM designs)
These blades have tabs on the sides you pinch to remove.
Removal:
- Squeeze the side tabs and slide the blade off the arm.
Installation:
- Align the adapter with the arm, pinch as needed, and push until you hear the lock.
Tip: don’t force it. If it resists, check orientation — many pinch-tab designs only fit one way.
Push Button (top-release)
Push-button adapters have a visible button on top.
Removal:
- Press the button and slide the blade down and off the arm.
Installation:
- Slide the new blade on until the button pops back up and locks.
You’ll feel slightly smug for choosing blades with the button system when installing on a cold day.
After installation: checks you must do
- Carefully lower the wiper arms back against the windshield — don’t let them snap.
- Clean any grease or fingerprints from the glass with a quality glass cleaner.
- Test the wipers with washer fluid or a spray bottle: run through the full sweep and hold the wipers on low and high. Look for:
- Smooth motion without skipping
- No streaks across the glass
- Full contact across the blade sweep
If you see streaks, don’t immediately blame the blade. Sometimes the windshield has embedded grime. MechanicInTraining suggests a quick scrub with a clay bar or 0000-grade steel wool for pesky contaminants[3]. I’d try a standard glass cleaner and a microfiber first — that solves 90% of problems.
Troubleshooting common problems
- New blades chatter: Ensure the blade size is correct and the arm tension isn’t excessive. Replace if the blade is too short or too long.
- Wipers miss a chunk of glass: The blade might be bent or the arm spring weak. Compare both sides; if one arm has noticeably less pressure, consider a professional inspection.
- Blades fall off: That click we keep mentioning either didn’t happen or the adapter orientation was wrong. Reinstall and lock it properly.
Which blades are worth the money?
You can spend $10 or $40 per blade. For most drivers, mid-range blades (often $15–$25 each) hit the sweet spot — they last longer than the cheapest rubber and avoid the premium you pay for brand buzz. I’ve used both bargain and premium options; the mid-range hybrids or beam blades give reliable, quiet performance for most climates.
If you live where snow and ice are deadeningly common, a winter-specific beam blade or rubber-protected frame is worth the extra cost.
Time and cost — realistic expectations
- Time: Expect 5–15 minutes per blade. If it’s your first time, budget 20–30 minutes for the whole job.
- Cost: Basic blades run $10–$30 each at parts stores. Online options can be cheaper, but factor shipping and fitment risk.
Compare that to a shop install: you’re typically saving $30–$60 and getting a small confidence boost. Use apps like RepairPal or AutoZone to check local prices before you buy.
When to call a pro
If:
- The wiper arm spring is damaged
- The arm is bent or loose
- You notice electrical/wipers wiring issues (wipers activating randomly) Then it’s time to visit a shop. Otherwise, this is a true DIY win.
Final checklist before you drive away
- Both blades clicked into place and pass a gentle tug
- Windshield cleaned and clear
- Wipers tested at low and high speeds
- Towel removed from windshield
- You feel a little proud (this one is free)
Replacing your wiper blades is low-risk, high-impact maintenance. It saves money, takes a little time, and gives genuine, immediate improvement in safety. The next time rain or sleet hits, you’ll be grateful you did this in the comfort of your driveway rather than under pressure on the road.