Troubleshooting Wiper Blades: Fix Squeaks, Skipping, and Misalignment Quickly
Nov 19, 2025 • 9 min
Few things ruin your morning commute faster than wipers that squeak like a haunted door, skip across the glass, or leave streaks in your line of sight. Your gut says “buy new blades.” Your wallet says “hold up.” Here’s a faster, cheaper plan: diagnose contamination, angle, and tension first so replacements actually fix the problem.
This is a hands-on troubleshooting flow you can run in 10–30 minutes with basic tools. I’ll show the checks, the fixes, and the exact red flags that mean “replace” instead of “clean.”
Why new blades only fix half the time
People assume rubber equals failure. But research and real-world experience say otherwise: about half the time the blade is fine—the problem is the windshield surface, the arm, or the way the blade meets the glass[1][2].
That aligns with what I see in the garage: clean the glass, wipe the rubber, check the arm, and 50% of “bad wipers” suddenly behave. Replace the blades without checking and you might end up buying twice.
The quick mental model: contamination → angle → tension
Think of wipers like a skate blade on ice.
- Contamination is the equivalent of grit on the ice. A dirty edge chatters.
- Angle is how the blade meets the glass. If it isn't perpendicular in the right place it will skip.
- Tension is the force that keeps the blade pressed evenly across the sweep.
Start with cleaning. Work outward only when necessary.
What you’ll need (realistically)
You don’t need a toolbox. Just grab:
- Glass cleaner (or isopropyl alcohol)
- White vinegar (optional)
- Microfiber cloths
- Small adjustable wrench or socket set (usually 10–13 mm for wiper nuts)
- Pliers (for gentle bends only)
- Protective gloves
- A flashlight for close inspection
If you have a Haynes manual or an online guide for your specific car, keep it handy for torque specs and arm removal steps.
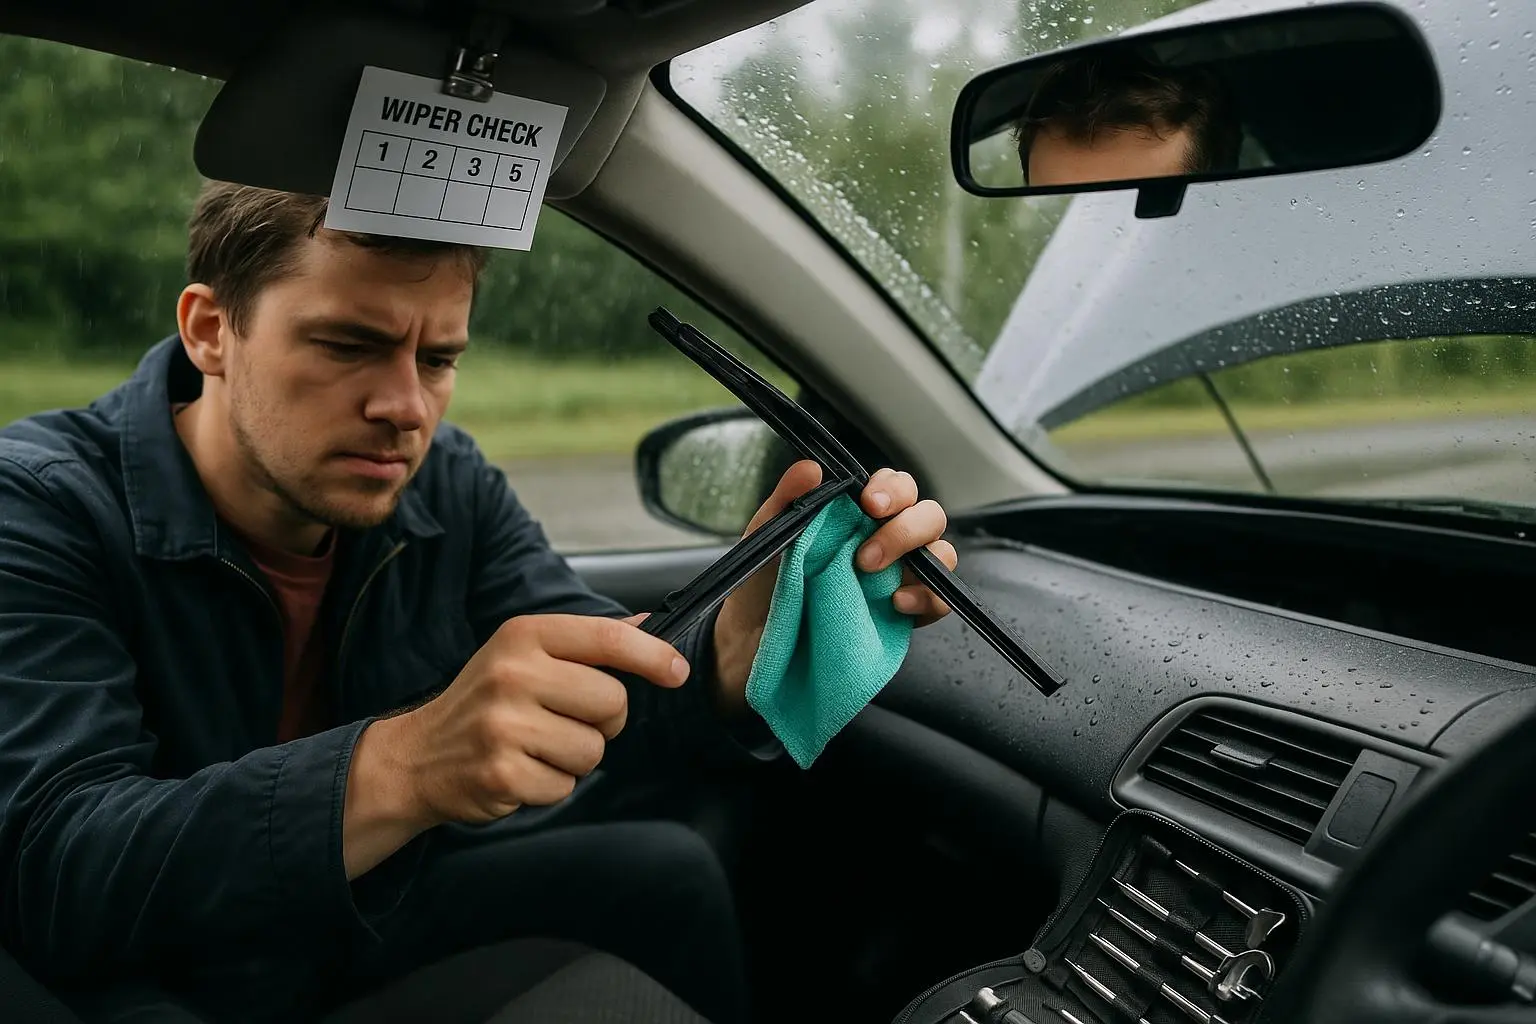
Step 1 — The squeak solution: clean first
Squeaks are almost always friction caused by contamination, not shredded rubber. Road film, wax residue, sap, or a coating from cheap washer fluid builds up on the glass and the rubber edge. New blades can squeak immediately because manufacturing oils or packaging residues transfer to the rubber.
What to do:
- Spray the windshield with glass cleaner. Wipe with a microfiber until it's mirror-clean.
- Dampen a cloth with rubbing alcohol or white vinegar and run it along the rubber edge—back and forth. Do both sides.
- Test with quality washer fluid (not water). A light mist can be enough to stop dry chatter.
If squeaking stops, you saved yourself a blade purchase. If it continues, test arm tension (next section).
Micro-moment: I once bought “premium” blades and drove home annoyed. A single wipe with alcohol removed a thin sheen of manufacturing oil from the rubber. The car was suddenly silent. Small things matter.
Step 2 — Stopping the skip: check angle and flipping
Skipping (sometimes called chattering) happens when the blade fails to flip over smoothly at the pivot points—usually because the blade isn’t perpendicular to the glass or the pressure is uneven. The Society of Automotive Engineers points out that consistent pressure and the right angle are critical[1].
How to check:
- Park the car with wipers off. Look at the blade where it contacts the glass. The frame should sit roughly perpendicular (90 degrees) to the windshield surface.
- Observe while someone cycles the wipers. Does the blade lift and snap, or does it slide and bounce?
Fixes:
- If the holder is angled, gently twist the arm near the pivot to correct it. Small adjustments go a long way.
- If the arm is bent or springs are weak, replace the arm assembly. Uneven pressure often means the internal spring or multiple contact points are failing—those aren’t usually serviceable.
A caution: don’t apply force near the motor shaft. Small, controlled bends at the arm’s base are safer. If you feel resistance, stop and consult a manual.
Story (real, 120–160 words): A few winters ago I kept replacing blades on my old sedan. Every new set skipped across the windshield like they were allergic to rain. After the third purchase I gave up and took it to a mechanic. He pointed out that during a heavy ice storm the arm had been levered by hand and got a hairline bend. That bent angle meant the blade didn’t flip; it slapped. He used pliers to nudge the arm at the pivot—one minute of careful tweaking—and the skipping stopped. I’d wasted $90 on blades because I never checked the arm. Since then I always do the perpendicular test before buying replacements. It's a five-minute check that prevents a wasteful purchase and a lot of frustration.
Step 3 — Eliminating streaks: wear vs residue
Streaks are the clearest sign something’s wrong, but they don’t always mean the rubber is worn out.
How to tell:
- Inspect the rubber: if it’s cracked, chunked, or rounded off, replace it. Elastomer compounds harden and crack from UV and ozone exposure[2].
- If streaks are a uniform haze, it’s probably oil or silicone residue from waxes or road spray.
- If streaks are random wide marks, look for embedded grit or pebbles in the rubber.
Fixes:
- Clean glass and blade thoroughly (Section 1). Use a glass stripper if wax residue is heavy.
- Run your fingernail along the blade edge to feel for burs or embedded grit. Remove debris with tweezers or replace the blade.
- If the blade doesn’t conform to the glass curvature—especially on modern curved windshields—switch to an OEM-style or high-quality beam blade with adequate flex points.
Pro tip: Cheap beam blades sometimes look modern but lack the right flex to follow complex windshield curves. Spending a few extra dollars on a well-reviewed OEM alternative can cut streaking immediately.
Step 4 — Fixing misalignment: park position and spline slippage
When wipers park too high, too low, or stick out over the hood, the usual offender is the wiper arm slipping on the motor spline.
Diagnosis:
- With the engine off, lift the arm and mark its current park position with tape.
- Remove the plastic cap over the nut (if present), loosen the nut slightly, and feel if the arm is free on the spline. If yes, it slipped.
Fix:
- Remove the arm, align it in the correct park position (usually flush just above the cowl), and retighten the nut to the recommended torque. If you don’t have the torque spec, snug and then tighten another 1/8–1/4 turn while checking movement—over-torque can damage the motor shaft.
- If the linkage shows wear or the arm itself is bent, replace components rather than forcing alignment.
One quick slip test can save you a motor replacement panic. DIYers often mistake misalignment for a failing motor—don’t make that call until you’ve checked the spline.
When to replace a part (and which one)
Replace the blade if:
- The rubber is visibly cracked, torn, or rounded.
- The blade consistently leaves gaps after cleaning and angle checks.
- A pebble or tear can’t be removed.
Replace the arm if:
- It’s bent and cannot be safely straightened.
- The spring tension is gone (you’ll notice poor contact across the blade).
- The arm slips on the spline repeatedly despite proper torque.
Replace the motor/linkage if:
- You have electrical issues (intermittent function, no movement).
- The whole assembly binds or grinds under load.
If you’re unsure, replace the cheapest part likely to be the cause first—usually the blade—after doing the cleaning and angle checks.
A sensible test drive before you buy
Here’s a 6-step pre-replacement test you can do in 10 minutes:
- Clean windshield and blades with alcohol/water.
- Refill washer fluid with a proper formula.
- Run wipers and observe for squeak—if gone, done.
- Do the perpendicular test for angle—adjust if needed.
- Inspect blades for embedded debris or damage.
- If issues persist, decide: replace blade, arm, or both.
Running this flow prevented me from buying blades twice—so it works.
Seasonal care that actually extends life
You want blades to last? Do this monthly:
- Wipe blades with alcohol once a month. That simple habit doubled the effective life of one owner’s set from 6 months to 14 months on record.
- Always lift arms gently in winter and use a proper ice scraper. Never rip frozen wipers across the glass.
- Use proper washer fluid with detergents; water doesn't cut grime.
If you live in an extreme climate (hot sun or salty winter roads), check blades every 4–6 weeks.
Beam vs. conventional: design matters
Beam blades often look sleek but vary in design. The right choice depends on:
- Windshield curvature: highly curved glass generally benefits from a well-engineered beam that maintains pressure across the sweep.
- Arm design: some arms and brackets pair better with conventional frames.
Don’t pick solely on price. Look for blades that match your vehicle’s windshield shape and read user reports for pressure distribution performance.
A few safety notes
- Don’t force the arm at the motor shaft. If it resists, you’re risking damage to the motor or linkage.
- If the arm or motor shows corrosion or stripped splines, replace the component.
- When tightening the wiper nut, if you don’t know the torque, tighten firmly but avoid over-torquing. A stripped spline is a much bigger problem than a loose arm.
Tools and resources I use
- Haynes AllAccess for model-specific procedures when I need to remove arms.
- RockAuto for sourcing OEM arms and blades when parts are required.
- iFixit and community forums for quick photos and tips on tricky clips.
If you want phone reminders, CarFax Car Care will keep a maintenance log so you remember to wipe the blades monthly.
Final checklist (when you walk away)
- Cleaned glass and blades: yes/no?
- Perpendicular test passed?
- Even pressure across blade sweep?
- Embedded debris removed?
- Arm not bent or slipping?
- Park position correct and nut tightened?
If you answer “yes” to the first four, but problems persist, it’s probably time for new blades. If the arm fails the last two, replace or repair the arm before spending on top-tier blades.
One last story (the lesson in two sentences)
A family friend bought expensive winter blades and was outraged they failed in two months. I cleaned the glass, wiped the blades, corrected a slight arm twist, and the “failed” blades performed better than the replacements she’d tried—sometimes the fix is patience and a rag, not a receipt.
References
Footnotes
-
T. M. Smith & R. J. Chen. (2019). Optimizing Windshield Wiper System Performance: The Role of Blade Angle and Pressure Distribution. SAE Technical Paper Series. Retrieved from https://www.sae.org/publications/technical-papers/2019-01-0234 ↩ ↩2
-
L. K. Patel & D. S. Rao. (2022). Elastomer Degradation in Automotive Applications: Effects of UV Radiation and Ozone on Wiper Blade Compounds. ACS Applied Polymer Materials. Retrieved from https://pubs.acs.org/doi/abs/10.1021/acsapm.2c00500 ↩ ↩2
Ready to Optimize Your Dating Profile?
Get the complete step-by-step guide with proven strategies, photo selection tips, and real examples that work.