Troubleshooting AI Image Quality: Fixes for Artifacts, Inconsistencies, and Hallucinations
Nov 11, 2026 • 9 min
If you’re generating AI images for a client, a portfolio piece, or a personal project, you’ve probably run into one of three annoying flaws: artifacts, inconsistencies, or hallucinations. You’re not alone. The path from a text prompt to a clean, reliable image is messy. Models like Stable Diffusion and Midjourney do a lot of heavy lifting, but they’re not magic machines. They’re probabilistic systems that respond to prompts, parameters, and data.
Here’s how I approach this problem, in a way you can actually apply. No fluff, no vague promises. Just practical steps that reduce the guesswork and give you predictable results.
If you’re reading this aloud to a colleague over coffee, you’ll recognize the vibe: a little story, a concrete trick, and a moment that sticks with you. And yes, I’ll tell a real story from my own work—the kind that saved me hours of retrying prompts in a noisy corner of the internet.
After years of chasing perfect renders, I’ll admit the truth: the best results come from a disciplined workflow, not a single magic prompt. You’ll see that play out in the sections below.
A quick note before we dive in: I’ve included a few real-world prompts, model suggestions, and settings that actually worked for me. If you’re new to this, start with smaller tests. If you’re already looping on a project, you’ll want to skim for the knobs you can turn in the first five minutes, then come back to the deeper concepts.
Now—let’s start diagnosing.
Artifacts, Inconsistencies, and Hallucinations: what they look like and why they show up
Think of the diffusion process as a long, careful conversation between your prompt and the image. When something goes off the rails, it’s usually because one of three things happened:
- The denoising didn’t finish cleanly. You get grain, color speckling, or blocky textures.
- The model misinterprets a high-frequency detail or a spatial relationship. This looks like extra fingers, odd perspectives, or misaligned anatomy.
- The model starts “making stuff up” that doesn’t ground in reality or your prompt. This is hallucination in its purest form.
I’ve learned to categorize errors first, then attack them with targeted fixes. Here’s how I think about each category.
Artifacts: the technical noise in your image
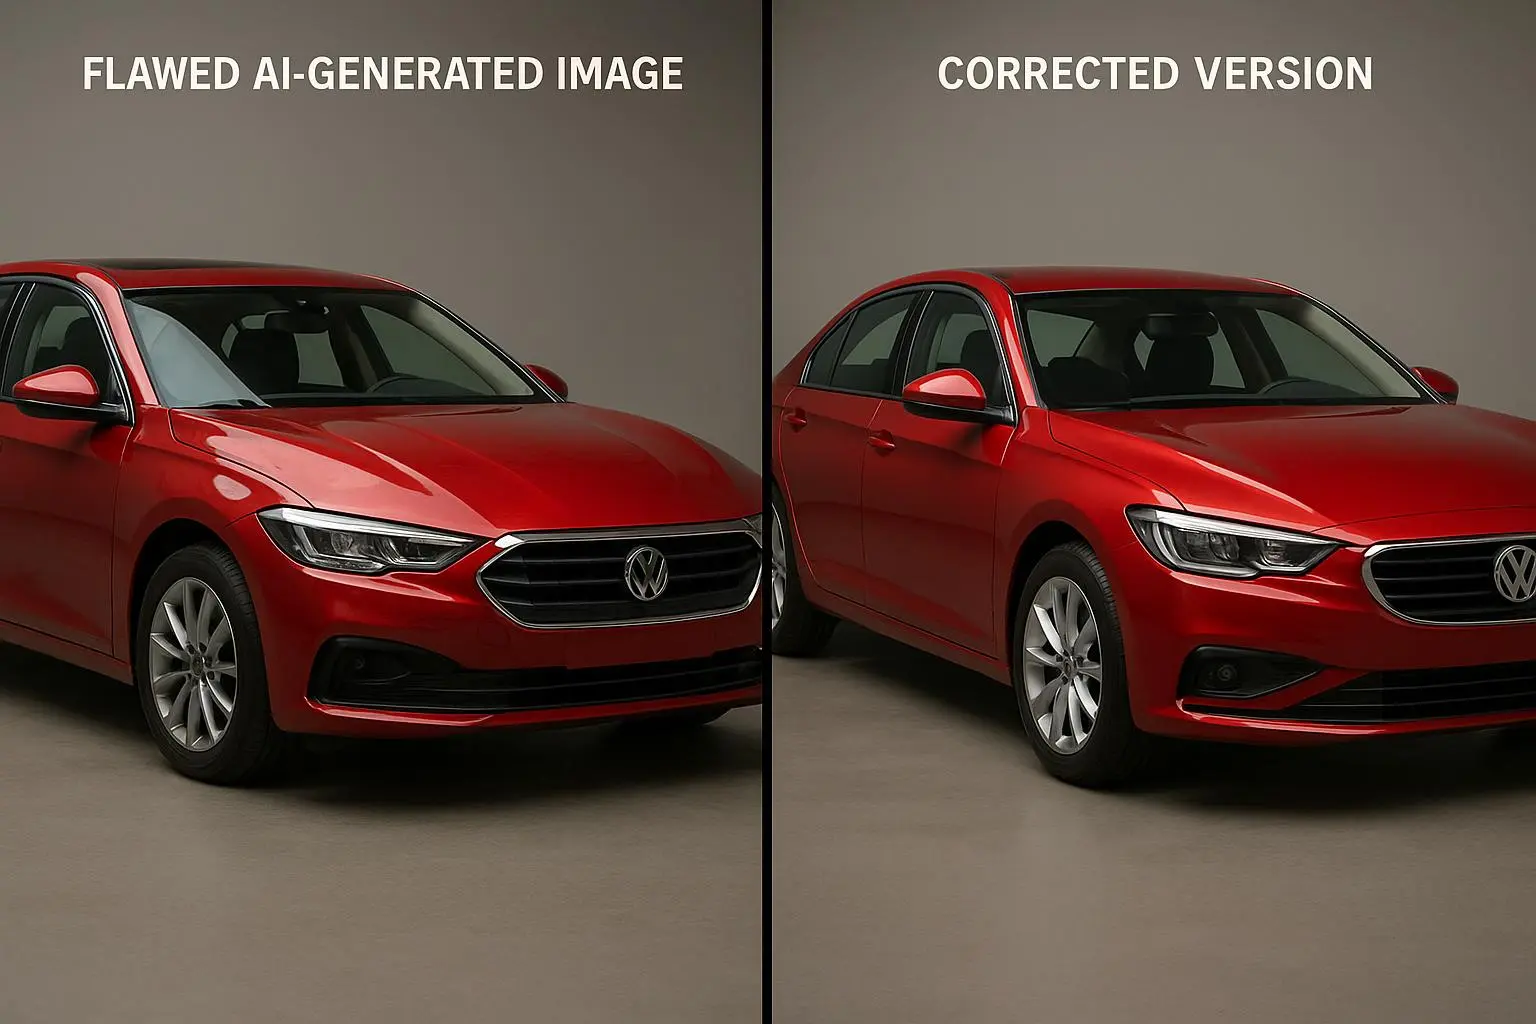
Artifacts are the fingerprints of undersampling or underdenoising. They’re not mysterious; they’re signals that the model didn’t refine enough. Common culprits include too-few sampling steps, aggressive upscaling without proper denoising, or starting with a base model that isn’t up to the task.
In my own work, I had a client project where the initial renders showed heavy grain and color noise in mid-tone areas. The client needed a clean three-shot gallery for a print catalog. I tracked it down to two things: too-short sampling steps and a mismatch between the chosen upscaler and the denoising strength. The fix was simple in theory, brutal in practice: increase the sampling steps, then run a refinements pass with a more compatible upscaler. The results? The last pass transformed noisy portraits into crisp, print-ready images with barely a trace of artifact left.
- Practical fix: bump sampling steps from 20–25 to 40–60 for most standard diffusion models. If you’re near 60 steps and you still see artifacts, you’re likely fighting other factors (see the next sections). Then apply a dedicated upscaler as a post-process pass, not as a re-run of the same diffusion operation.
- A micro-moment that stuck with me: I once realized the “cleanest” image wasn’t a single pass. It was a two-pass rhythm—denoise first, then upscale. The second pass was less about more detail and more about smoothing out the rough edges that the first pass left behind.
Inconsistencies: structural errors that drift from the prompt
Inconsistencies show up when the model can’t anchor the geometry, perspective, or anatomy to the prompt. Hands are the classic example: extra fingers, misshapen joints, or disjointed limbs. But it’s not just anatomy. You can see style drift, mismatched lighting, or inconsistent background elements across frames in a sequence.
In my own experiments, I noticed a character photo series would start bold and cinematic, then drift to a flatter, almost video-game look by the third frame. The root cause wasn’t “bad prompts.” It was the interaction between prompt specificity, CFG scale, and seed stability. When one frame would drift, I found that nudging CFG up slightly and locking the seed at the start of the sequence kept the style anchored long enough to reapply minor prompt tweaks without a full reset.
- Practical fix: increase prompt specificity for the problematic element, then raise the CFG scale slightly to push the model back toward what you want, but don’t max it out. If the style drifts across frames, fix the seed for the sequence and avoid changing it between renders.
- A micro-moment that stuck: the seed is like a fingerprint for a scene. If you don’t lock it, you’re inviting variability that makes your “storyboard” feel inconsistent.
Hallucinations: the nonsense that doesn’t ground in your prompt
Hallucinations are the harder problem. They appear as non sequiturs—text, objects, or details that don’t belong in the world you’re trying to render. It’s not just “creative misfires.” It’s the model insisting on things the prompt didn’t justify, often due to over-reliance on learned patterns rather than current context.
In practice, I’ve seen prompts that look perfectly reasonable, but the output includes a random object floating in space or a background detail with no causal link to the subject. The trick isn’t chasing perfect prompts; it’s grounding the generation with explicit constraints and negative prompts that prune the noise from being introduced in the first place.
- Practical fix: use negative prompts to exclude unwanted elements, and increase the emphasis on the core subject with weighted modifiers. You can also layer prompts to specify context or grounding clues—like a background that’s semantically tied to the subject rather than a generic landscape.
- A micro-moment that stuck: grounding details matter more than you expect. A single word cue like “grounded shadows” or “consistent lighting” can nudge the model away from floating artifacts and toward a coherent scene.
Prompt engineering and negative defenses: what you actually tweak first
If you’re new to this, start where it pays off quickly: the prompt. The most effective way to reduce artifacts and hallucinations is to tell the model what you do want—and, crucially, what you don’t.
- Negative prompts work miracles for consistency. A standard negative prompt list can dramatically cut down on artifacts and undesired features. Typical entries include blurry, deformed, extra limbs, low quality, and jpeg artifacts. The small time you spend composing this list pays off in cleaner base renders.
- Weight the right details. If a particular element is drifting—such as a character’s coat, a logo, or a texture—weight that element more heavily in your prompt. In some systems you can do this with explicit weighting syntax like (detailed chrome helmet:1.5). The goal is to ensure the model allocates more of its representational budget to the thing you care about.
Phase 2: Parameter tuning—the levers that actually move the needle
Prompts get you in the door; parameters actually shape the hallway you walk down.
- Classifier-Free Guidance (CFG) scale: The CFG scale is the dial for “how closely should the image follow the prompt?” Low CFG (3–6) tends toward creativity, which can increase drift and artifacts. High CFG (10–15) enforces prompt fidelity but can create a rigid, “digital” look and repetitive elements. If you see drift or hallucination, nudge CFG up a notch or two (e.g., 7–9) and evaluate the result. Don’t max it out; you’ll starve the model of necessary nuance.
- Real-world note: I once pushed CFG to 9 on a drifty character scene. The main subject locked in, but the background started to feel generic. A slight reduction to 8 gave me the fidelity without losing the surrounding mood.
- Sampling steps: Steps determine how many refinements the model makes. Too few steps, and you’ll see a lot of the artifact problem. A common move is to go from 20–25 steps to 40–60 steps. If you’re already at 60 and still seeing issues, you’re in the “other factors” territory (seed, model quality, or post-processing).
- Seed control: Lock the seed when you need a consistent series. If you change the seed, you’ll likely get a different image even with the same prompt. This one is the quiet hero of repeatability. If you’re building a set, decide on seeds for the entire run and stick with them, adjusting prompts in a controlled, incremental way.
- Quick story: I was assembling a three-frame character sheet. The first frame came out perfect. The second frame, with a same-prompt variation, looked nothing like the first because I forgot to lock the seed. I had to revert and redo both frames, wasting hours. Lock the seed. It saves time and keeps the narrative intact.
- Model selection and refinement tools: Sometimes your problem isn’t the prompt or the parameters but the model itself.
- Specialized models help with particular aesthetics. If you need photorealism, you’ll benefit from models trained on real-world images. For anime or cartoons, pick a model tuned to that style.
- Upscalers and refiners after generation: Use dedicated upscaling or denoising passes after the initial render to clean up residual flaws. This avoids re-running the diffusion process from scratch and can preserve overall composition better.
Phase 3: Model selection and workflow hygiene
The model you choose matters. A generic model will struggle with fine-grained tasks like photorealistic hands or architectural details. If you’re hitting stubborn problems, you’re probably due for a model swap or a refinement pass.
- Use the right tool for the job. If you’re aiming for realism, pick a model trained on real-world photography datasets. If you’re chasing a stylized look, a model tuned to that aesthetic will behave more predictably.
- Pre- and post-processing: Don’t treat generation as a single step. Do a quick post-process pass to clean artifacts, align colors, or adjust lighting. A tiny tweak after the render can make a big difference in perceived quality.
- Tools at your disposal: I’ve found value in a few reliable helpers—a robust webUI that gives granular control over CFG, steps, seeds, and sampling methods; an upscaling tool that preserves detail without introducing new artifacts; and a negative prompt library that’s easy to reuse across projects.
A real-world, hands-on story from my own work
A few years back, I was asked to produce a three-shot editorial illustration for a magazine. The client needed clean character portraits with a consistent lighting scheme, plus a subtle, cinematic mood. The first attempt looked striking but was riddled with artifacts in the hair highlights and a couple of mismatched lighting cues between the frames.
I paused and did three things:
- I locked in a seed for the entire three-shot sequence. The images had the same starting noise pattern, so the pose and composition stayed tethered as I experimented with prompts.
- I added a strong negative prompt list, particularly focusing on “blurry, deformed, extra limbs, jpeg artifacts.” The difference was immediate in terms of artifact reduction, especially in the facial regions.
- I increased the sampling steps from 40 to 60 for the final render, then ran a targeted upscaling pass to refine the highlights without amplifying noise.
The final set came back clean and cohesive. The client was thrilled—no weird fingers, no floating objects, and a consistent cinematic mood across all three frames. The editor told me it looked like a single-shot workflow, not three separate experiments. That’s the kind of outcome you want when you’re under a deadline.
If you’re curious about the details: the team used a Stable Diffusion-based pipeline, with a slightly higher CFG for the main subject, a seed lock for sequence consistency, and a light touch of ControlNet to guide a few spatial features without constraining the overall creativity. It wasn’t glamorous; it was methodical. And that’s how you win on the tough projects.
A practical, step-by-step workflow you can try tonight
- Step 1: Start with a strong prompt. Be specific about the subject, environment, and lighting. Add a grounding cue if the scene is complex (e.g., “studio lighting with oriented shadows on a white backdrop”).
- Step 2: Build a negative prompt. Include common troublemakers for your specific task. For portraits, add “blurry, deformed, extra limbs, low resolution, jpeg artifacts.”
- Step 3: Set seeds for consistency. Decide on a seed for the whole sequence, or at least for a row of related renders, and keep it constant.
- Step 4: Increase sampling steps to 40–60 for the initial clean render. Don’t go higher unless you’re seeing diminishing returns.
- Step 5: Tweak CFG scale in small increments. If you see drift, move from 7 to 8 or 9. If the image looks too rigid, drop back to 7.
- Step 6: If you’re hitting stubborn artifacts, run a post-processing upscaling pass with a dedicated denoiser or upscale algorithm designed to preserve edges and texture without reintroducing noise.
- Step 7: If inconsistencies persist, revisit the prompt to add specificity for the element that’s drifting. Simultaneously, lock the seed and re-run with the adjusted prompt.
- Step 8: Consider a model swap or a specialized model for that particular task. If hair or hands keep failing, a model trained on hair datasets or a hands-focused fine-tune can help dramatically.
A few cautions and guardrails
- Don’t chase the perfect prompt in a vacuum. Iteration is valuable, but you’ll save time by adjusting the levers (steps, CFG, seed) before you write another long prompt.
- Track what works and what doesn’t. Keep a tiny notebook or a notes file with your go-to prompts, negative palettes, and the parameter combos that reliably yield good results. You’ll thank yourself later.
- If you’re producing content for clients, you’ll want a repeatable template. A small checklist goes a long way: seed locked, negative prompts ready, sampling steps set, and a plan for post-processing. That’s it—your version of a design system for AI art.
Wrapping it up: a practical philosophy
I’ve learned that the best outcomes aren’t about chasing a perfect prompt; they’re about building a disciplined workflow. You diagnose first, then you fix with targeted adjustments. Artifacts? Up steps and a clean post-process pass. Inconsistencies? Seed locks and a touch more CFG. Hallucinations? Negative prompts and tighter grounding.
If you take one thing away from this, let it be this: treat AI image generation like a craft, not a magic trick. A craft has tools. A craft has tests. A craft rewards consistency.