Emergency Decisions on the Road
Jul 19, 2026 • 9 min
Traveling with a dog should feel like freedom—the wind in your hair, the open highway, the little rituals that turn a road trip into a memory. Then a siren of stress cuts through that moment: your dog isn’t behaving normally. Maybe a stumble, a tremor, or a sudden limp. You realize you’re miles from home with a potential medical emergency in the backseat.
I’ve been there. Not with my own dog, but with one of my clients’ dogs on a long cross-country run. We were two hours from the next town, the dashboard thermometer nudging into hot, and the dog suddenly started coughing and pacing in circles. The owner froze for a beat—rattled by what-ifs—then snapped back to reality and started triage in the car. We pulled over, stabilized the dog with shallow breaths, and within 20 minutes we had a plan: find the nearest emergency vet, confirm a few critical questions with the clinic, and organize the trip for a proper check. That moment taught me something crucial: you don’t have to be a veterinary professional to make the right moves when seconds count. You just need a reliable flow and a couple of ready-to-go tools.
And here’s the micro-moment I keep tucked away in my head: the sound of a distant siren is less scary when you know exactly where you’re headed and what to tell the people who will help you. A calm driver makes a calmer patient.
If you’re traveling with a dog, here’s the practical decision flow I wish every owner carried in the glove box. It’s not about predicting every freak accident. It’s about knowing the right questions to ask, where to find help fast, and how to keep your dog stable while you’re moving.
1) Quick triage: drive on or stop now?
When your dog shows signs of distress, you’re balancing fear with clarity. Use a simple, repeatable set of questions to decide your next move.
Is your dog breathing? Is there chest movement, audible breath sounds, or any sign of struggling to inhale or exhale? If breathing is compromised, stop immediately and call for help or start CPR if you’re trained.
Is your dog conscious and responsive? If your dog can still respond to you, walk, or signal for attention, the situation might be urgent but not immediately life-threatening. If they’re unresponsive, collapse, or can’t wake up, treat it as an emergency.
Are there obvious injuries (bleeding, swelling, limp that doesn’t improve with rest)? Severe bleeding, visible trauma, or the inability to move a limb typically calls for urgent care.
Are there signs of shock? Pale gums, rapid breathing, weak pulse, cold extremities—these are life-threatening signs that demand immediate attention.
Any potential food, toxin, or chemical exposure? If there’s a chance your dog has ingested something poisonous, treat with urgency and call a poison control line or a vet.
Here’s the core take-away: if you see life-threatening signs, stop and stabilize. If it’s serious but not clearly life-threatening, head to the nearest emergency vet. If it’s mild, monitor closely and plan a vet visit if things don’t improve.
A memory from a cross-country trip sticks with me here: a dog with a sudden collapse during a long drive. We stopped, we checked breathing first, then called ahead while stabilizing with a blanket and a few cautious breaths of air. The vet confirmed it wasn’t an instant catastrophe, but it needed care. The decision to slow down and verify facts on the spot likely saved precious minutes and reduced anxiety for everyone in the car.
30-60 second aside: I once started with “it’s fine” in a parking lot, only to realize the dog had a fever and was dehydrated. A quick drink of water shouldn’t be the cure for a mystery illness on the road. If you’re unsure, pull over. It’s worth the few minutes to stay ahead of a developing crisis.
2) Locating the nearest emergency vet fast
Once you decide that urgent care is needed, speed matters. You’re not looking for the perfect clinic; you’re looking for the closest one that can see your dog tonight.
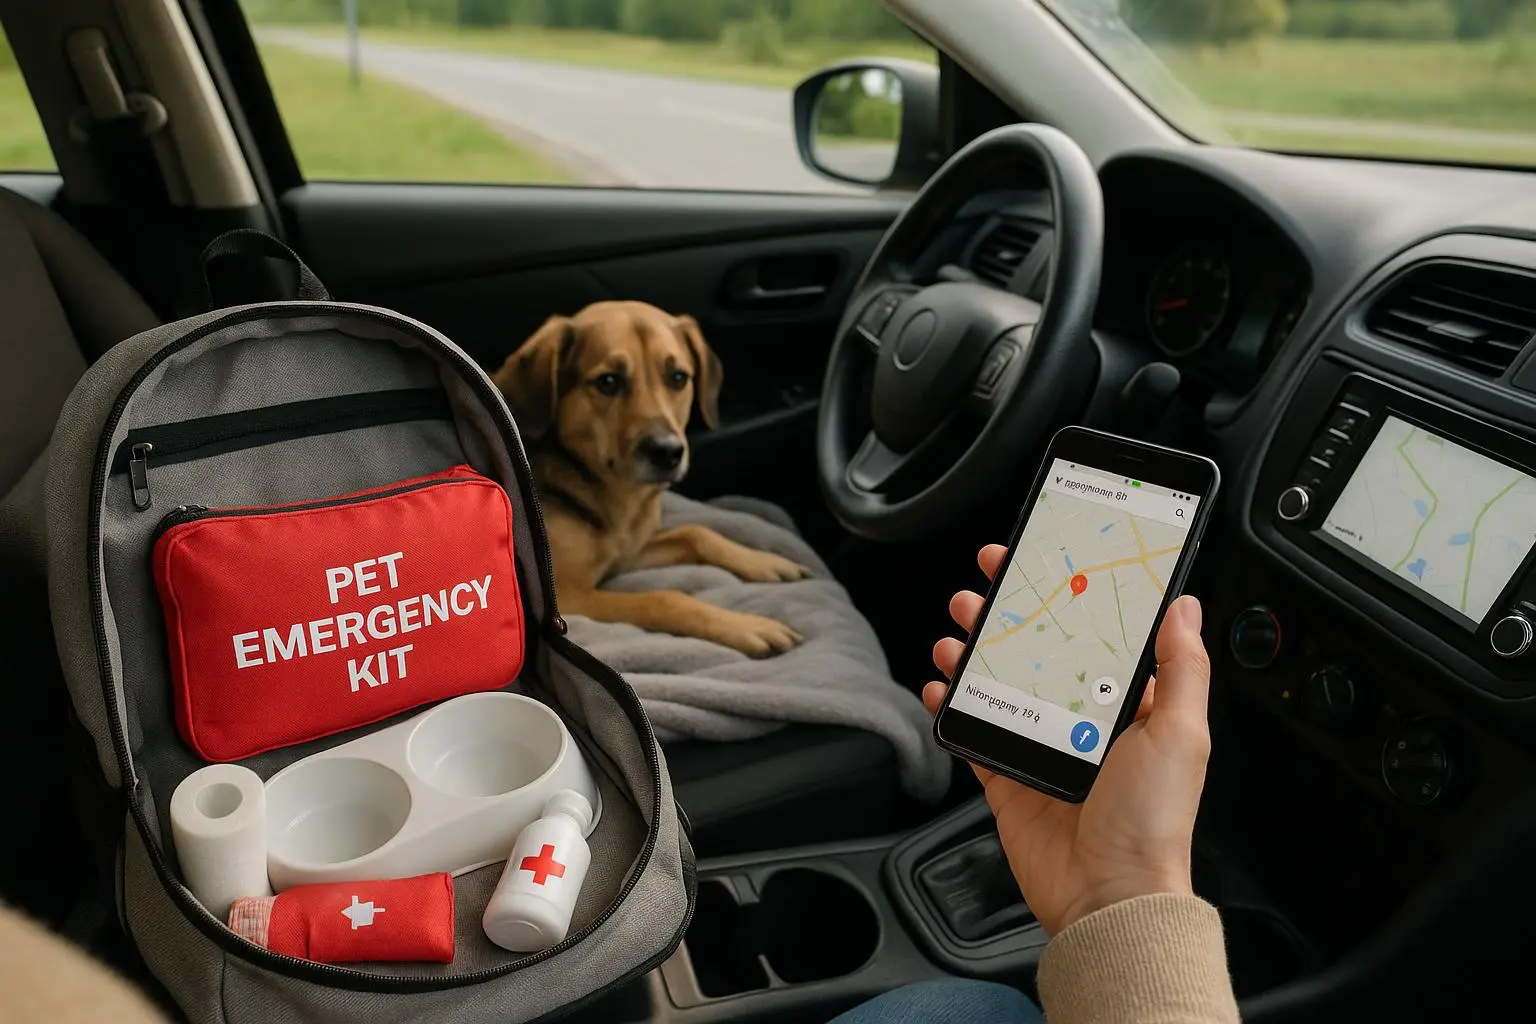
Pre-trip planning is priceless. Before leaving, map out emergency clinics along your route and at your destination. Save addresses and numbers in your phone, and print a page with “nearest 24-hour emergency clinic” for the dashboard.
On-the-spot strategies work, too:
- Use vet-finder apps and websites to locate the nearest 24-hour hospital.
- Call ahead to confirm they can see your pet, ask for instructions, and tell them you’re en route. If they can’t see you, ask for a recommendation nearby.
- Don’t forget to ask about after-hours intake or any triage fees. They can be surprising.
Local knowledge is underrated. A gas station attendant or a hotel front desk staffer may have a surprisingly solid sense of the nearest clinics in rural or smaller towns. I’ve seen strangers point someone directly to a clinic that wasn’t showing up in a quick app search, saving valuable minutes.
A concrete takeaway: build a short list you can trust. Include at least three options in order of proximity, plus a backup route in case construction or bad weather blocks your first choice.
3) What information to have ready
Time is the most precious resource in an emergency. If you can hand the clinic a clean package of information, you shave minutes off their triage process and focus their attention on your dog.
Create an emergency pet information packet (digital and physical) that you can access instantly.
- Your dog’s basics: name, breed, age, weight. A simple one-liner on unusual behaviors helps too.
- Medical history: vaccinations (rabies, for starters), allergies, current medications (dosage and timing), known conditions, recent surgeries.
- Your normal vet’s contact information and location.
- Your contact information plus a reliable alternate contact.
- Pet insurance details: company, policy number, and claim contact.
- Chip or license IDs, plus any recent photos in case the dog parks or escapes.
- A short recent incident report: what happened, when it started, what you’ve observed since.
In the car I keep a laminated card with all of this. I learned the hard way that scrambling for records while a dog is stressed is a recipe for more panic. A laminated card is simple, fast, and one fewer source of friction.
Two small stories from travelers illustrate the value of good information:
- A traveler in a remote area found a local vet through a gas-station attendant, who had a printed list of nearby clinics. The owner was able to point to the exact direction and even called ahead on the way.
- Another owner kept their pet’s vaccine card and microchip number on a tiny card that fits into a glove box. When chaos hit, the vet asked for proof of ownership and medical history; the card kept the process smooth and fast.
4) Stabilizing your dog in the car
The best outcome in a stressful moment is quick stabilization that buys you time to reach professional care. Here are practical steps you can take in the moment.
Stay calm. Your dog drinks in your energy. Speak softly and reassure them even if you’re panicking inside.
Safe transport matters. If you can, have a second person drive while you attend to your dog. Secure them in a carrier or harness to prevent falling or jostling during sudden stops.
First aid basics to keep in mind (only perform actions you’re confident with):
- Bleeding: apply direct pressure with a clean cloth. Elevate the limb if possible.
- Suspected fractures: keep the limb as still as you can; do not attempt to set a bone.
- Choking: if you can see an obstruction, remove it if safe. If not, call and follow the vet’s guidance.
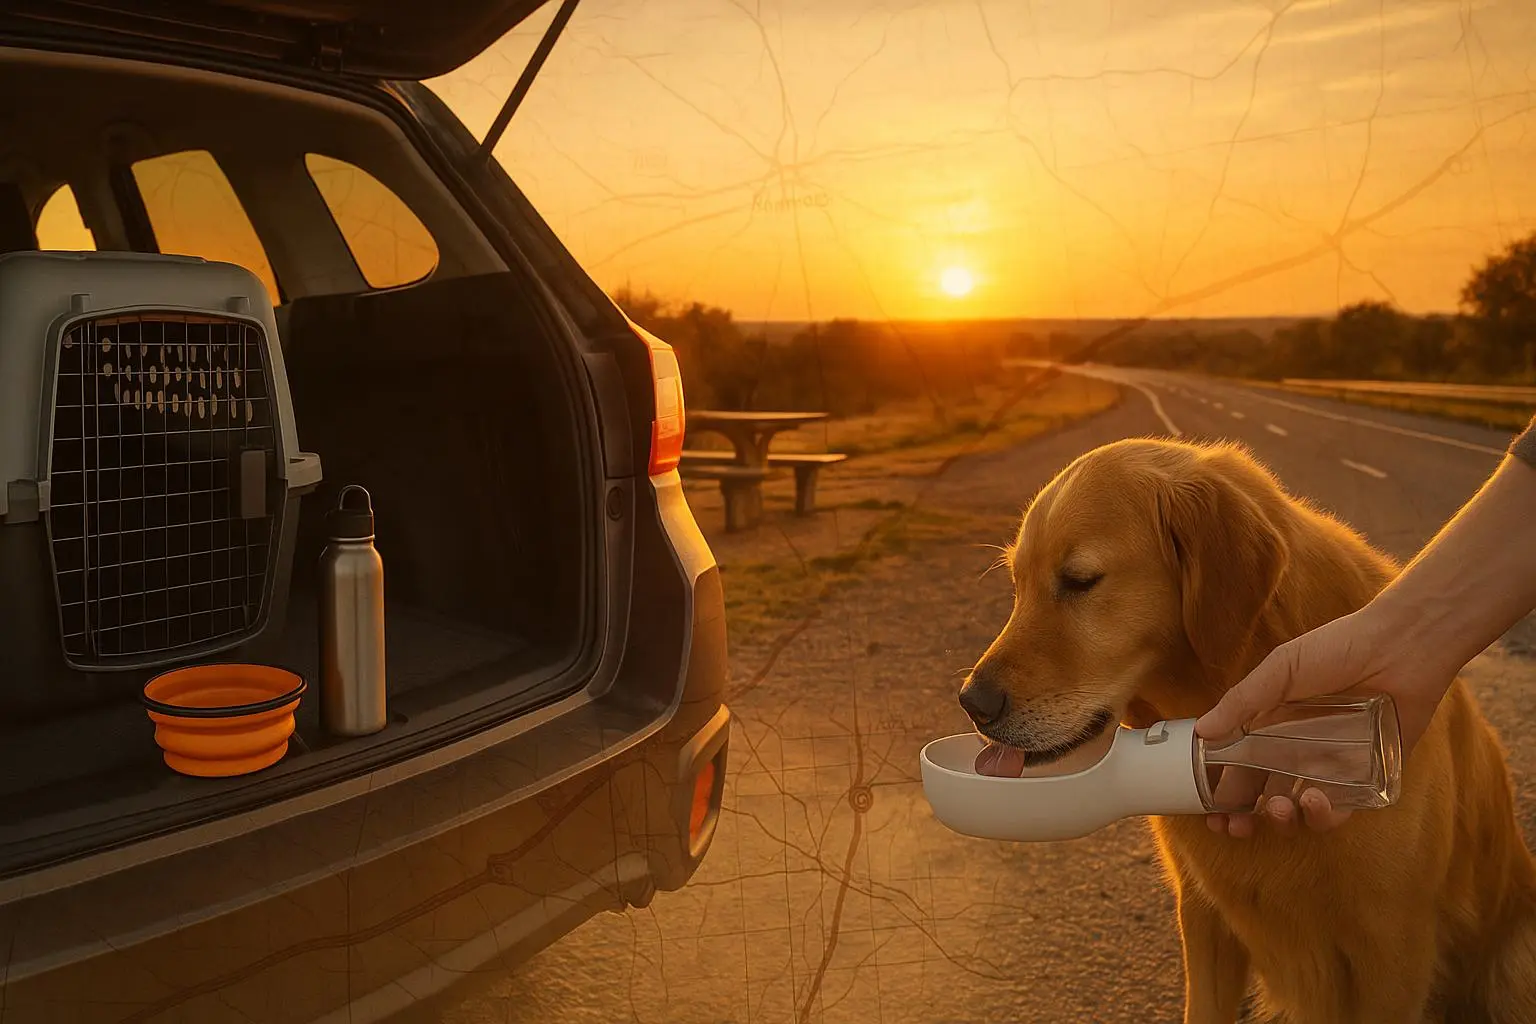
- Heat-related issues: damp towels on paws, groin, and armpits help. Offer small amounts of water if the dog can swallow and isn’t vomiting.
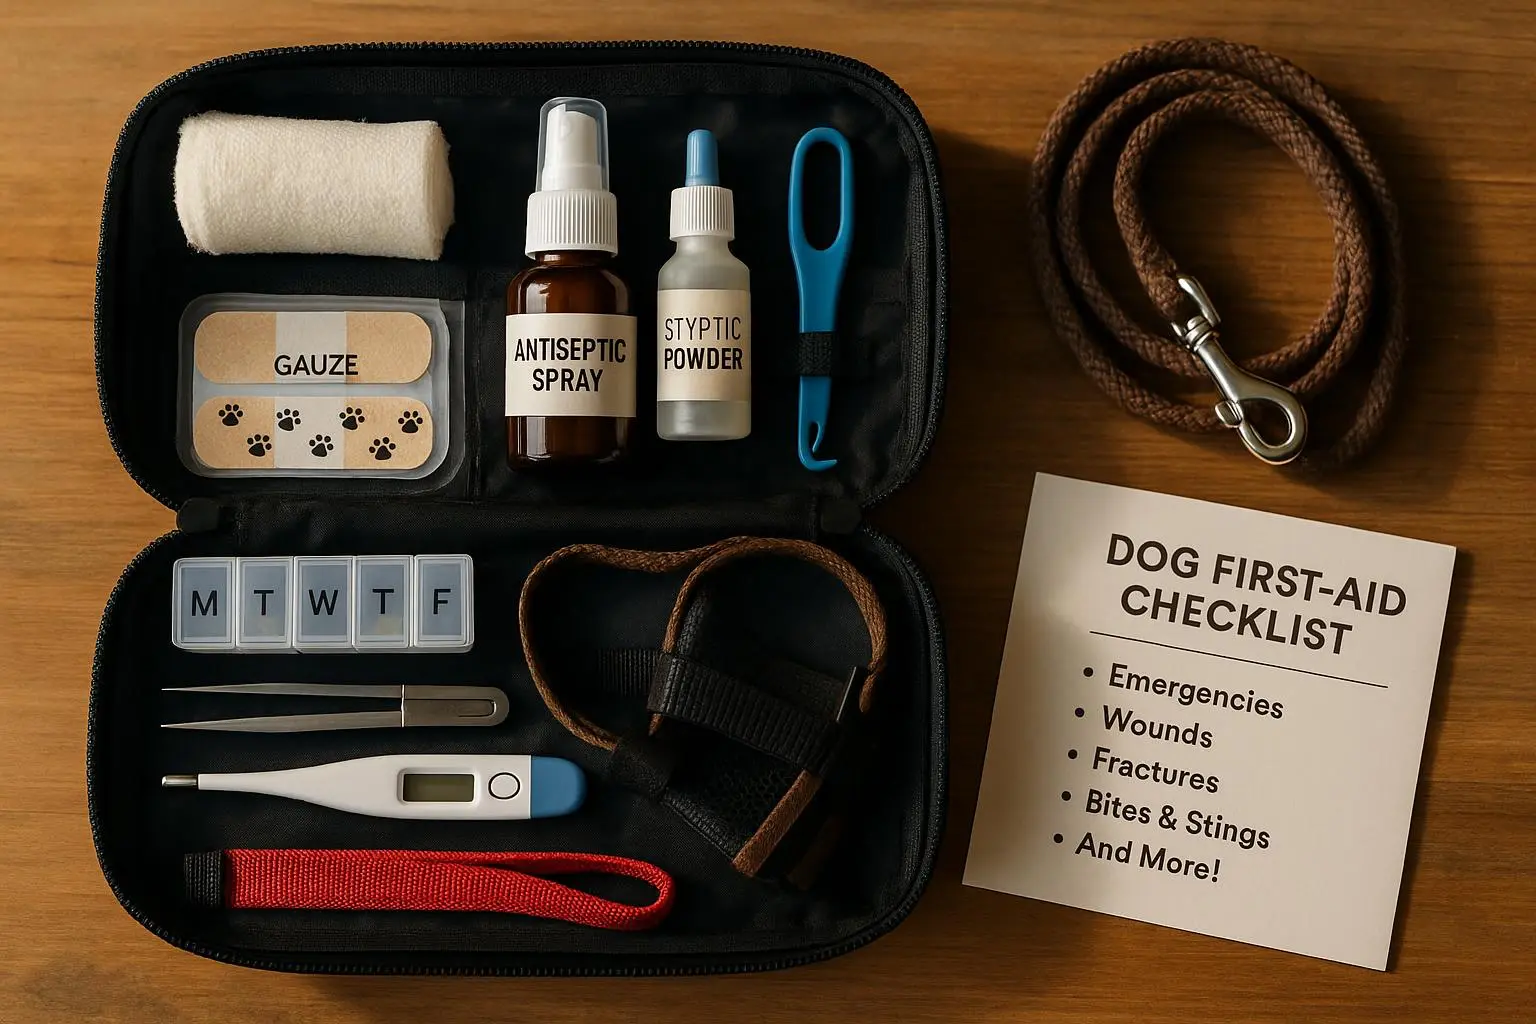
- Muzzling: injured and frightened dogs can bite even when they’re not normally aggressive. A quick, safe muzzle keeps everyone, including you, safer during transport and triage.
Temperature control is also a factor. If the dog is overheated, cooling is essential; if they’re cold, keep them warm with a blanket. The goal is a stable core while you head to care.
One practical tip that’s worth repeating: have a muzzle in your emergency kit. It’s not about trust—it’s about safety for you and the veterinary team when a frightened or in-pain dog reacts unpredictably.
5) What to expect at the emergency clinic
Once you arrive, the clinic moves quickly. You’ll typically see a triage nurse or vet tech first, who will take your dog’s vitals and determine the urgency of care. The major steps you’ll likely encounter:
- Triage and stabilization: temporary stabilization with oxygen, IV fluids, and pain control if needed.
- Diagnostics: blood work, X-rays, sometimes ultrasound, depending on symptoms and the suspected condition.
- Treatments: these can range from simple wound care to more complex interventions, including surgery or admission to intensive care for monitoring.
- Communication: the clinic should give you a clear plan, rough timelines, cost estimates, and what you’ll need in terms of follow-up care.
- Discharge or admission: you’ll receive discharge instructions if your dog goes home that day, or you’ll be briefed on hospital care if the condition requires it.
A calm driver helps your dog stay calm too, which makes the whole process smoother for everyone in the room.
6) Downloadable resources that actually help
This guide isn’t just about ideas; it’s about tangible tools you can use right now.
- Emergency Pet Contact Card: a printable card you fill out with essential medical and contact information. Keep it in your wallet, glove box, and clip it to your dog’s carrier.
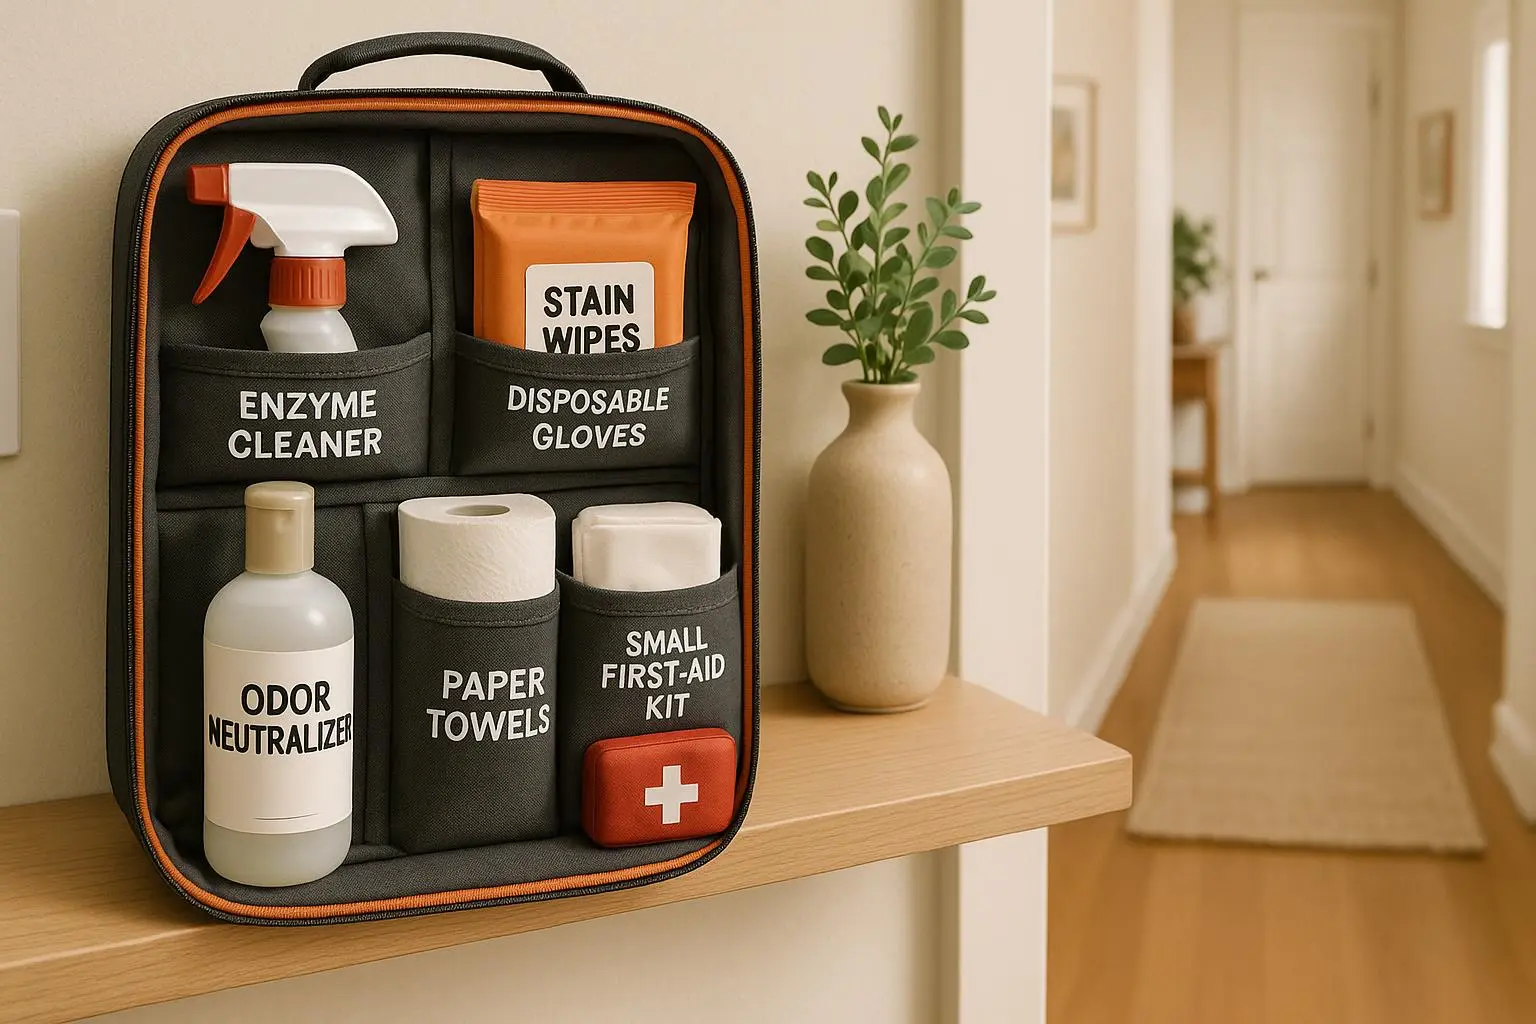
- In-Car Pet Emergency Kit Checklist: a ready-to-fill kit list you can assemble in advance, with items like a clean cloth, basic bandages, a small splint, gloves, water, and extra leash.
A quick personal note here: the kit isn’t a test of your veterinary knowledge; it’s a peace-of-mind kit. It’s the small, practical stuff that reduces panic in the moment—like having a spare muzzle, a folded towel, and a pocket notebook to jot down what the clinic says.
7) Real-world practice you can start today
- Build a three-clinic list for your usual route and your favorite destinations. Include phone numbers and hours. Add a third option that’s a longer drive but more capable in an emergency.
- Create your Emergency Pet Information Packet. Put a laminated version in the glove box and keep a digital version on your phone for quick sharing with the vet.
- Assemble a simple In-Car Emergency Kit. Start with the basics: clean cloths, a small splint (like a rolled towel), bandages, non-latex gloves, a muzzle, a thermometer, and a bottle of water. Add a copy of your pet’s medical history and microchip number.
- Practice a 5-minute “what to tell the vet” script. On a calm evening, rehearse telling a vet exactly what happened in the car, including timing, symptoms, and any actions you’ve already taken. This isn’t theater; it’s a life-saving speed dial.
As you apply this, you’ll realize how much more in control you feel. The fear doesn’t disappear, but it becomes manageable because you have a plan and the tools to execute it.
8) A quick look at the data and the practical takeaways
The research landscape around pet emergencies emphasizes triage accuracy, rapid access to care, and the role of pre-trip planning. It’s not about complicated hospital jargon; it’s about knowing what to look for and where to go when seconds count. Real-world experiences—from travelers who have navigated rural emergencies to the vets who staff 24-hour centers—underline the same messages: preparedness, reliable information, and decisive action matter.
What all this adds up to in practice is a simple framework you can apply on any trip with a dog:
- Quick triage that prioritizes life-threatening signs
- A concrete plan to locate and contact emergency vets
- Ready-to-use information packets and a portable kit
- Calm, practical stabilization in the car
- Clear expectations for what happens at the clinic and how to follow up
And remember: those tiny details matter. A laminated card, an accessible emergency contact list, and a clean, organized car kit aren’t luxuries—they’re lifelines.
9) Final thoughts: travel with confidence, not fear
If you’re planning a trip with your dog, start now. Build the triage questions you’ll run through in a pinch, map out emergency clinics along your route, and assemble the in-car kit you’ll actually use. You don’t have to be a vet to act quickly and effectively; you just need a straightforward plan and the discipline to follow it when the road gets loud.
And if you want a practical push, download the templates and kit checklist and put them in place before your next departure. It’s surprising how often the small steps—like having a ready list of emergency contacts—make a big difference when a real emergency pops up.
References
- American Veterinary Medical Association. Pet First Aid: What to Do in an Emergency.
- Purdue University College of Veterinary Medicine. Gastric Dilatation-Volvulus (GDV) in Dogs.
- Veterinary Emergency and Critical Care Society. Find a VECCS Member Hospital.
- American Animal Hospital Association. Pet First Aid: Fractures and Sprains.
- ASPCA. Pet First Aid & Emergencies.