7-Day Coolant Detective Plan: Systematic Steps to Track Intermittent Losses
Jul 4, 2026 • 9 min
If you’ve ever topped off the coolant, hit the road for a few days, and watched the level drop again without a visible puddle, you’re not alone. I’ve chased this exact ghost in the engine bay more than once. The leaks were so intermittent that they felt almost intentionally shy—until I started treating them like a week-long investigation rather than a single test.
Here's how I approached it, day by day, with real-world results you can replicate. The goal isn’t to punish your wallet with guesswork. It’s to gather solid evidence—photos, logs, test numbers—so you walk into the shop with a clear story and a realistic repair plan.
And yes, there’s a tiny moment I learned to treasure during this process: the moment I found a tiny crusted drop on a hose clamp that I’d walked past a dozen times before. Not every clue is explosive; some are just stubborn, patient breadcrumbs.
A quick memory I carry from Day 1: I learned early on to record the engine’s temperature behavior before any test. Watching how quickly the gauge climbs after a cold start told me when the cooling system was under unusual load. That little pattern helped me decode whether the issue was external or internal.
Day-to-day, this plan keeps you focused. It also gives you printable checklists, photo-log templates, and safety reminders—because hot systems are nothing to joke about. Below is the practical blueprint, followed by a few notes I wish I’d known at the start.
Day 1: Baseline Recording and Documentation (The Logbook)
What you’re chasing is a baseline you can trust. The ghost leak often hides in plain sight because there’s no obvious puddle to chase.
Action
- Top off the coolant to the cold fill line.
- Take high-resolution photos of the reservoir, the radiator cap area, and the engine bay floor.
- Record the date, mileage, ambient temperature, and whether the engine has recently run hot or cool.
- Start a simple log in your phone or a notebook: trip, coolant level, any smells, or damp spots you notice the next morning.
Why this matters
- Without a baseline, you’re guessing where the next drop will come from.
- I found that a tiny daily drop, tracked over a week, pointed to a cracked thermostat housing that only opened up when the metal cooled and contracted.
Safety aside
- The engine needs to be cold before you touch anything around the cap. Burn injuries are all too common with pressurized coolant.
A quick aside that sticks with me
- When I started logging every trip’s coolant level, I found a pattern: the drop happened a little after I parked on a hill. It wasn’t dramatic, but it was repeatable, and it narrowed my external-leak search to one hose route.
Expected cost: $0 to $5 for a notebook or app subscription.
Day 2: The Cold Pressure Test (External Leaks)
This is the gold standard for external leaks. The caveat is safety—this test must be done cold.
Action
- Rent or buy a cooling system pressure tester. Attach it to the radiator neck or the reservoir.
- Pump up to the cap-recommended pressure (usually around 15-18 psi).
- Let it sit for 30 minutes. Watch the gauge; any drop means a leak somewhere in the external path.
- Inspect hoses, clamps, the radiator cores, and the water pump weep hole.
Why it matters
- A slow external leak can be invisible in normal driving but shows up under pressure.
Expected cost: $20-$40 if you rent or buy a kit.
30-second micro-moment
- A small, overlooked detail I spotted during Day 2: a faint line along an old hose where the outer sheath looked dry but the inner layer was damp at the clamp. That hint was enough to guide me to a corroded clamp rather than a ruptured hose.
Safety note
- Never touch the radiator cap when the system is hot. If you’re unsure, wait and re-test another day.
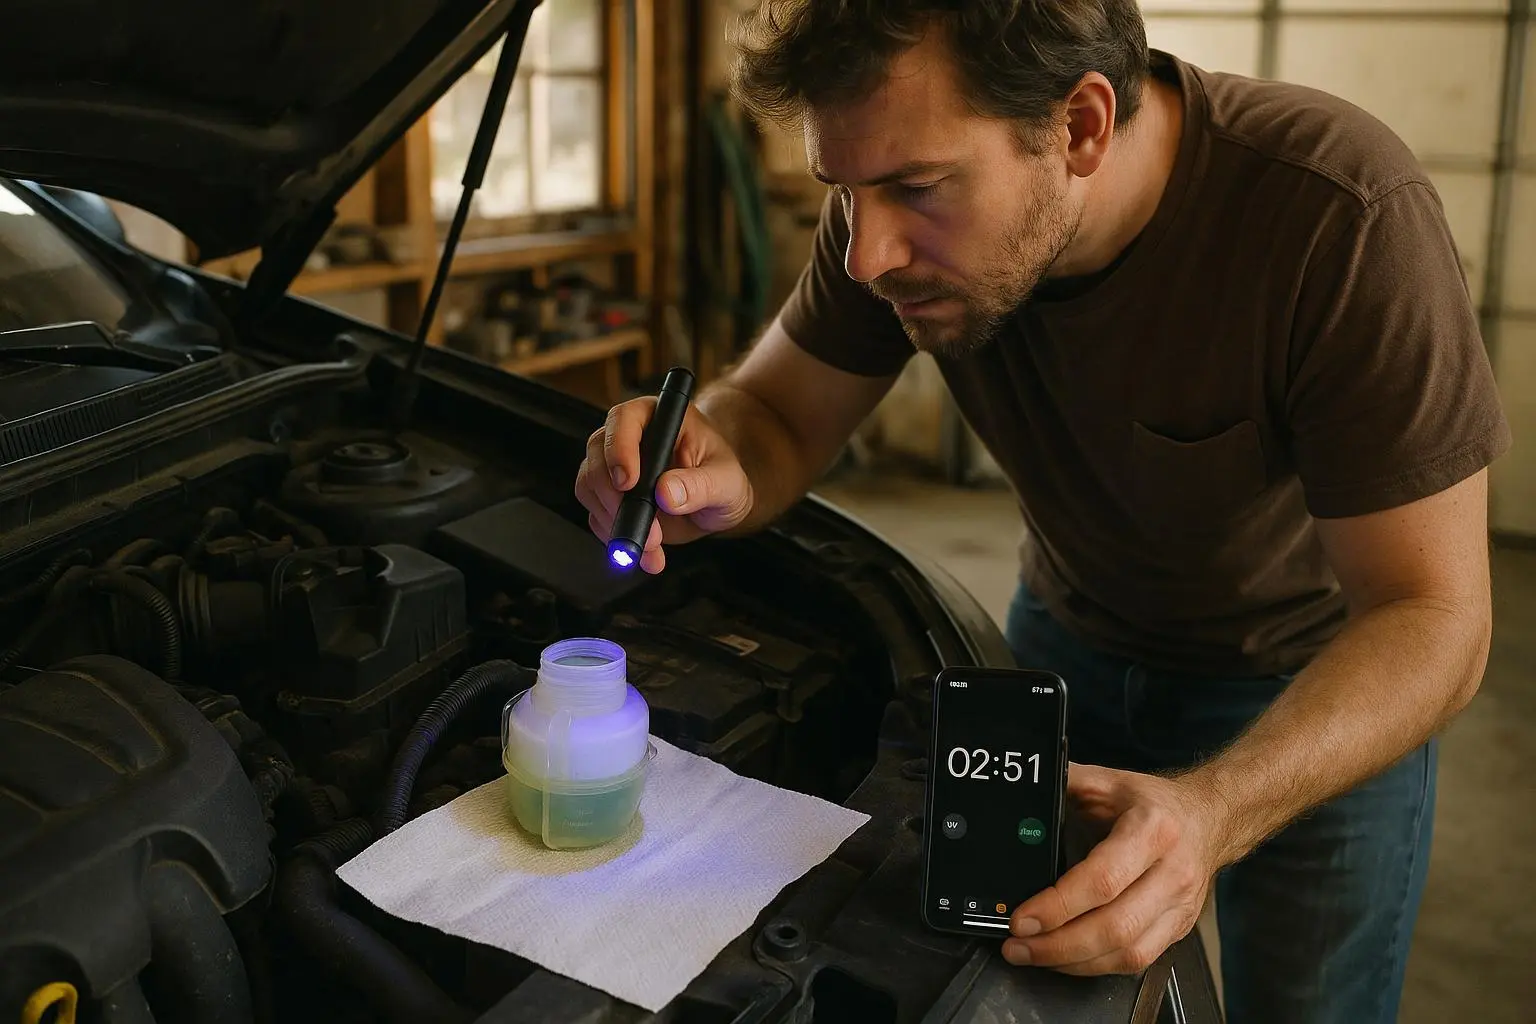
Day 3: UV Dye Injection and Night Inspection (Pinpointing the Source)
If Day 2 didn’t reveal a leak visually, UV dye can illuminate thirsty spots you’d otherwise miss.
Action
- Add a UV-reactive dye to the cooling system.
- Drive normally for 1-2 days to circulate the dye and pressurize the system.
- After dark, inspect the engine bay with a UV flashlight and safety glasses. Look for glowing traces near hoses, the water pump, heater core connections, and the back of the engine.
Why it matters
- UV dye helps you see leaks that only appear under driving conditions or in hard-to-reach places.
Expected cost: $10-$15 for a dye kit.
30-second micro-moment
- The glow you see under the UV light isn’t just a leak; sometimes it’s a subtle seep from a corroded hose clamp that would otherwise be dismissed as “just moisture.”
Day 4: Exhaust Gas Block Test (Internal Consumption Check)
If external tests are clean, you’re likely dealing with an internal issue: coolant being burned or consumed inside the engine.
Action
- Purchase a block tester kit that checks for combustion gases in the coolant.
- Draw air from the radiator into the testing fluid. If the fluid changes color (typically to yellow/green), you’ve got combustion gases—evidence of a head gasket issue or a similar internal leak.
Why it matters
- It distinguishes internal leaks from external ones. It’s often the moment the mystery becomes a diagnosis.
Expected cost: $30-$50 for the kit.
Real-world resonance
- A friend swore it wasn’t a head gasket; the system “held pressure” after a quick test. The block test turned the mystery on its head and saved us hours in back-and-forth diagnosis.
A cautionary note
- If the test is positive, you’ll want professional confirmation and likely a repair plan. The cost and scope can vary widely.
Day 5: Heater Core and Cabin Checks (Internal Cabin Leak)
Heater cores are notorious for sneaking coolant into the cabin without a dramatic external sign.
Action
- Inspect the passenger side floorboard and carpet for dampness.
- Note any sweet, syrupy smell in the cabin when the heat is on. That scent is a classic heat exchanger leak clue.
- Check for foggy windows that don’t clear up quickly.
Why it matters
- A leaking heater core can drain coolant while leaving little to no external evidence, yet it creates a very clear safety and comfort issue.
Expected cost: $0 if you catch it early; could drift into parts-replacement territory if you need professional help.
30-second micro-moment
- I once found a faint damp spot on the firewall after parking in the sun. It wasn’t a waterfall, but a very slow seep that only appeared when the sun heated the engine bay and expanded the core just enough to leak through a seam.
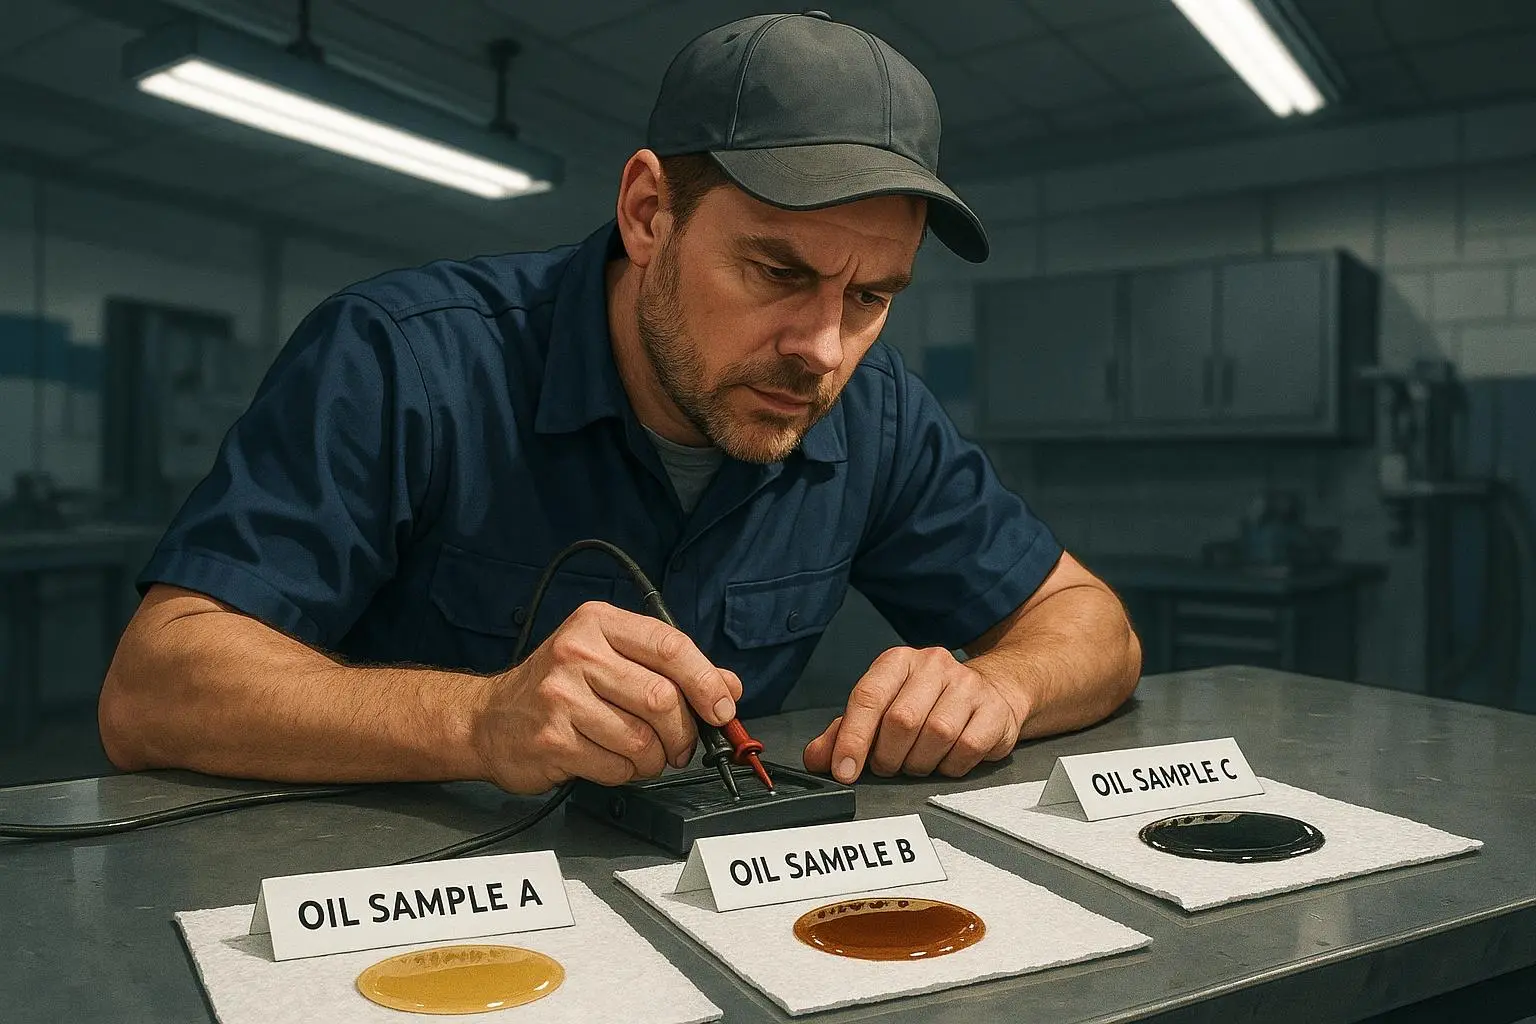
Day 6: Spark Plug and Oil Analysis (Deep Internal Clues)
If the block test suggested internal issues or you want more corroboration, dive into the internal clues.
Action
- Check the oil for milky or foamy residue, which signals coolant mixing with oil.
- If you’re comfortable, remove one or more spark plugs. A plug that looks unusually clean or ‘steam-cleaned’ could indicate coolant entering a cylinder.
- Compare plug conditions among cylinders to spot anomalies.
Why it matters
- This can confirm an internal leak that won’t show up in external tests.
Expected cost: $0-$20 if you do it yourself.
Real-world insight
- This step saved a neighbor hours of diagnostic time. The oddity was a single cylinder’s plug that looked pristine while the others showed normal wear. It pointed the mechanic straight to the head gasket issue rather than chasing random hose problems.
Safety note
- If you’re not comfortable pulling plugs, skip this step and rely on the block test and optical checks.
Day 7: Correlation and Mechanic Script (Escalation)
You’ve got a week’s worth of data. Now it’s about turning that data into a clear, persuasive case for a mechanic.
Action
- Compile your logbook entries, photos, and test results into a single, chronological report.
- Create a short script for the call with your shop: “I did a 7-day diagnostic plan. The pressure test dropped X psi in 30 minutes; UV dye glowed at the lower radiator hose; block test was positive/negative; there’s evidence of coolant on plug #3. I’m looking for a repair plan and an estimate.”
- Include copies of test results, dates, and any relevant safety notes.
Why it matters
- A clean, data-backed narrative saves diagnostic time and can prevent unnecessary repairs or misdiagnosis.
Expected cost
- Professional diagnostic fees vary; your goal here is to reduce the guesswork—and the time to diagnosis.
Safety First: Handling Coolant
A quick, practical reminder you’ll thank yourself for later: coolant is toxic. Wear gloves and eye protection. Never open a hot radiator cap. If you’re not sure, step back and test another day. The EPA and other safety guides emphasize safe handling and disposal of automotive fluids. Treat coolant as both a health risk and a chance to protect your car’s longevity.
Printing, Logging, and Templates
To make this stick, I used printable checklists and a photo-log template. If you want one, here are the core pieces I relied on:
- Baseline recording sheet (date, mileage, coolant level, ambient temperature, notes)
- Pressure test log (pressure, time, leak location notes)
- UV dye inspection log (areas checked, glow observations, photos)
- Block-test results sheet (blue fluid color, interpretation)
- Heater-core and cabin check sheet (smell notes, damp spots, footwell notes)
- Spark plug and oil check log (plug appearance, oil condition)
- Correlation report (summary of all tests, synthesis, recommended next steps)
A small detail that paid off
- I kept a running file of every photo I took, labeled by day and test. When I handed this to the shop, they knew exactly where to look, which cut a lot of time and stress.
What I’d Do Differently If I Could Start Over
If I had to do this again, I’d start Day 1 with a simple digital log that auto-tags photos by location in the engine bay. It’s a tiny tweak, but it multiplies your clarity when you’re summarizing test results for a mechanic. I’d also keep a running cost tally in the same log so I could estimate the true expense of the diagnosis and the potential cost of a head gasket repair.
And I’d stress-test the data-sharing process with the shop. The best results come when you provide a concise, evidence-backed narrative rather than a laundry list of symptoms.
The Wrap-Up: Why This Plan Works
- It’s slow-burn concrete. You’ll gather real evidence rather than rely on guesswork.
- It respects safety. You’re testing cold, wearing protection, and avoiding risky maneuvers.
- It pays for itself. By Day 7, you’re either heading to a precise fix or you’ve saved hours of “call this shop” ping-pong.
I’ve watched this approach turn a mystery leak into a defined repair plan more than once. It doesn’t guarantee a miracle answer, but it does guarantee you’ll have a credible, repeatable snapshot of what’s going on—and you’ll know exactly what to tell your mechanic.
If you’re currently staring at a coolant bottle and wondering what to do first, start with Day 1. Build your log. Take your photos. Then let the next seven days unfold with purpose.
References
Ready to Optimize Your Dating Profile?
Get the complete step-by-step guide with proven strategies, photo selection tips, and real examples that work.