Quick Fixes When Wipers Don’t Make Full Contact: Arm Tension, Springs and Simple Repairs
Sep 22, 2026 • 8 min
You’re driving in a fine, steady rain and your wipers leave a fat streak right across your line of sight. Or worse: nothing clears on one side. It feels small, but poor wiper contact is a real safety problem. The good news: it’s often something you can diagnose and fix in a driveway with basic tools.
I’m going to walk you through what actually causes wiper blades not to touch the glass, how to test which part is at fault, simple repairs that work, what’s risky, and when to stop and call a shop.
Short version: sometimes it’s the blade, sometimes the arm, sometimes dirt. Start with the easiest checks and only bend metal if you know what you’re doing.
Why wipers fail to make full contact
Wipers are deceptively simple. The blade needs consistent downward force and the correct curvature to follow your windshield. That force comes from a spring inside the wiper arm and the arm’s geometry. When anything changes — the spring weakens, the arm bends, the blade hardens or the glass has gunk under the rubber — the blade stops hugging the glass.
Symptoms and what they usually mean:
- Single streak across the windshield: often debris under the blade or a worn blade edge.
- Chattering or skipping at higher speed: bad blade curvature, wrong mounting type, or weak arm tension.
- Large uncleared segments: bent arm or arm not seated correctly.
- One side clears poorly: arm spring fatigue or incorrect arm angle.
Quick inspection I run first
Before you pull tools, do this 3-minute check:
- Turn the car off and lift the wiper arm away from the glass.
- Clean both the blade rubber and the windshield with isopropyl alcohol or a proper glass cleaner.
- Look along the length of the blade for cracks, missing rubber, or hardening.
- Fold the blade back and feel the arm’s springiness — does it resist when you push it toward the glass?
If cleaning fixes it, celebrate and move on. If not, keep reading.
Micro-moment: once I found a tiny 2 cm roll of roof tar stuck under the blade. The driver swore the wipers were ruined—20 minutes of cleaning and the streak vanished. Always check for obvious junk first.
How to tell if it’s the blade vs. the arm
Swap or move the blade. If you have a spare blade or can borrow a friend’s, clip it on and test. If the new blade still streaks, the problem isn’t the rubber.
Compare the two arms on your car. If one wiper works and the other doesn’t, flip the blades: put the good blade on the bad arm and vice versa. If the problem follows the arm, it’s the arm (or its spring). If the problem stays with the blade, replace the blade.
Note: some modern cars use different blade types and lengths for each side. Don’t assume interchangeability without checking fitment.
Simple fixes that actually work
I’ll list practical, low-risk moves first, then the more involved ones.
Clean the windshield and blades (again): Use isopropyl alcohol on the rubber and a microfiber on the glass. Rinse wiper blades with water. Dirt and wax residues are surprisingly common culprits.
Replace the blade with the correct type: Use your owner’s manual or any parts app (AutoZone, O’Reilly). Buy a quality blade that matches the curvature and attachment style. A wrong-profile blade won’t sit right.
Check the blade seating and attachment: Reinstall the blade and make sure it clicks into place. A loose connection causes chatter and partial contact.
Inspect and lubricate pivots: With the arm lifted, check the pivot for corrosion. A small dab of light grease (not on the rubber) at the pivot can free a binding arm. Don’t overdo it — you’re lubing the joint, not the rubber.
Check arm seating and nut torque: If you remove and reseat the arm on its splined post, make sure the nut is snug. Manufacturer torque matters. Overtightening strips threads or damages motors; undertightening lets the arm slip. If you don’t have a torque spec, snug it and test for slip rather than cranking down.
When bending the arm is reasonable (and when it's not)
Here’s what I learned the hard way: gentle, controlled bending can restore contact, but it’s easy to overdo. I bent an arm once to clear a streak after an ice job. It worked for a couple of weeks, then the arm’s metal fatigue made the problem return. I should have replaced the arm.
If you try it:
- Lift the arm away from the windshield.
- Bend at the base where it joins the pivot — small adjustments only.
- Bend in short bursts and test frequently.
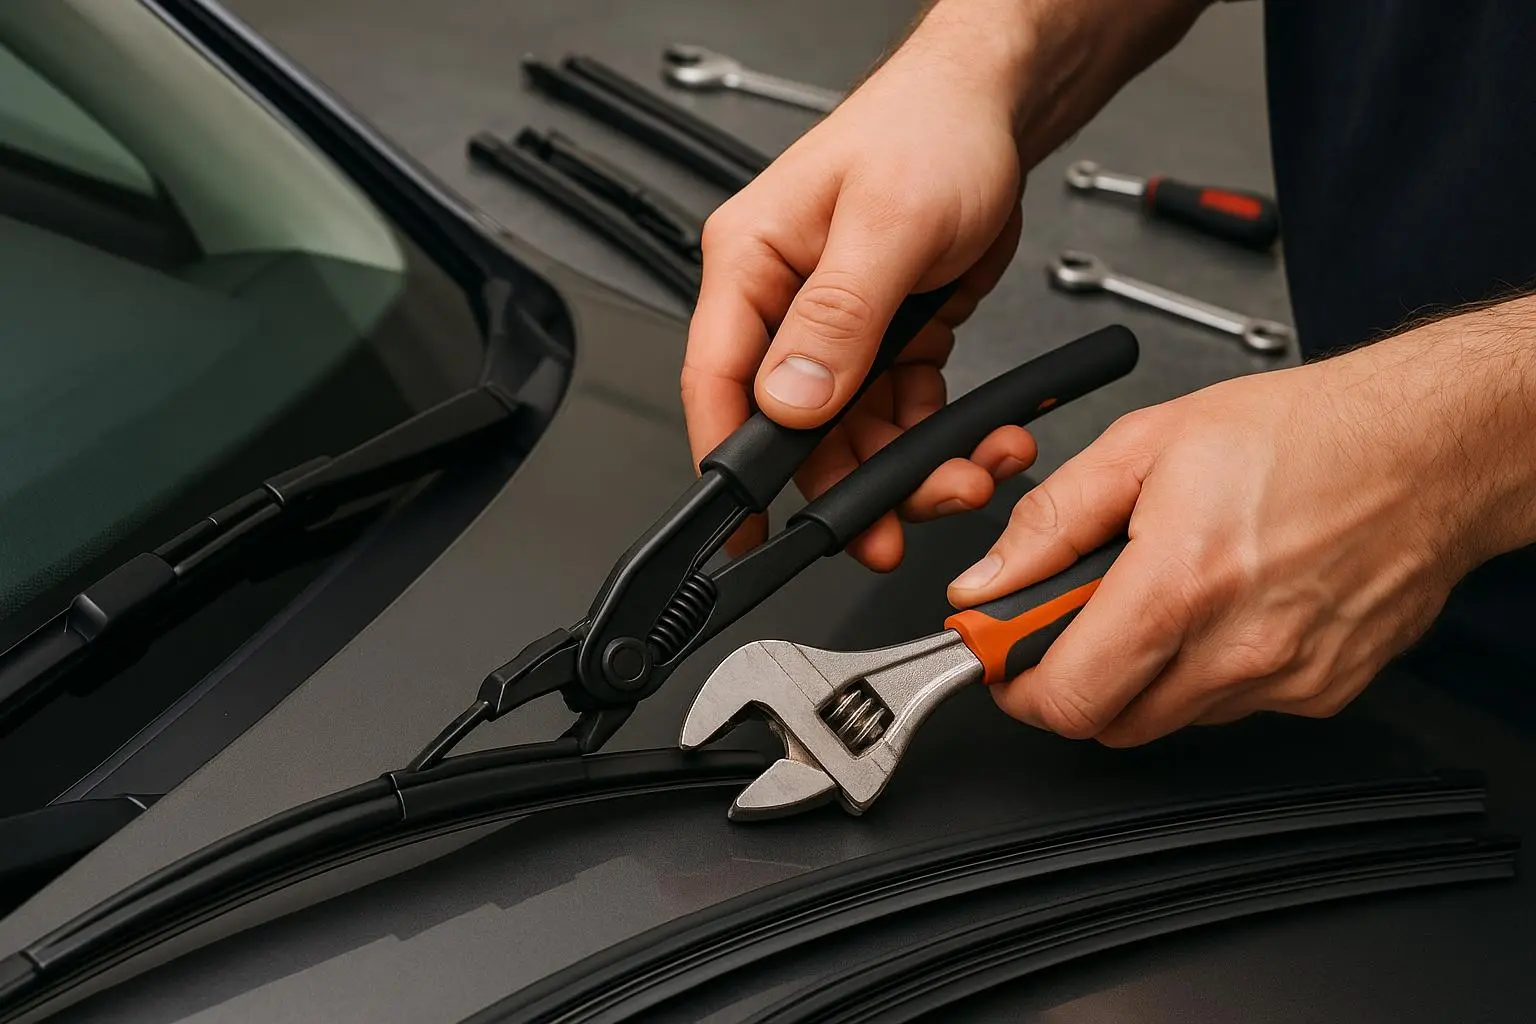
- Use your hands or a pair of padded pliers; avoid hammering.
- Aim for a uniform pressure along the blade, not a sharp kink.
Warning: over-bending can scratch the windshield if the blade presses too hard, or break the arm. If the arm is severely bent or the pivot looks damaged, stop and call a pro.
Adding a shim — an under-used trick
If the spring has lost a little tension but the arm is otherwise fine, a thin shim under the spring seat can add downforce. This involves removing the arm and placing a small washer or a bit of plastic between the arm and its mounting seat.
Do this only if:
- You’re comfortable removing and reinstalling the arm.
- You have the right washer thickness to make small changes.
- You understand this is a tweak, not a permanent factory fix.
If you can, replace the spring or the whole arm assembly. That’s the reliable long-term fix.
Replacing spring vs. replacing the whole arm
If the spring inside the arm is replaceable on your model, it’s often cheaper to swap the spring. But many aftermarket arms come as a sealed unit. Given labor and parts, replacing the entire arm is often simpler and more reliable — especially if you can buy a matching OEM-style arm for $20–$60.
Price check: a basic OEM-style wiper arm costs roughly $25–$60, while premium or heated-arm assemblies cost more. Labor at a shop can add another $50–$100 if you’re not doing it yourself.
Torque and seating tips to avoid windshield damage
The arm installs on a splined post and is usually held by a nut. Proper seating matters:
- Align the arm so the blade rests in its proper parked position.
- Tighten the nut until it’s snug. If you have a torque spec, use it. If not, tighten moderately — the arm should not twist under hand pressure.
- After installation, run the wipers once to make sure they park correctly and don’t bind or rub against glass edges.
If the arm seems loose after tightening, inspect the splines for wear. A worn spline lets the arm slip and causes intermittent contact problems.
Risky signs — stop and call a pro
You should stop and call a mechanic if:
- You hear grinding in the motor when operating wipers.
- The arm pivot is seized or shows fractured metal.
- Bending the arm doesn’t help or makes it worse.
- The wipers skip but motor speed changes or the arm behaves erratically (possible linkage or motor problem).
- You see chips or cracks forming at the base of the arm.
Electrical or motor failures can cost more if you try to force things. It’s not glamorous, but passing control to a shop often saves money in the long run.
Winter and seasonal tips to prevent reoccurrence
A few habits prevent many problems:
- Lift arms before heavy snow or ice. Those frozen-to-windshield moments bend arms every winter.
- Use winter blades if you live where ice builds up; they have boots to keep snow out of the frame.
- Replace blades every 6–12 months depending on climate. Heat and sun deteriorate rubber faster.
- Park in a garage or covered area when possible to reduce UV and ice exposure.
A short real story (100-200 words)
Last winter I hit a morning of black ice that froze my wipers to the glass. I tried two light tugs and the passenger arm popped slightly out of alignment. For two weeks the driver’s side left a 10 cm streak at the middle of the sweep. I cleaned everything, swapped blades, even bought a new set, but the streak remained. I finally decided to gently bend the passenger arm at the base in 2–3 degree increments, testing after each nudge. On the fourth tweak, the blade kissed the glass along its length. It lasted the season but started to fail the next year—lesson learned: bending bought me time, not a permanent fix. I replaced the arm the following spring and haven’t had the streak since.
Tools and parts checklist
You don’t need a full toolbox for basic fixes. Here’s what helps:
- Microfiber cloth and isopropyl alcohol
- Proper replacement blades
- Small socket set or wrench for arm nut
- Padded pliers (for gentle bends)
- Thin shims or washers (if experimenting)
- Torque wrench (ideal for correct nut torque)
Apps like AutoZone or O’Reilly are great to confirm part numbers and local stock before you go.
Final checklist before you drive
- Blades cleaned and intact
- Blade correctly seated and locked
- Arm seated and nut snug
- No strange noises when wipers run
- Full sweep clears the windshield at low and highway speeds
If any of those items fail, revisit the step or call a pro.
Bottom line
Don’t ignore streaky wipers. Start with cleaning and a blade swap. If the problem follows the arm, inspect for bends, weak spring tension, or loose seating. Gentle bending and shimming can help short-term, but replacing a fatigued spring or the whole arm is the reliable solution. And when the pivot grinds or the mechanism seizes, step back and get professional help—cheap tinkering can become an expensive repair if you damage the motor or windshield.
Safe driving is mostly about small details. A clear windshield is one of those small details that matters a lot.