Clipper Confidence: A 6-Week Desensitization Plan
Aug 5, 2026 • 9 min
If you’ve ever watched a dog’s eyes go big at the sight of clippers, you know what I’m talking about. It’s not stubbornness. It’s fear. And fear can be trained out—gently, with a plan. I learned this the hard way when I adopted a rescue dog named Kai who'd flinch at the buzz of a clipper so hard he’d bolt into the next room. Not ideal when you’re trying to keep mats at bay and nails trimmed.
I’m not here to promise a miracle in a weekend. What I am here for is a clear, humane six-week path that fits into real life. Five to ten minutes a day. Gentle steps. A few tricks that actually work when you’re doing this with a busy job, kids, and a rescue dog who’s already had a rough start.
A quick moment I’ll never forget: the first time Kai sniffed a clipper at a distance of six feet, I set a plate of their favorite cheese on the floor, kept the tool off, and backed away slowly every time his nose moved closer. He lingered for two seconds, then walked away. That tiny two-second calm moment showed me progress is possible without forcing perfection.
Week by week, you’ll see how small wins compound into a real sense of safety. This plan is designed for owners, foster families, and even groomers who work with fearful dogs. It’s printable, too—a simple log to track what actually moves the needle for your dog.
And if you want the quick takeaway: progress comes from predictable, short sessions, rewards that your dog values, and a ceiling you never push past—your dog’s threshold. If there’s a single sentence I want you to remember, it’s this: you are building trust, not driving tolerance through pressure.
Let’s start with the why behind the approach, then the practical six-week structure, and finally how to troubleshoot when your dog's progress stalls.
Why gradual exposure works—and why dogs actually enjoy it eventually
Desensitization with counter-conditioning isn’t about a dog “becoming brave.” It’s about resetting expectation. When a tool comes with a predictable reward, the mind rewires from fear to anticipation. The phrase you’ll hear a lot in this plan is threshold. Your dog has a threshold—the point before fear kicks in. Stay below it, and you slowly raise it over time.
A few things I’ve learned along the way that I wish I’d known earlier:
- It’s not linear. Some weeks click, others stall. That’s normal. If your dog regresses, you haven’t failed; you’ve just discovered a lower threshold that needs gentler reintroduction.
- High-value rewards beat quantity. A bite of homemade chicken liver paste can make a bigger difference than a handful of kibble.
- Consistency beats intensity. Three one-minute sessions every day beat a single five-minute slog.
In Kai’s early days, I used a lot of pep talks and urges, and I saw a little progress that felt like a mirage. When I switched to the six-week plan and started with micro-sessions, the improvement stuck. Kai began to anticipate the tool rather than flee from it. That’s what you’re aiming for: anticipation, not avoidance.
The structure: a six-week calendar you can actually follow
This is not a marathon. It’s a collection of tiny, repeatable actions that stack up.
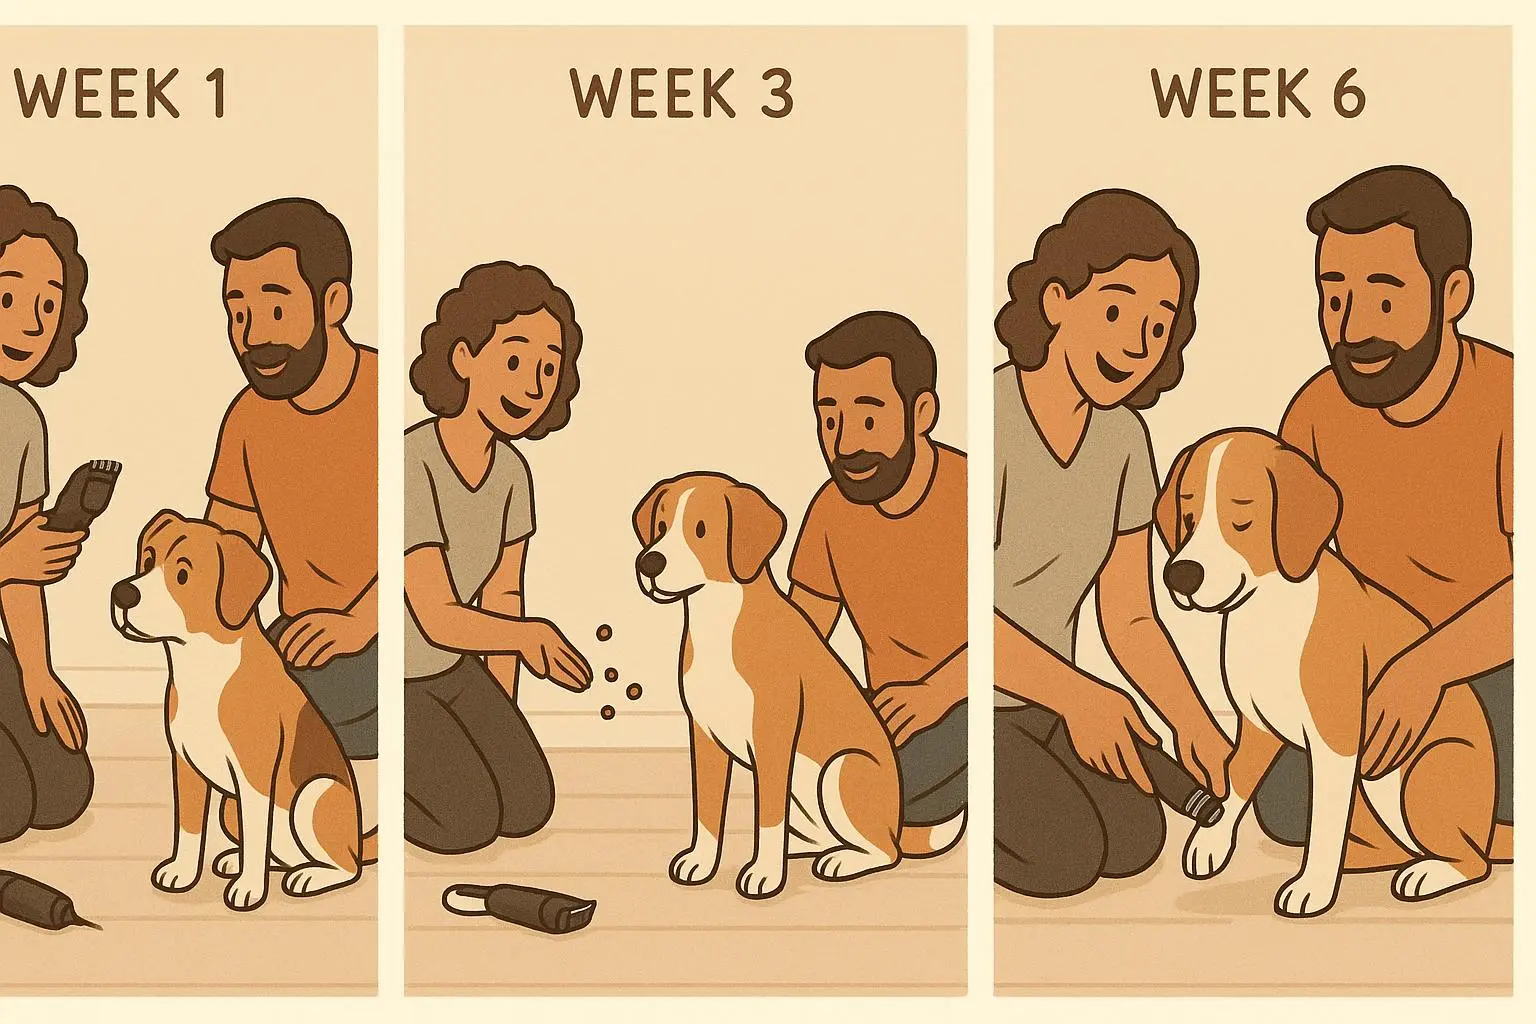
- Week 1: Introduction and Sight (Presence)
- Week 2: Touch and Handling (Off-position tools)
- Week 3: Sound Introduction (Low volume, then close proximity)
- Week 4: Sound and Vibration (Active near the body)
- Week 5: Brief Contact and Duration (Simulated grooming)
- Week 6: Integration and Maintenance (Salon exposure)
Each week includes daily micro-sessions (5–10 minutes), a simple reward script, threshold-setting tips, and a troubleshooting section for plateaus or regressions. You can print the progress log and jot notes about your dog’s responses.
I’ll share a real-world, practical approach you can copy. And yes, you’ll want to tailor this to your dog’s age, coat type, and past grooming experiences.
Week 1: Introduction and Sight (The presence)
Goal: Your dog starts to see tools and feel comfortable just having them in the room.
Daily structure (5 minutes, once per day)
Warm-up (1 minute): A calm greeting, a quick walk to the training space with zero drama.
Sight Practice (3 minutes): Place the tools in the room, turn them off, and reward calm attention. Gradually increase proximity to the tools as your dog watches.
Cool-down (1 minute): End on a positive note with a favorite toy or a short toss of a ball.
Threshold-setting tips for Week 1
- Keep it short. If you’re at 4 minutes and Kai looks away, you’re done for the day. End on a calm moment.
- No forcing. If your dog moves away, back up to a further distance and try again later.
- Tools visible but not touched. Your dog should acclimate to their presence, not the sensations just yet.
Troubleshooting Week 1
- If your dog won’t look at the tools, drop the distance even more and reward eye contact with treats and praise.
- If your dog shows stiffness or lip-licking signals, pause and revisit Week 1 with even more distance before advancing.
30-60 second micro-moment: I watched Kai’s ears twitch toward the clippers, then he took a small step back. I dropped to the floor with him at his pace, and I made the room feel safer with a familiar scent on a blanket. That small shift—matching his pace—was the turning point.
Week 2: Touch and Handling (Off-position tools)
Goal: The dog tolerates gentle contact with tools that aren’t powered on.
Daily structure (5–7 minutes, once per day)
Warm-up (1 minute): Quiet space, leash loose.
Tool Introduction (4–5 minutes): One tool per day. Start with smelling and investigating, then light touches to the body with the tool off, and finally short durations of contact while continuing treats.
Cool-down (1 minute): End with play or a quick cuddle.
Weekly tool schedule (example)
- Days 1–2: Rubber brush
- Days 3–4: Metal brush or furminator
- Days 5–7: Nail grinder (off) or clippers (off)
Threshold-setting tips for Week 2
- Move closer only if calm. If fear spikes, pause and go back to Week 1-style sight exposure.
- If fear persists for a tool, give it an extra 2–3 days before moving on.
- Reinforcement remains “tool contact equals treats and praise.”
Troubleshooting Week 2
- If a tool scares your dog, spend extra days on that tool in Week 2 before moving on.
- If your dog stops investigating the tool, place treats near the tool to encourage approach without pressure.
Week 3: Sound acclimation and motorized tool introduction
Goal: Expose your dog to sounds and vibrations at a tolerable level, then introduce the motorized tool in an off state.
Daily structure (7–10 minutes, once per day)
Warm-up (1 minute)
Sound exposure (5–7 minutes): Play recordings of grooming sounds at very low volume during meals or chew time. Start distant, then gradually increase volume over days.
Motorized tool introduction (2–3 minutes): Off position first, then turn on very briefly. Use 1–2 second touches and reward.
Cool-down (1 minute)
Threshold-setting tips for Week 3
- If the dog shows stress at any volume, drop back to a quieter level and slow down.
- If fear is severe, consult a trainer or behaviorist before continuing.
Troubleshooting Week 3
- If the dog panics at motorized sounds, revert to Week 2, then reintroduce sounds gradually later.
- If the vibration triggers more fear than the sound, separate the two: work on sound-only days for a bit longer.
Week 4: Brushing and gentle stroking with tools
Goal: Build comfort with the actual brushing sensation and light tool contact.
Daily structure (7–10 minutes)
Warm-up (1 minute)
Brushing practice (5–7 minutes): Start with a feather-light touch, increasing duration as the dog remains calm. Reward generously.
Duration building (1–2 minutes): Gradually increase the time the tool is in contact with the coat.
Cool-down (1 minute)
Reward scripts (they’re not cheesy; they work)
- “Good dog! You’re so brave!” during tool contact
- “Yes! That’s it!” when the dog remains still
- “Perfect! Here’s your treat!” immediately after calm behavior
Threshold-setting tips for Week 4
- Consistency matters more than the length of each session.
- End before your dog shows significant signs of anxiety.
- If you see stress, shorten the session and revert to Week 3.
Troubleshooting Week 4
- If brushing helps but clippers still trigger fear, spend extra days on brushing and reintroduce clippers slowly later.
- If regression happens, move back to Week 3 routines for a few days.
Week 5: Simulated grooming scenarios
Goal: Practice a realistic grooming sequence in a controlled home setting.
Daily structure (10 minutes, once per day)
Warm-up (1 minute)
Simulated grooming (7–8 minutes): Full sequence in order, but with gentle handling and non-pressured limits (no aggressive clipping). Include brushing, nail grinder on all paws for a few seconds, and clipper practice on a tiny area.
Face and ear handling (1–2 minutes)
Cool-down (1 minute)
Threshold-setting tips for Week 5
- This is the week where you mimic a groomer’s routine. Keep a calm environment and avoid forcing any task.
- If your dog shows stress, separate tasks into individual short sessions for 2–3 days.
Troubleshooting Week 5
- If the dog panics during combined tasks, break the session into separate parts.
- If a real grooming task triggers regression, go back to Week 4 activities for a few days.
Week 6: Real-world exposure and maintenance
Goal: Move from home practice to a real grooming environment, while keeping your dog calm and cooperative.
Daily structure (variable)
Pre-grooming salon visits (Days 1–4): Visit the grooming salon without grooming to build positive associations. Let your dog meet staff, sniff products, and explore the space with treats.
First real grooming appointment (Days 5–6): Schedule a short session with a groomer trained in handling anxious dogs. Communicate your dog’s history and ask for low-stress handling.
Post-grooming reinforcement (Day 7): Celebrate success. Reinforce calm behavior with the home routine you practiced in weeks 1–5.
Reward scripts for Week 6
- “You did it! You’re so brave at the groomer.”
- “Look how beautiful you are.”
- “Best dog ever.”
Threshold-setting tips for Week 6
- Regular salon exposure can become a monthly routine.
- If stress is extreme, pause and consult a trainer or behaviorist.
- Some dogs will need more weeks of home practice before their first real grooming.
Troubleshooting Week 6
- If the first real grooming is tough, don’t push through panic. Stop, consult your groomer, and return to Week 5 home practice.
- If the dog shows stress at the salon but not at home, schedule more pre-visit exposure to the salon environment.
Emergency pause rules: when to slow down
Stop and back up if you see any of these signs:
- Lip licking, yawning, or tail tucking
- Muscle tension, frozen stance, or refusal to take treats
- Pacing or attempts to escape
- Growling or snapping (consult a professional immediately)
When you pause, follow this simple protocol:
- Stop the current activity immediately.
- Return to the previous week’s exercises for 3–5 days.
- Training happens in a calm, quiet place with minimal distractions.
- If stress persists, contact a certified professional dog trainer or veterinary behaviorist.
Printable progress log: staying organized
I’m not going to pretend a log makes change by itself, but it helps you notice tiny patterns you’d miss otherwise. Here’s a simple template you can print and fill.
- Week | Day | Tool/Task | Duration | Dog’s Response | Treats Given | Notes
The idea is to capture whether you stayed under threshold, what triggered improvement, and where you need to slow down.
Sample entries
- Week 1, Day 1: Paw touch, 3 min — Calm, engaged — Yes — Good start
- Week 2, Day 1: Rubber brush (off) — 5 min — Curious, calm — Yes — Investigated tool
- Week 3, Day 1: Sound exposure — 7 min — Ate during sounds — Yes — Low volume was crucial
Keep notes about what’s consistent and where your dog stalls. Those patterns tell you when to stay the course and when to pause.
Key takeaways for long-term success
- Patience is the foundation. Every dog progresses at their own pace. Some dogs finish in six weeks; others take longer. That variation isn’t a failure; it’s the truth of canine nervous systems.
- Consistency beats intensity. Short daily sessions accumulate momentum faster than long, infrequent practice.
- Respect your dog’s threshold. Push too hard and you’ll waste weeks of progress.
- Celebrate the small wins. A calm approach to a tool is progress in itself, and it compounds.
- Communicate with your groomer. A groomer who understands your dog’s anxiety makes the experience safer, smoother, and more humane.
A practical note from the trenches: the real turning point in Kai’s journey wasn’t a perfect week. It was a week where I slowed down, followed Week 2’s “off-position” approach longer than I expected, and celebrated a day when he chose to sniff the tool while wearing a loose leash. That choice to stay in control rather than forcing progress was the moment I realized this plan could actually work for other dogs too.
If you’re curious, here are a few insights from people who’ve tried similar approaches:
- Consistency in micro-sessions leads to sturdier behavior than sporadic, longer sessions.
- High-value rewards dramatically reduce the emotional cost of exposure.
- A dog’s first salon visit can be the most important milestone; plan it with care and choose a groomer who uses low-stress handling techniques.
And if you’re the type who wants practical controls, the emergency pause rule is your anchor. It’s not a sign of failure to pause. It’s a signal you’re listening to your dog and choosing safety first.
We’ve got to respect the dog’s pace and celebrate the tiny leaps forward. The goal is simple and powerful: a dog who trusts you to handle grooming tools, not a dog who endures grooming through sheer willpower.
If you follow this six-week plan, you’ll likely end up with a calmer dog, a smoother grooming routine, and a stronger bond with your best friend.