Beginner’s Guide: Create Stunning Custom Pet Portraits with PetPortrait AI
Apr 25, 2026 • 7 min
If you love your pet but can’t sketch a stick figure to save your life, this one’s for you.
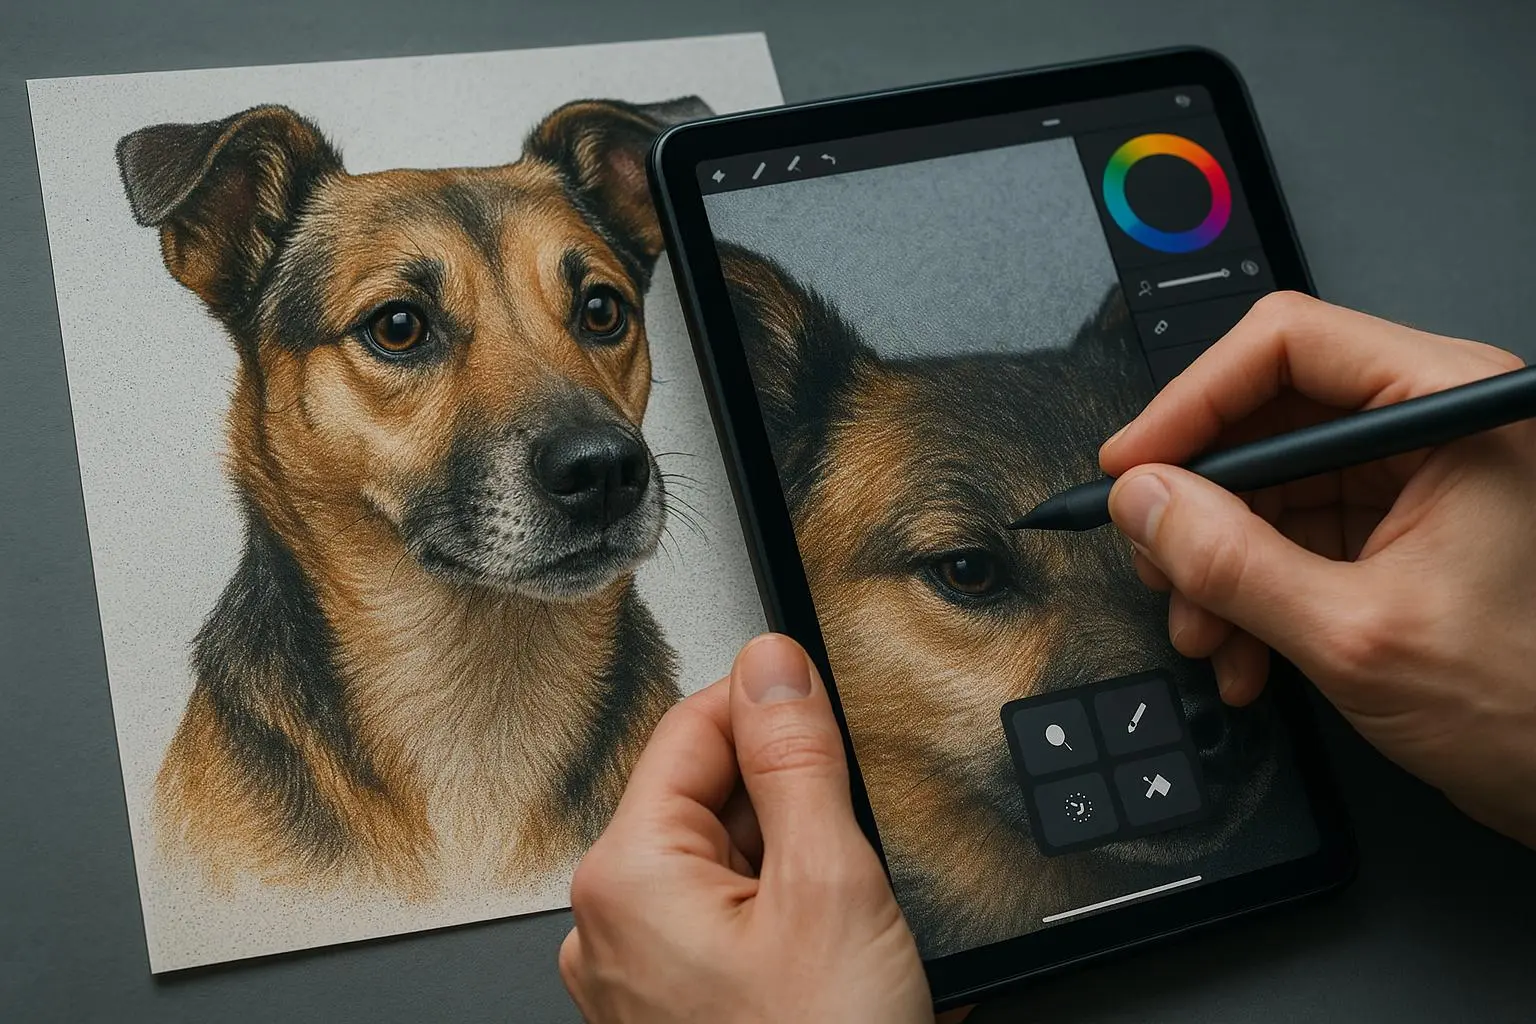
PetPortrait AI and tools like it let you turn ordinary phone snaps into art-grade portraits—usable for canvas prints, framed keepsakes, or attention-grabbing social posts. You don’t need a studio, a lightbox, or a PhD in Photoshop. You do need a few good photos, a solid prompt, and a tiny bit of patience.
I’ll walk you through what actually works, what trips people up, and how to get outputs that look intentional—not accidental.
Why AI pet portraits are worth trying
People buy personalized pet goods. A lot. The difference AI makes is speed and style variety: you can go from candid phone photo to Renaissance oil, playful pop-art, or soft watercolor in minutes.
But here's the thing: the AI is only as good as what you feed it. Bad inputs + vague prompts = weird-looking fur and lop-sided ears. Good inputs + thoughtful prompts = portraits people ask where you had them made.
How I actually made this work (and the one mistake I learned from)
A few months ago I made a portrait of my partner’s terrier for their birthday. I uploaded 12 photos—headshots, a full-body jumping shot, and one where she’s mid-yawn like a tiny dragon. I picked a “classic oil” style and typed: “Small terrier, expressive eyes, oil painting, warm palette, soft rim lighting, high detail, suitable for 16x20 canvas.”
Iteration one looked okay but the jawline was wrong. Iteration five fixed that but added too much background texture. Iteration eight was perfect—eyes sharp, fur details, and the composition cropped nicely for a 16x20. I ordered a canvas at 300 DPI and it hung on the wall for months.
What taught me: don’t be shy about generating dozens of variations. Also, start with consistent source images—lighting and angle matter more than you think.
Micro-moment: I still remember the way the AI caught a single white hair on her chin and painted it like a silver thread. Tiny details make portraits feel alive.
Step 1 — Choose and prep your source images
You don’t need 50 photos. Aim for 10–20 good ones.
- Quality over quantity. Sharp focus on the face is the priority.
- Mix angles: include a few headshots, one full-body, and an action or candid pose.
- Light consistency helps the model learn features. If most photos are indoors under warm light, the model will skew that way.
- Pre-process low-res shots with an upscaler (Remini or Gigapixel AI) and fix exposure/contrast in Snapseed or Lightroom.
Pro tip: crop a few images to common print aspect ratios (1:1 for squares, 4:5 for portrait canvases). That helps when you later select compositions.
Step 2 — Upload and pick a style (don’t overcomplicate it)
Most platforms follow this flow: upload → choose style → write a prompt → generate.
For beginners, start with preset styles—“Classic Oil,” “Watercolor,” “Fantasy Portrait.” They give you a good baseline. Once you like the presets, tweak.
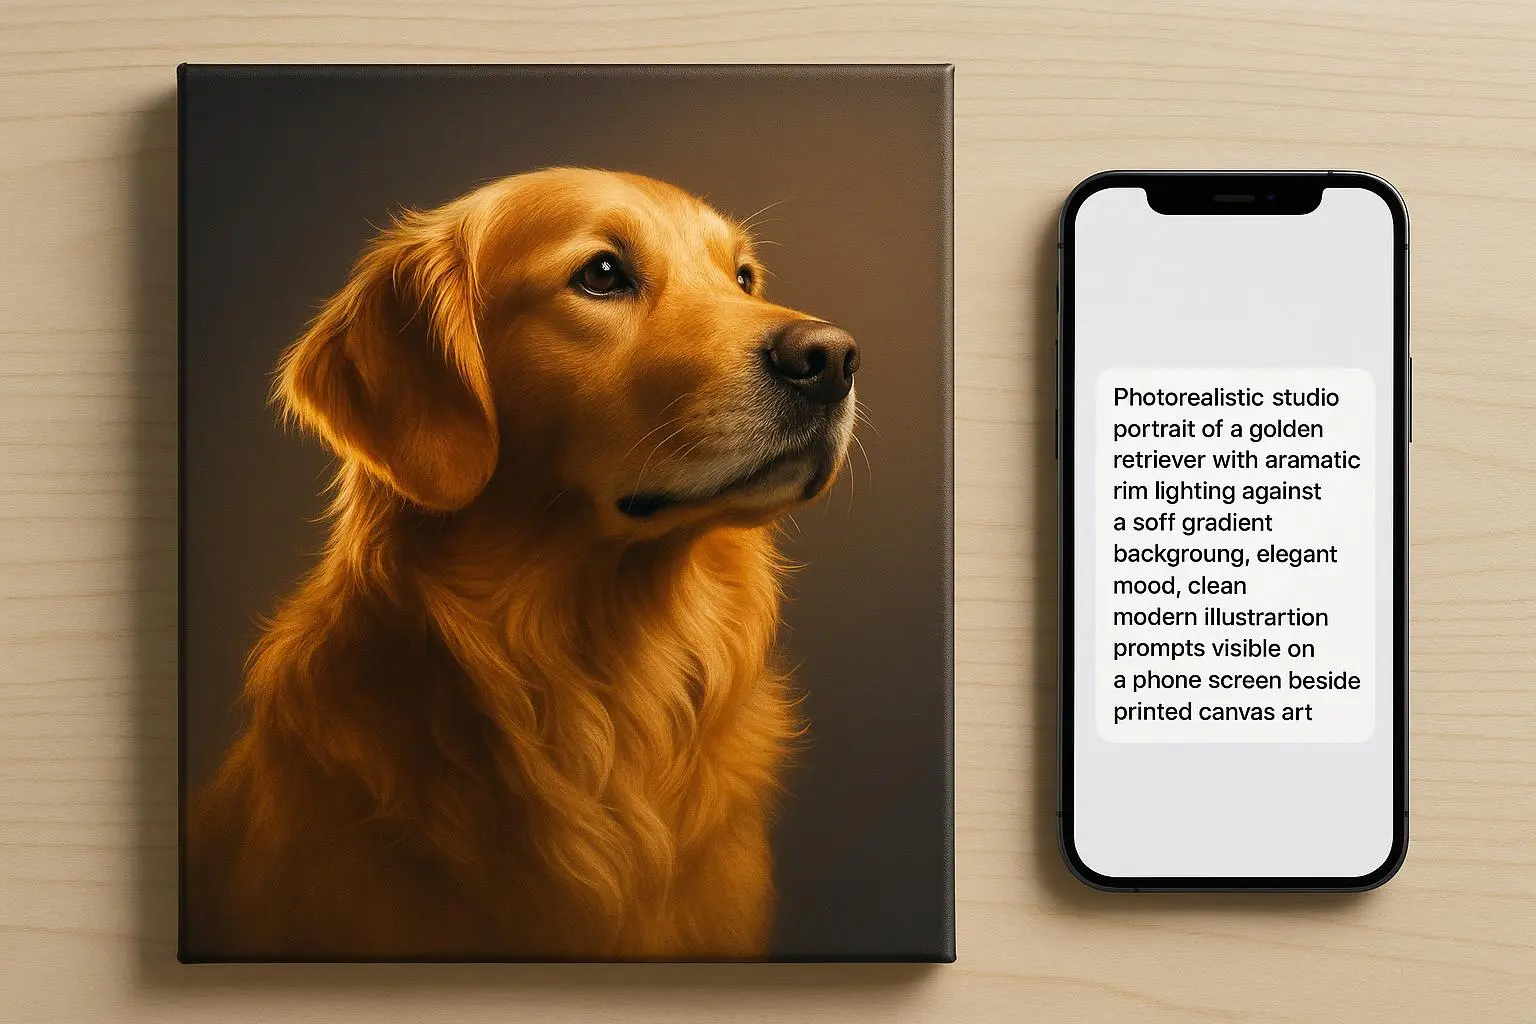
Good prompt structure (short and focused):
- Subject + style + lighting + detail + final use Example: “Golden Retriever headshot, Victorian oil portrait, soft Rembrandt lighting, high detail, warm tones, 300 DPI for canvas print.”
Little words matter. Adding “cinematic lighting,” “soft rim light,” or software-like descriptors (“Unreal Engine render”) often nudges the model to add depth and texture.
Step 3 — Prompt tips that actually change results
Here’s what I use when I want realism:
- “High detail” and “photorealistic fur texture”
- Lighting cues: “soft window light” or “Rembrandt lighting”
- Focal points: “eyes sharp, catchlight present”
- Output purpose: “suitable for 16x20 canvas, 300 DPI”
For stylized looks:
- Name the style and era: “Art Nouveau poster” or “1950s pop art”
- Material cues help: “oil on canvas,” “watercolor paper texture,” “gouache finish”
If a generated result is almost right, tweak one thing at a time—change background color or lighting adjective. I find changing one phrase yields more predictable improvements than rewriting the whole prompt.
Step 4 — Review, iterate, and use re-roll wisely
Expect to go through many variations.
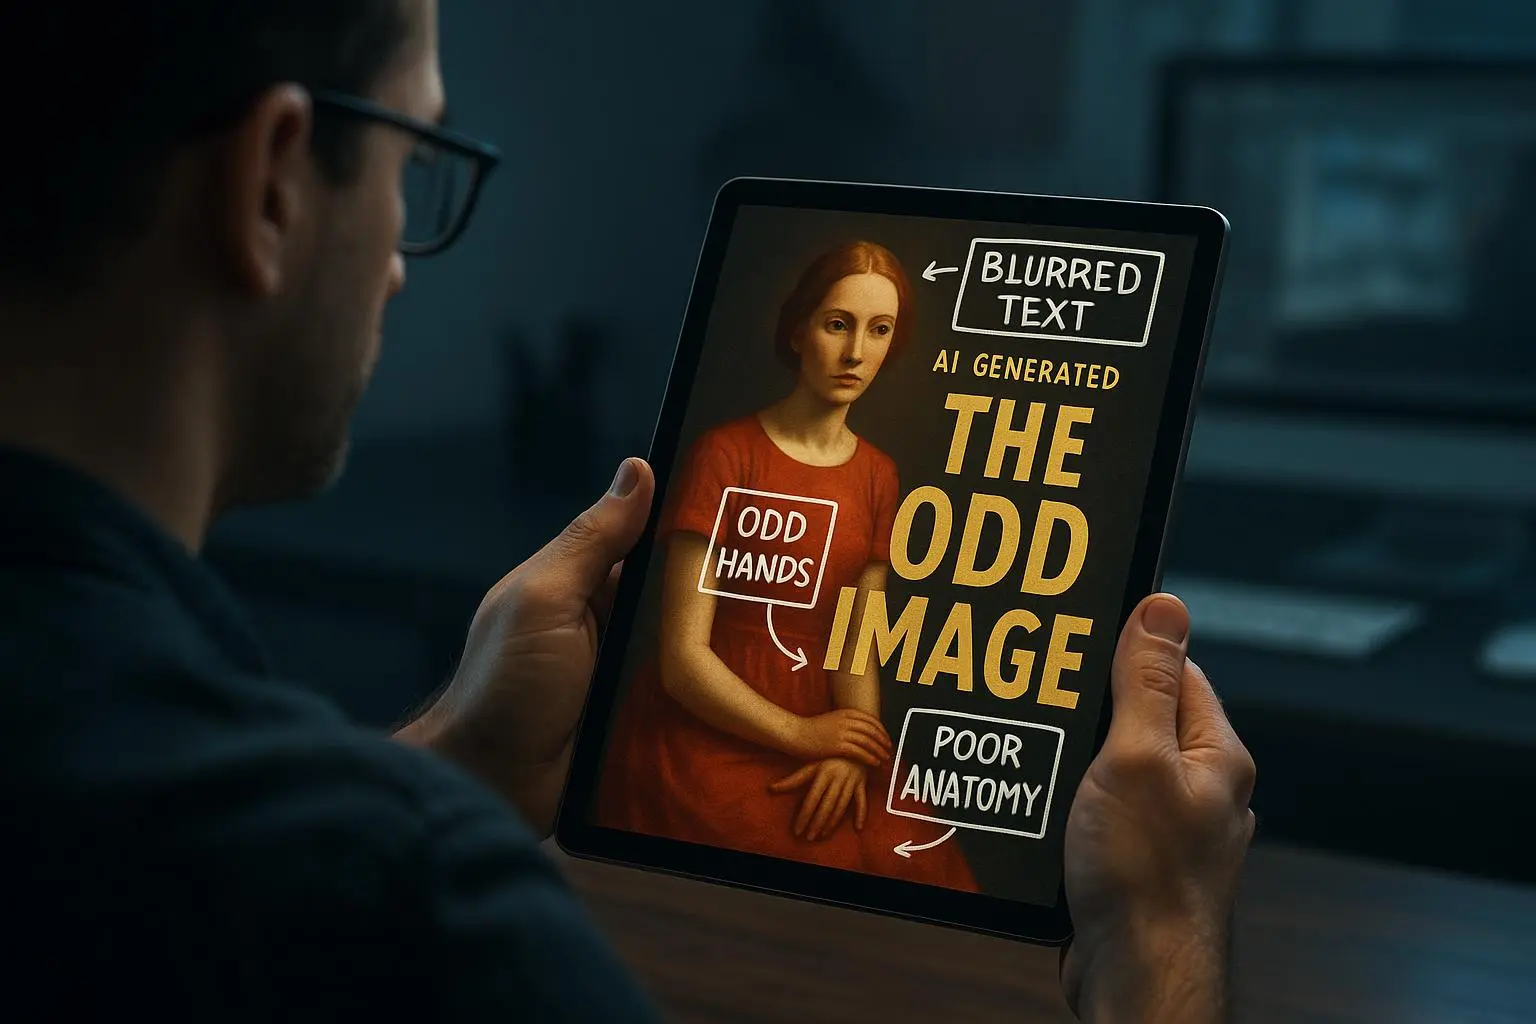
- Scan for anatomical errors first (eyes, ears, paws). If those are off, the portrait will feel “wrong.”
- Use the platform’s refinement tools to nudge details—some allow face-fixing or localized edits.
- Keep a running shortlist of your top 3 candidates and re-roll them with subtle prompt changes (background, lighting, color temperature).
A note on patience: high-res generations can take longer. If the tool warns 15–20 minutes for 4K outputs, plan around that instead of waiting with bated breath.
Step 5 — Prepare for print vs. social
- Demand: 300 DPI for canvas and most prints.
- Avoid generator outputs capped at 1024×1024 for large prints. Look for 4K+ or use Gigapixel AI to upscale final files while preserving detail.
- Export in lossless formats (TIFF or high-quality PNG).
Social
- Focus on composition and aspect ratio. Resize in Canva to square (1:1) or vertical story formats (9:16).
- Add safe margins if you’ll add overlays or text.
If you plan to sell, check resolution limits in the subscription tiers. Many creators learned the hard way that a cheap subscription didn’t include high-res exports.
Legal and ethical quick note
AI art sits in a gray space. If you mimic a living artist’s signature style too closely, you might run into copyright or ethical issues. If you plan to sell widely, avoid prompts like “in the exact style of [famous artist].” Be transparent in product listings—some buyers care whether a piece is AI-assisted.
Tools that actually help
- Prepping images: Snapseed (free), Remini (upscale)
- Upscaling final art for print: Gigapixel AI
- Mockups and resizing: Canva, Printful Mockup Generator
- Prompt research: Lexica Aperture (see examples of successful pet prompts)
Quick checklist before you order that canvas
- Source images: 10–20 clear photos, consistent lighting
- Prompt: one concise sentence with style, lighting, and final use
- Resolution: generator supports 4K or use an upscaler
- Proof: view a print mockup at 100% scale (use Printful or similar)
- Rights: confirm the service allows commercial use if you plan to sell
The emotional payoff
At the end of the day, people buy these because the portrait evokes something—a memory, a laugh, a familiar tilt of the head. The tech is a means to that feeling. Use it to amplify what’s already there in your pet’s expression.
If you follow the steps above—good photos, a clear prompt, patient iteration—you’ll end up with portraits that look deliberate and personal, whether they sit on your mantle or become your next best-selling print.