AuroraAI Studio Pro: Masterful Image Generation with Advanced Prompts
Oct 4, 2026 • 8 min
If you’ve ever generated a gorgeous image and thought, “Cool—now make 20 more that look exactly like that,” you already know the problem: consistency. Basic text-to-image prompts are great when you want a single, surprising result. They’re terrible when you need a coherent set of assets that match a brand, a character, or a campaign.
AuroraAI Studio Pro is built for that second use case. It turns prompting into an engineering practice: style layers, prompt chains, negative weighting, seed locks. The learning curve is steeper, but the payoff is images you can reuse, iterate on, and include in commercial workflows without the “it’s different again” anxiety.
I’m going to show you how those techniques actually work, when to use them, and the mistakes you’ll almost certainly make the first time. Expect concrete examples, a real story from my own work, and a short micro-moment that stuck with me.
Why basic prompts break in professional workflows
Picture this: you write “A futuristic cityscape at sunset” and hit generate. The first output is stunning. The second looks like a different city. The third has fantasy spires you didn’t ask for.
That unpredictability is fine for exploration. It’s not fine when you’re producing assets for a single ad campaign, a product catalog, or a comic whose characters must look identical across panels.
The limitations show up in three ways:
- Visual drift: character or architectural features change between outputs
- Style mismatch: lighting, color palette, and grain differ
- Artifact frequency: low-saturation, blurriness, or unwanted cartoonishness crops up inconsistently
AuroraAI Studio Pro addresses these by shifting control from a single prose prompt to structured, measurable controls.
Core techniques that actually move the needle
There are three techniques that will change how you work: style layering, prompt chaining, and precise weight management (positive and negative). I use them together, not in isolation.
Style layering: think of prompts like onion skins
Instead of one long sentence, break your instructions into layers. I mean literal layers: subject, medium, mood, technical specs.
Example structure:
- Subject/Scene: [A sleek, minimalist electric vehicle, parked on a wet street]
- Medium/Style: [Cinematic lighting, 8k resolution, Unreal Engine 5, volumetric fog]
- Mood/Color: [Neon blue and magenta accents, film noir atmosphere]
Why it works: AuroraAI processes these as weighted components. You can lock the mood and technical specs at high influence and only let the subject vary. That’s how you get consistent lighting and color while trying different compositions.
Quick tip: assign the highest weight to whatever you want constant across outputs. If color and lighting matter most for brand recognition, lock them heavier than the subject descriptors.
Prompt chaining: build narrative and consistency over time
Prompt chaining links generations. Prompt A creates a base look (character design, color palette, camera angle). Prompt B tweaks the action or background while referencing A’s seed and style weights. Prompt C continues the sequence.
This is invaluable for sequential storytelling—comic panels, product variations, or a sequence of campaign images where the hero object must remain identical.
The catch: your base prompt must be close to perfect. Any flaw in A gets amplified down the chain. So plan A like you mean it.
Micro-moment: the first time I used chaining, I locked the wrong seed. I spent an hour tweaking B and C before realizing the problem lived in A. One tiny mis-specified adjective in the base prompt changed jawlines across the whole storyboard. Lesson learned: test A thoroughly before chaining.
Weight management and negative prompts: say what you don't want
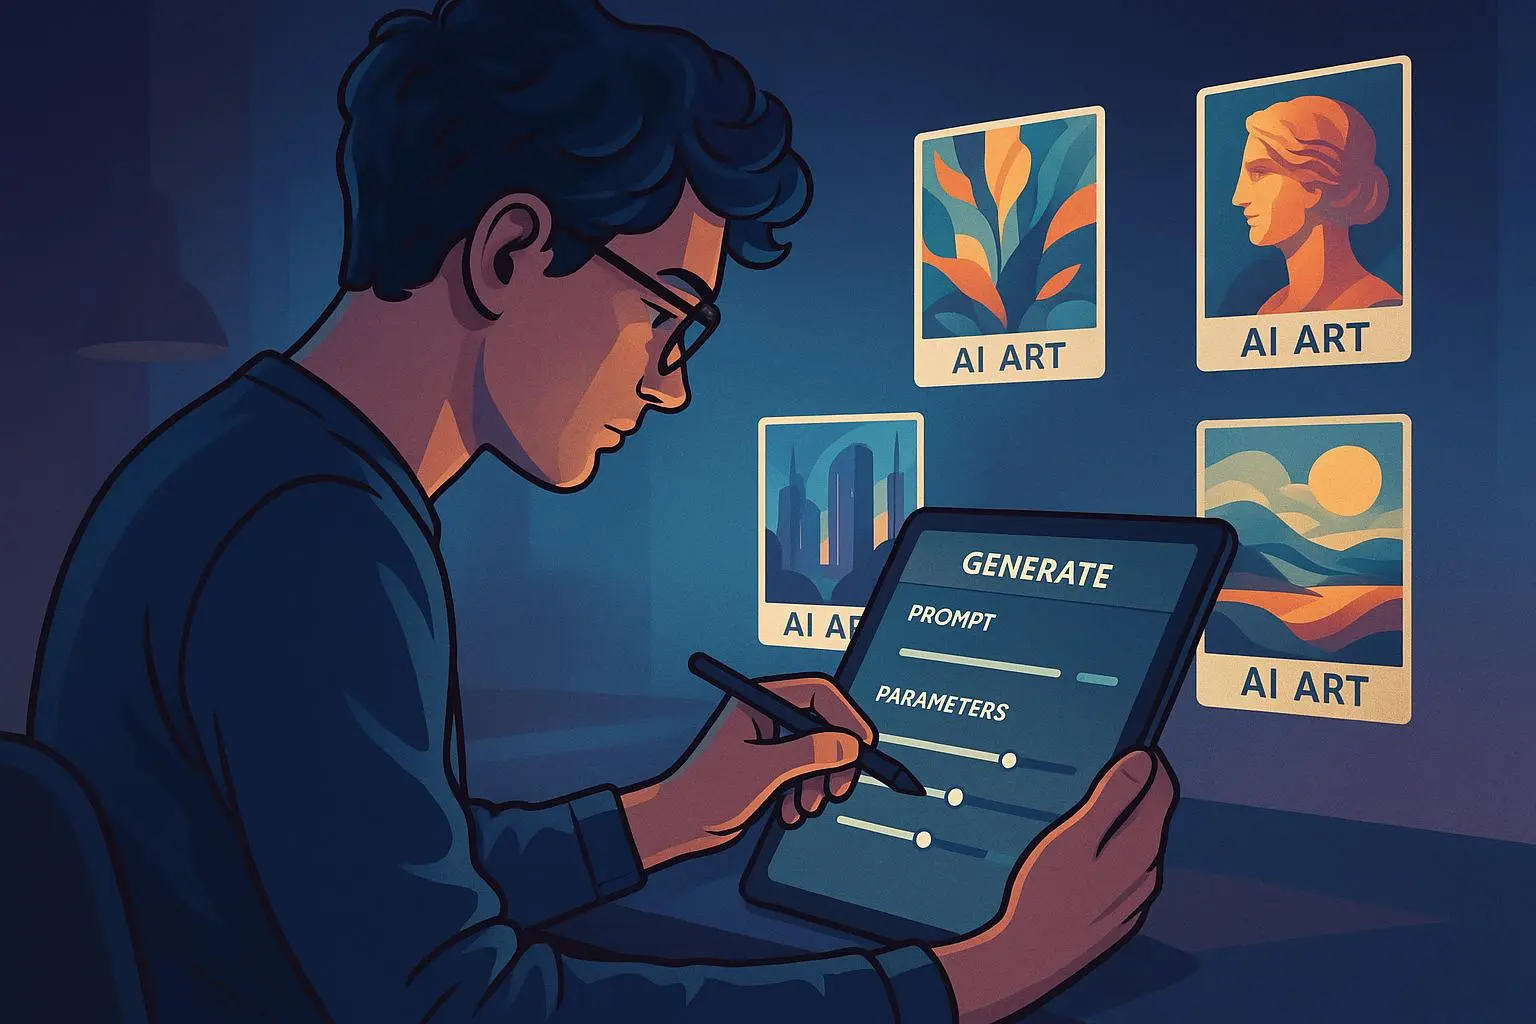
AuroraAI’s weighting system is where you earn the pro label. You can push certain layers to ::1.5 influence or give negative prompts high weight to banish common artifacts.
Examples of negative prompts useful for commercial work:
- --no low saturation
- --no blurry
- --no cartoon Negative weights are especially powerful when you need a “photographic” output and want to avoid painterly or stylized artifacts that basic prompts sometimes introduce.
Seed locking pairs well with negative weighting. Lock a seed to reproduce composition, then tweak small elements (color, props) without breaking the whole image.
How this actually looks in a real project (my story)
Last winter I had a one-week sprint with a small studio to create product shots for an electric bike launch. We needed 50 images: hero shots, hero-in-context lifestyle, and a couple of motion sequences. Photoshoots were out of budget; the client wanted everything to look like a single photographer shot everything.
I used AuroraAI Studio Pro. Here’s what I did (short version):
- Spent the first day crafting a base prompt (Prompt A) that defined the bike, camera lens, lighting, and environment. I layered the style heavily on cinematic lighting and film grain.
- Ran 12 variations to lock the seed and tweaked until the bike’s key features (frame curve, headlamp design, logo placement) stayed identical across outputs.
- Created Prompt B/C to swap backgrounds and poses, chaining off A and keeping the mood layer locked at ::1.4.
- Built a negative prompt list to remove “cartoonish” and “oversaturated skin tones”—those artifacts appeared in earlier tests.
Outcome: we shipped 50 images in three days that passed the client’s brand review with minor color corrections. What saved time wasn’t the generation itself; it was that we could batch-edit across consistent files and avoid many rounds of re-generation. Production time dropped by an estimated 60% compared to previous shoots we simulated with solo image generators.
Two honest notes: it took a full day to get A right, and the UI for weight adjustment had a clumsy moment that cost me ten minutes of trial-and-error. Still worth it.
Practical workflow you can steal
If you want repeatability, use a process, not guesses. Here’s the workflow I use and recommend.
- Research and collect references: find 10 images that define your brand’s lighting and color.
- Build Prompt A: subject + tight style specs + technical constraints (lens type, resolution).
- Test A aggressively: generate 10-20 variations and pick the best seed.
- Lock seed and style layer: keep these consistent for chained prompts.
- Create Prompt B/C for variations: change action, background, or small props—don’t tweak the locked layers much.
- Apply negative prompt list: test which negatives actually reduce artifacts for your model.
- Batch-export and do consistent color grading in post.
Do not skip step 3. That’s where most projects fail.
Common mistakes and how to avoid them
Mistake: treating the UI as “one more text box.” Fix: learn the weight controls. A small numeric change can flip results more than rewriting sentences.
Mistake: chaining before validating the base prompt. Fix: iterate on A until you consistently like 70–80% of outputs.
Mistake: overusing negatives blindly. Fix: add negatives one-by-one and test. Too many negatives can stifle creativity and produce flat results.
Mistake: ignoring LoRAs or style transfer options. Fix: if your brand uses a unique look, invest in a custom LoRA. It’s weekend work that pays off for high-volume production.
When AuroraAI is the wrong tool
It’s not for everyone. If you’re a hobbyist creating one-off images for fun, the complexity and cost feel heavy. If you need fast, messy concept art, simpler tools win.
AuroraAI Studio Pro is for teams that need repeatable, brand-safe output: agencies, product studios, and creators building serialized content.
Quick checklist before you hit generate
- Do you have a locked seed for compositions that must match? Yes/No.
- Is your mood/style layer heavier than subject descriptors? Yes/No.
- Have you tested negative prompts incrementally? Yes/No.
- Did you save the prompt chain as a reusable asset? Yes/No.
If you answered “no” more than once, spend 15–30 minutes fixing the base prompt. It will save hours later.
The future: what this workflow means for creators
Prompt engineering is becoming a craft. Tools like AuroraAI move the needle from “randomly good” to “professionally reliable.” That means agencies can replace some photo shoots with AI, studios can produce consistent assets faster, and brands can maintain a tight visual identity without blowing budgets.
That said, expect a continuing divide: casual creators will favor speed and simplicity; professionals will invest in the upfront work (fine-tuning models, building LoRAs, mastering chaining). Both paths are valid—just different trades.
Final takeaways
- Style layering + prompt chaining + careful weighting = consistent, high-fidelity images.
- Locking seeds and using negative prompts removes a lot of guesswork.
- Expect an initial time investment; the ROI shows up when you scale to dozens of images.
- AuroraAI Studio Pro is a “pro” tool—great for commercial workflows, overkill for casual use.
If you’re ready to treat prompts like a design spec rather than a wish, AuroraAI gives you the knobs. Learn the knobs, and you’ll stop chasing lucky outputs and start producing predictable, brand-safe visuals.